It's true, a boat ceramic coating process is different than your traditional buff and wax approach. Some people are intimidated and rely on professional boat detailers like Thomas at All About The Details LLC. In this case study, our hope is to help alleviate that intimidation factor, by describing our tested and proven ceramic coating process, that you too, can be successful in properly restoring and applying a marine grade ceramic coating to protect your boat.
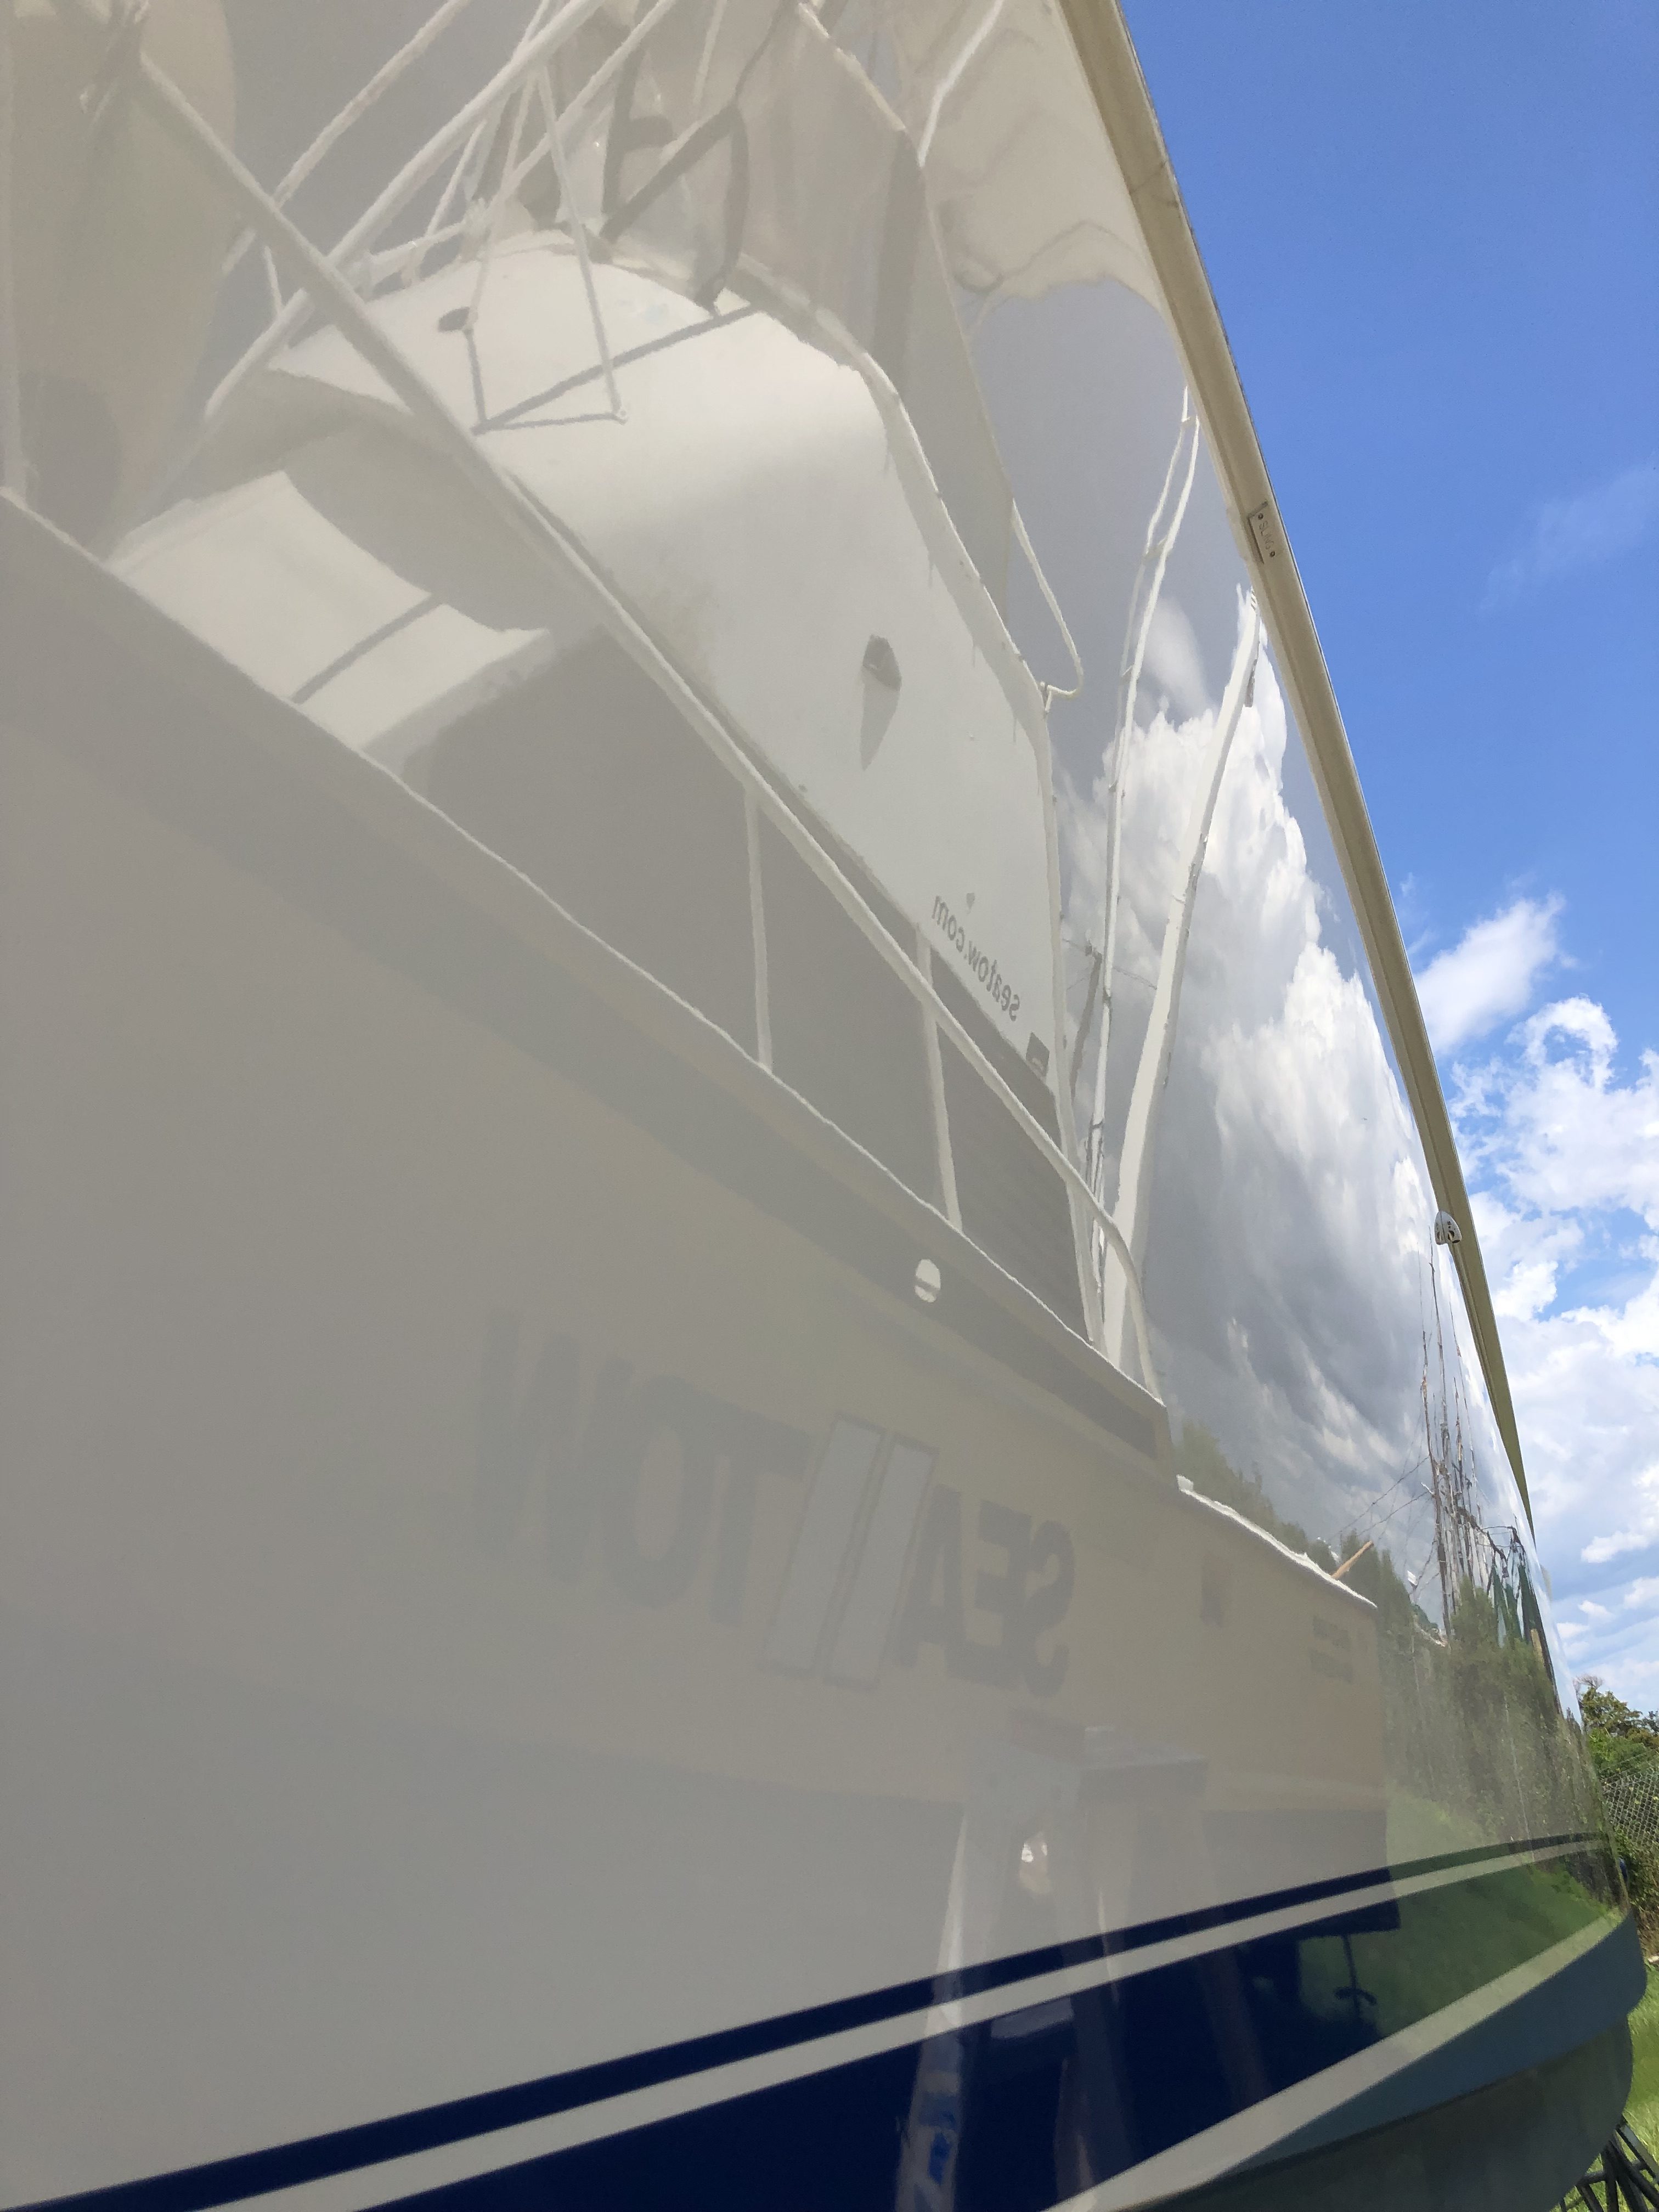
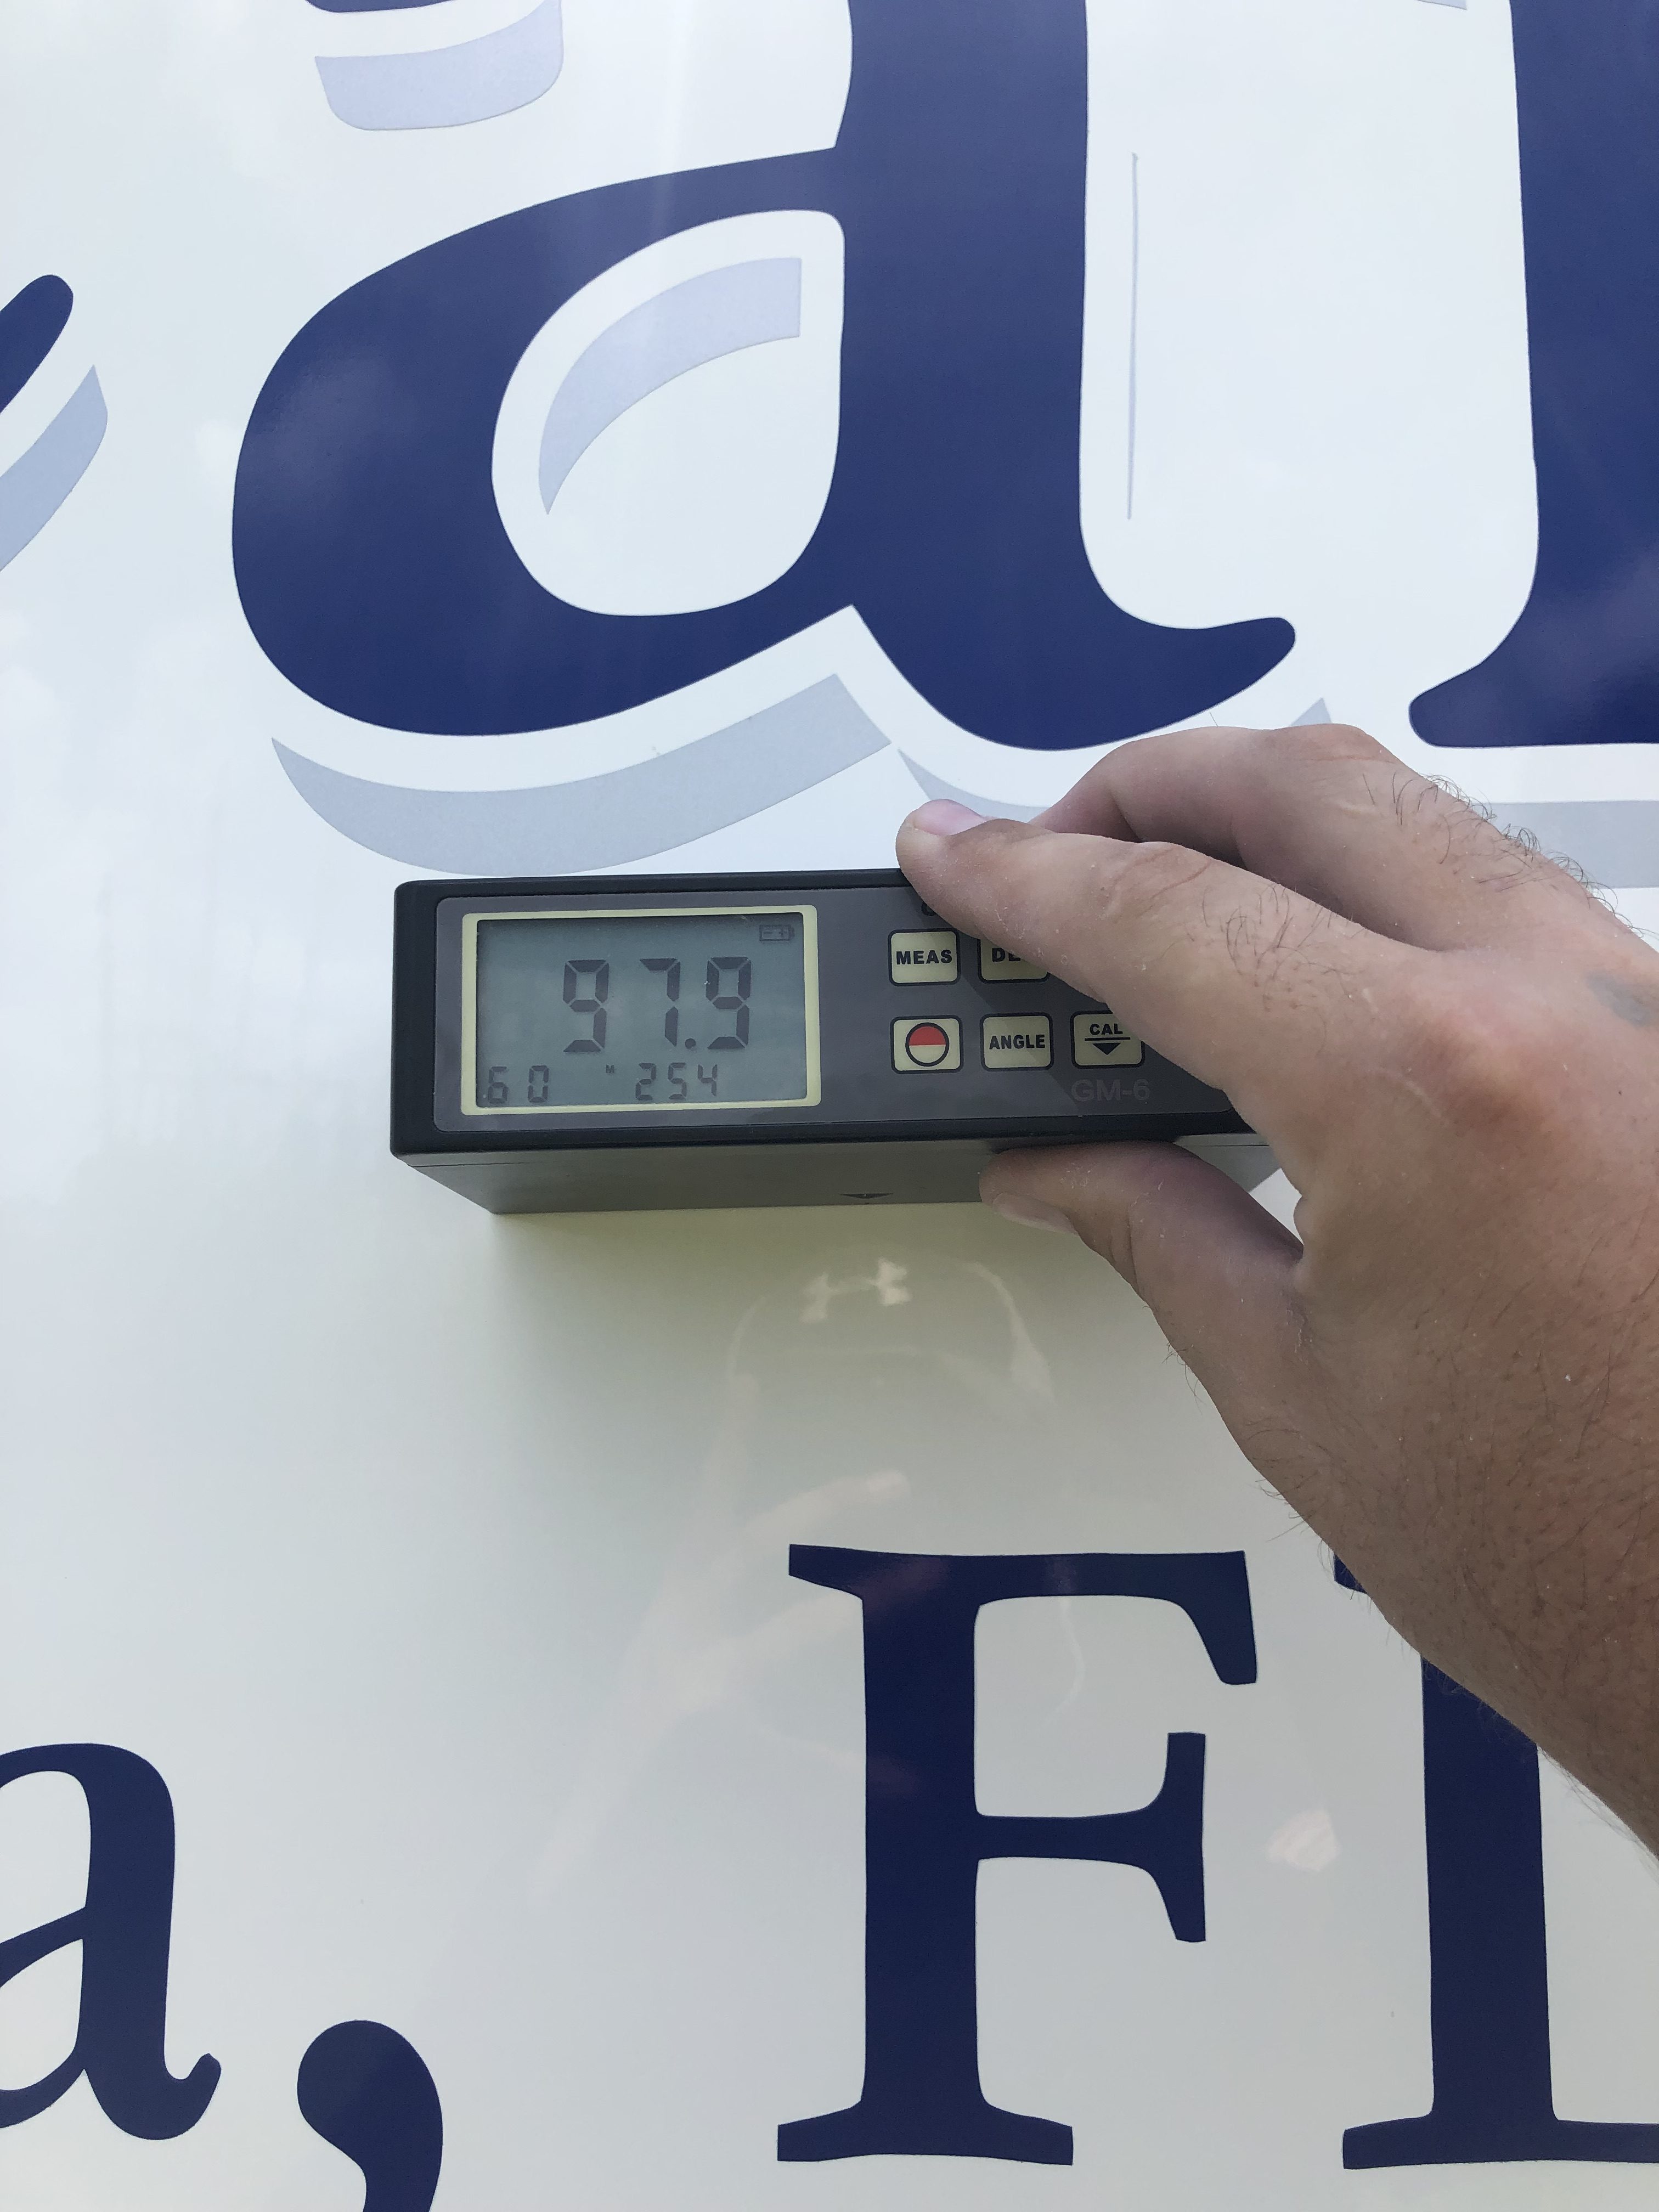
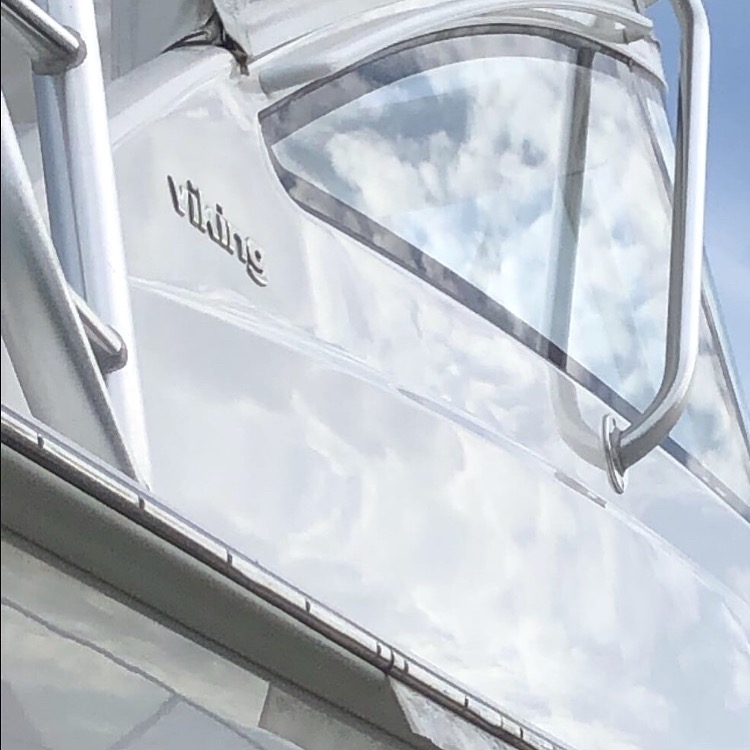
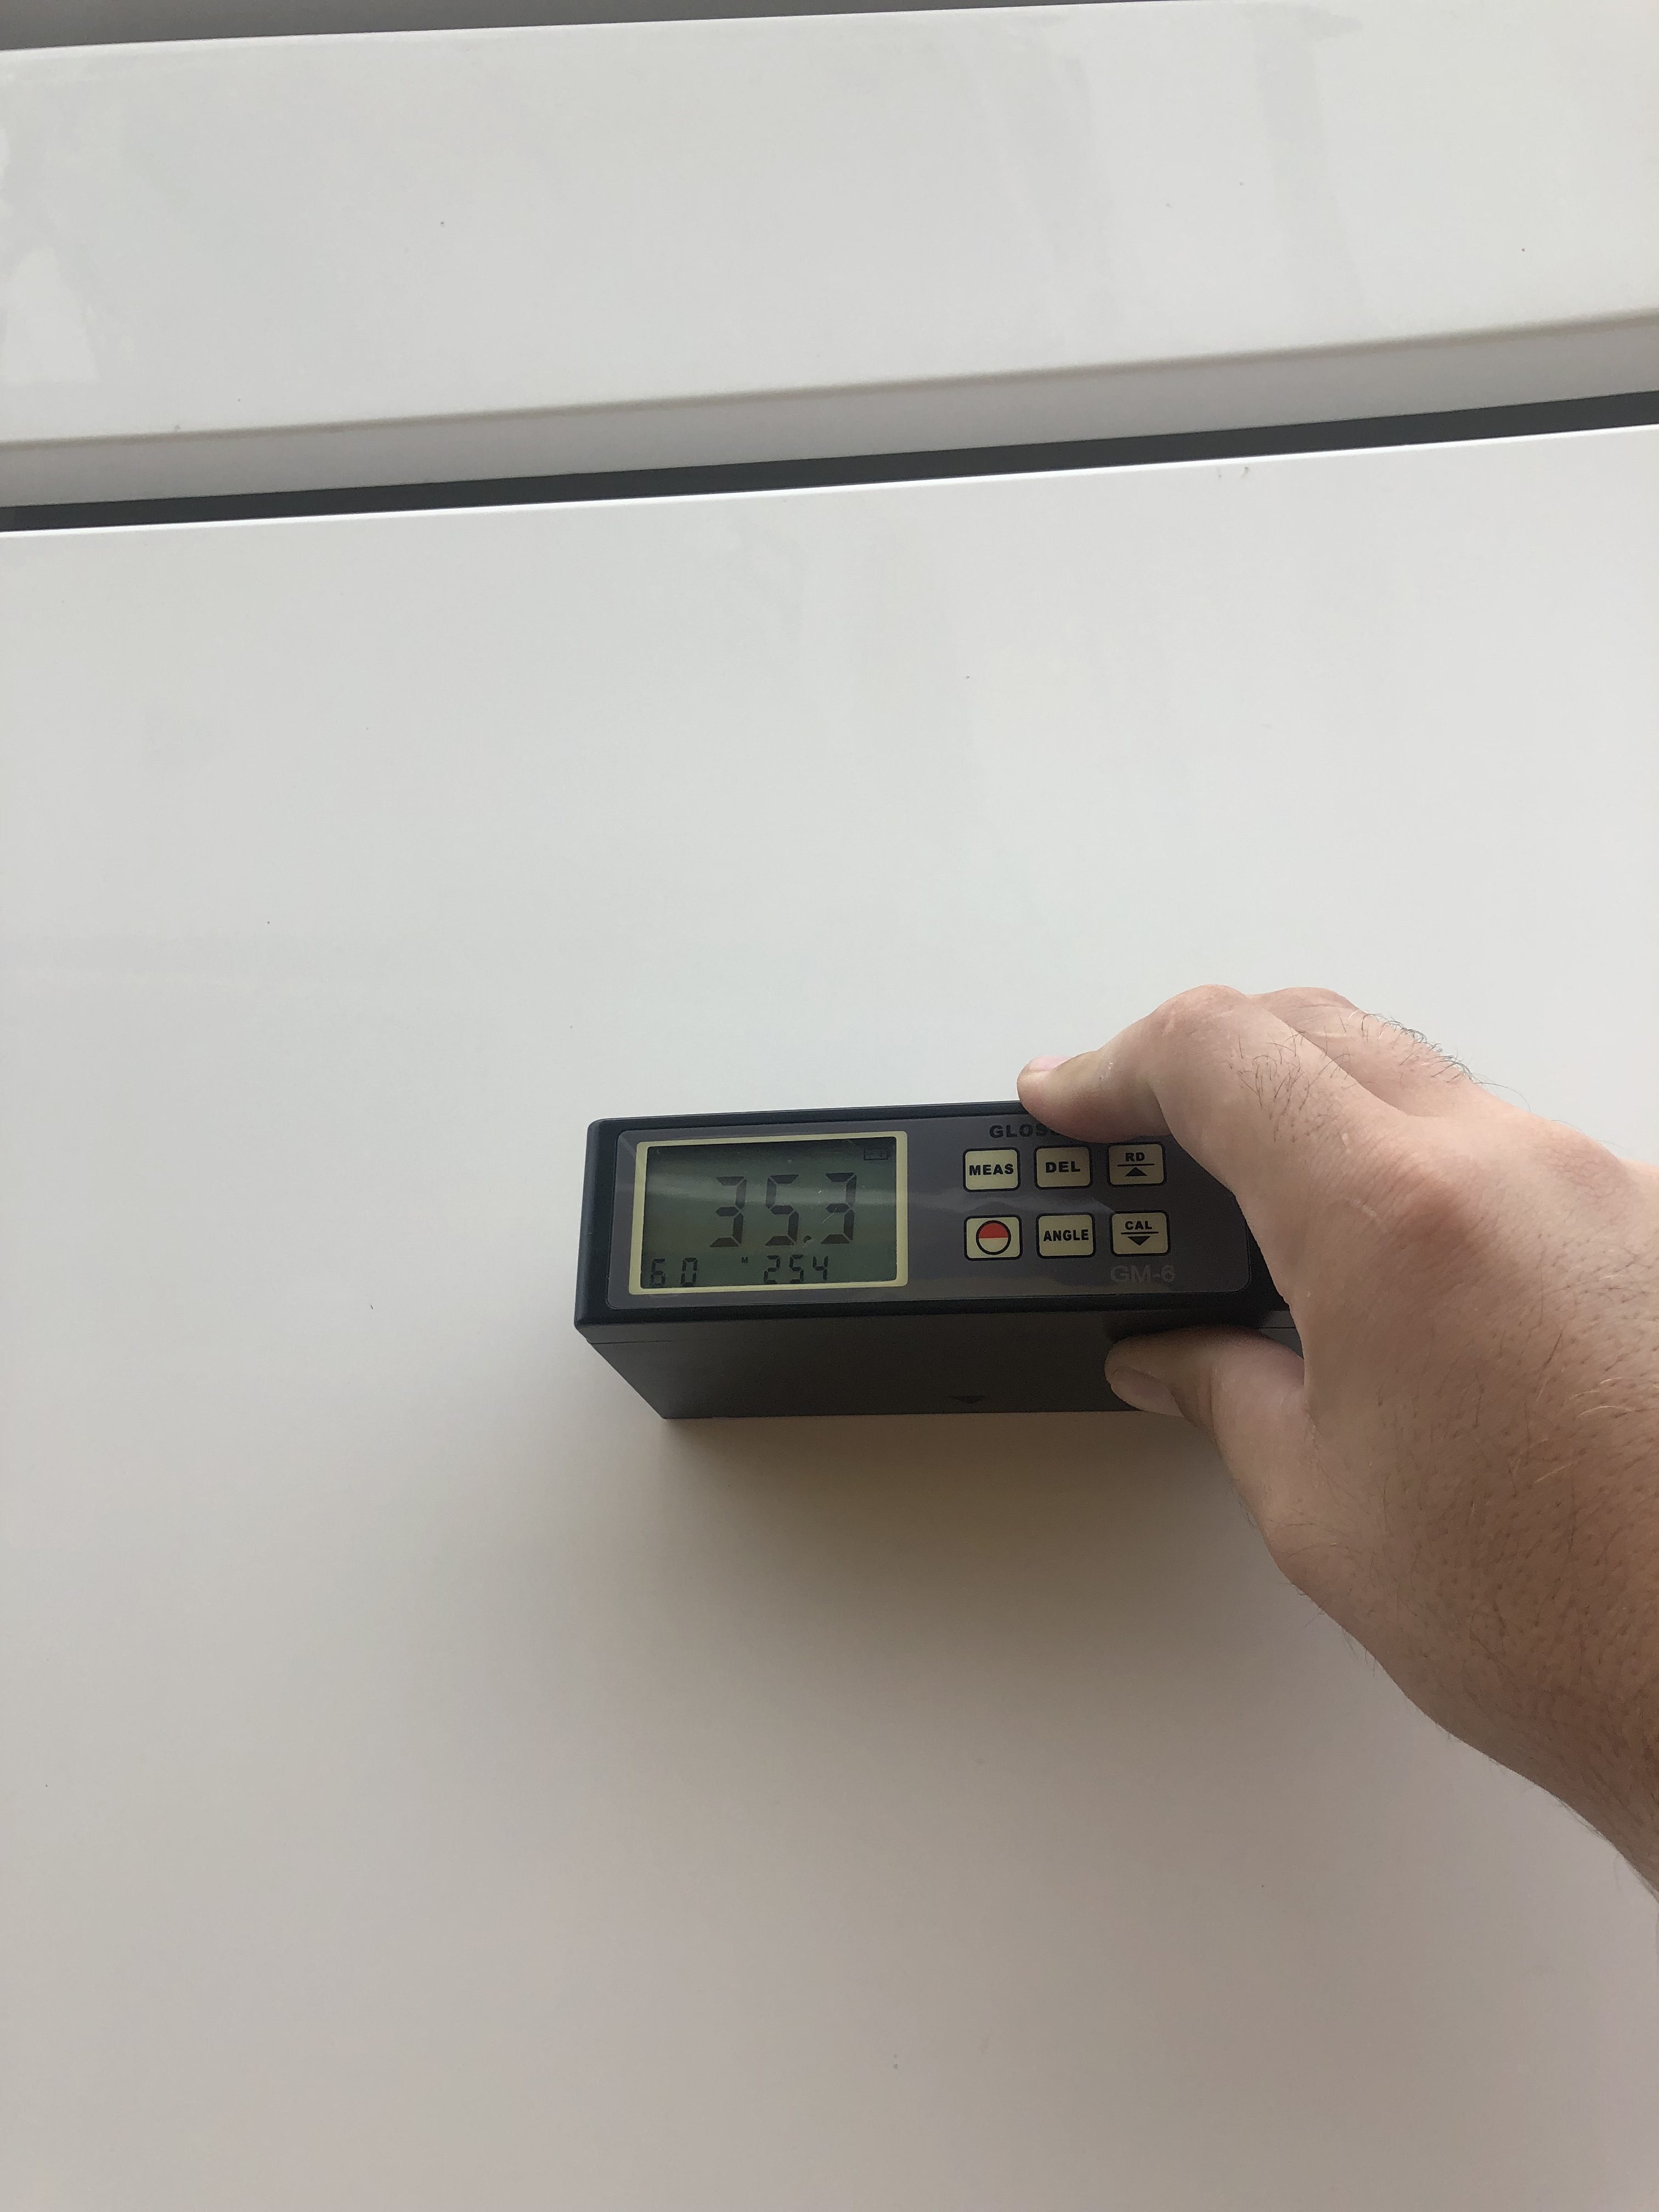
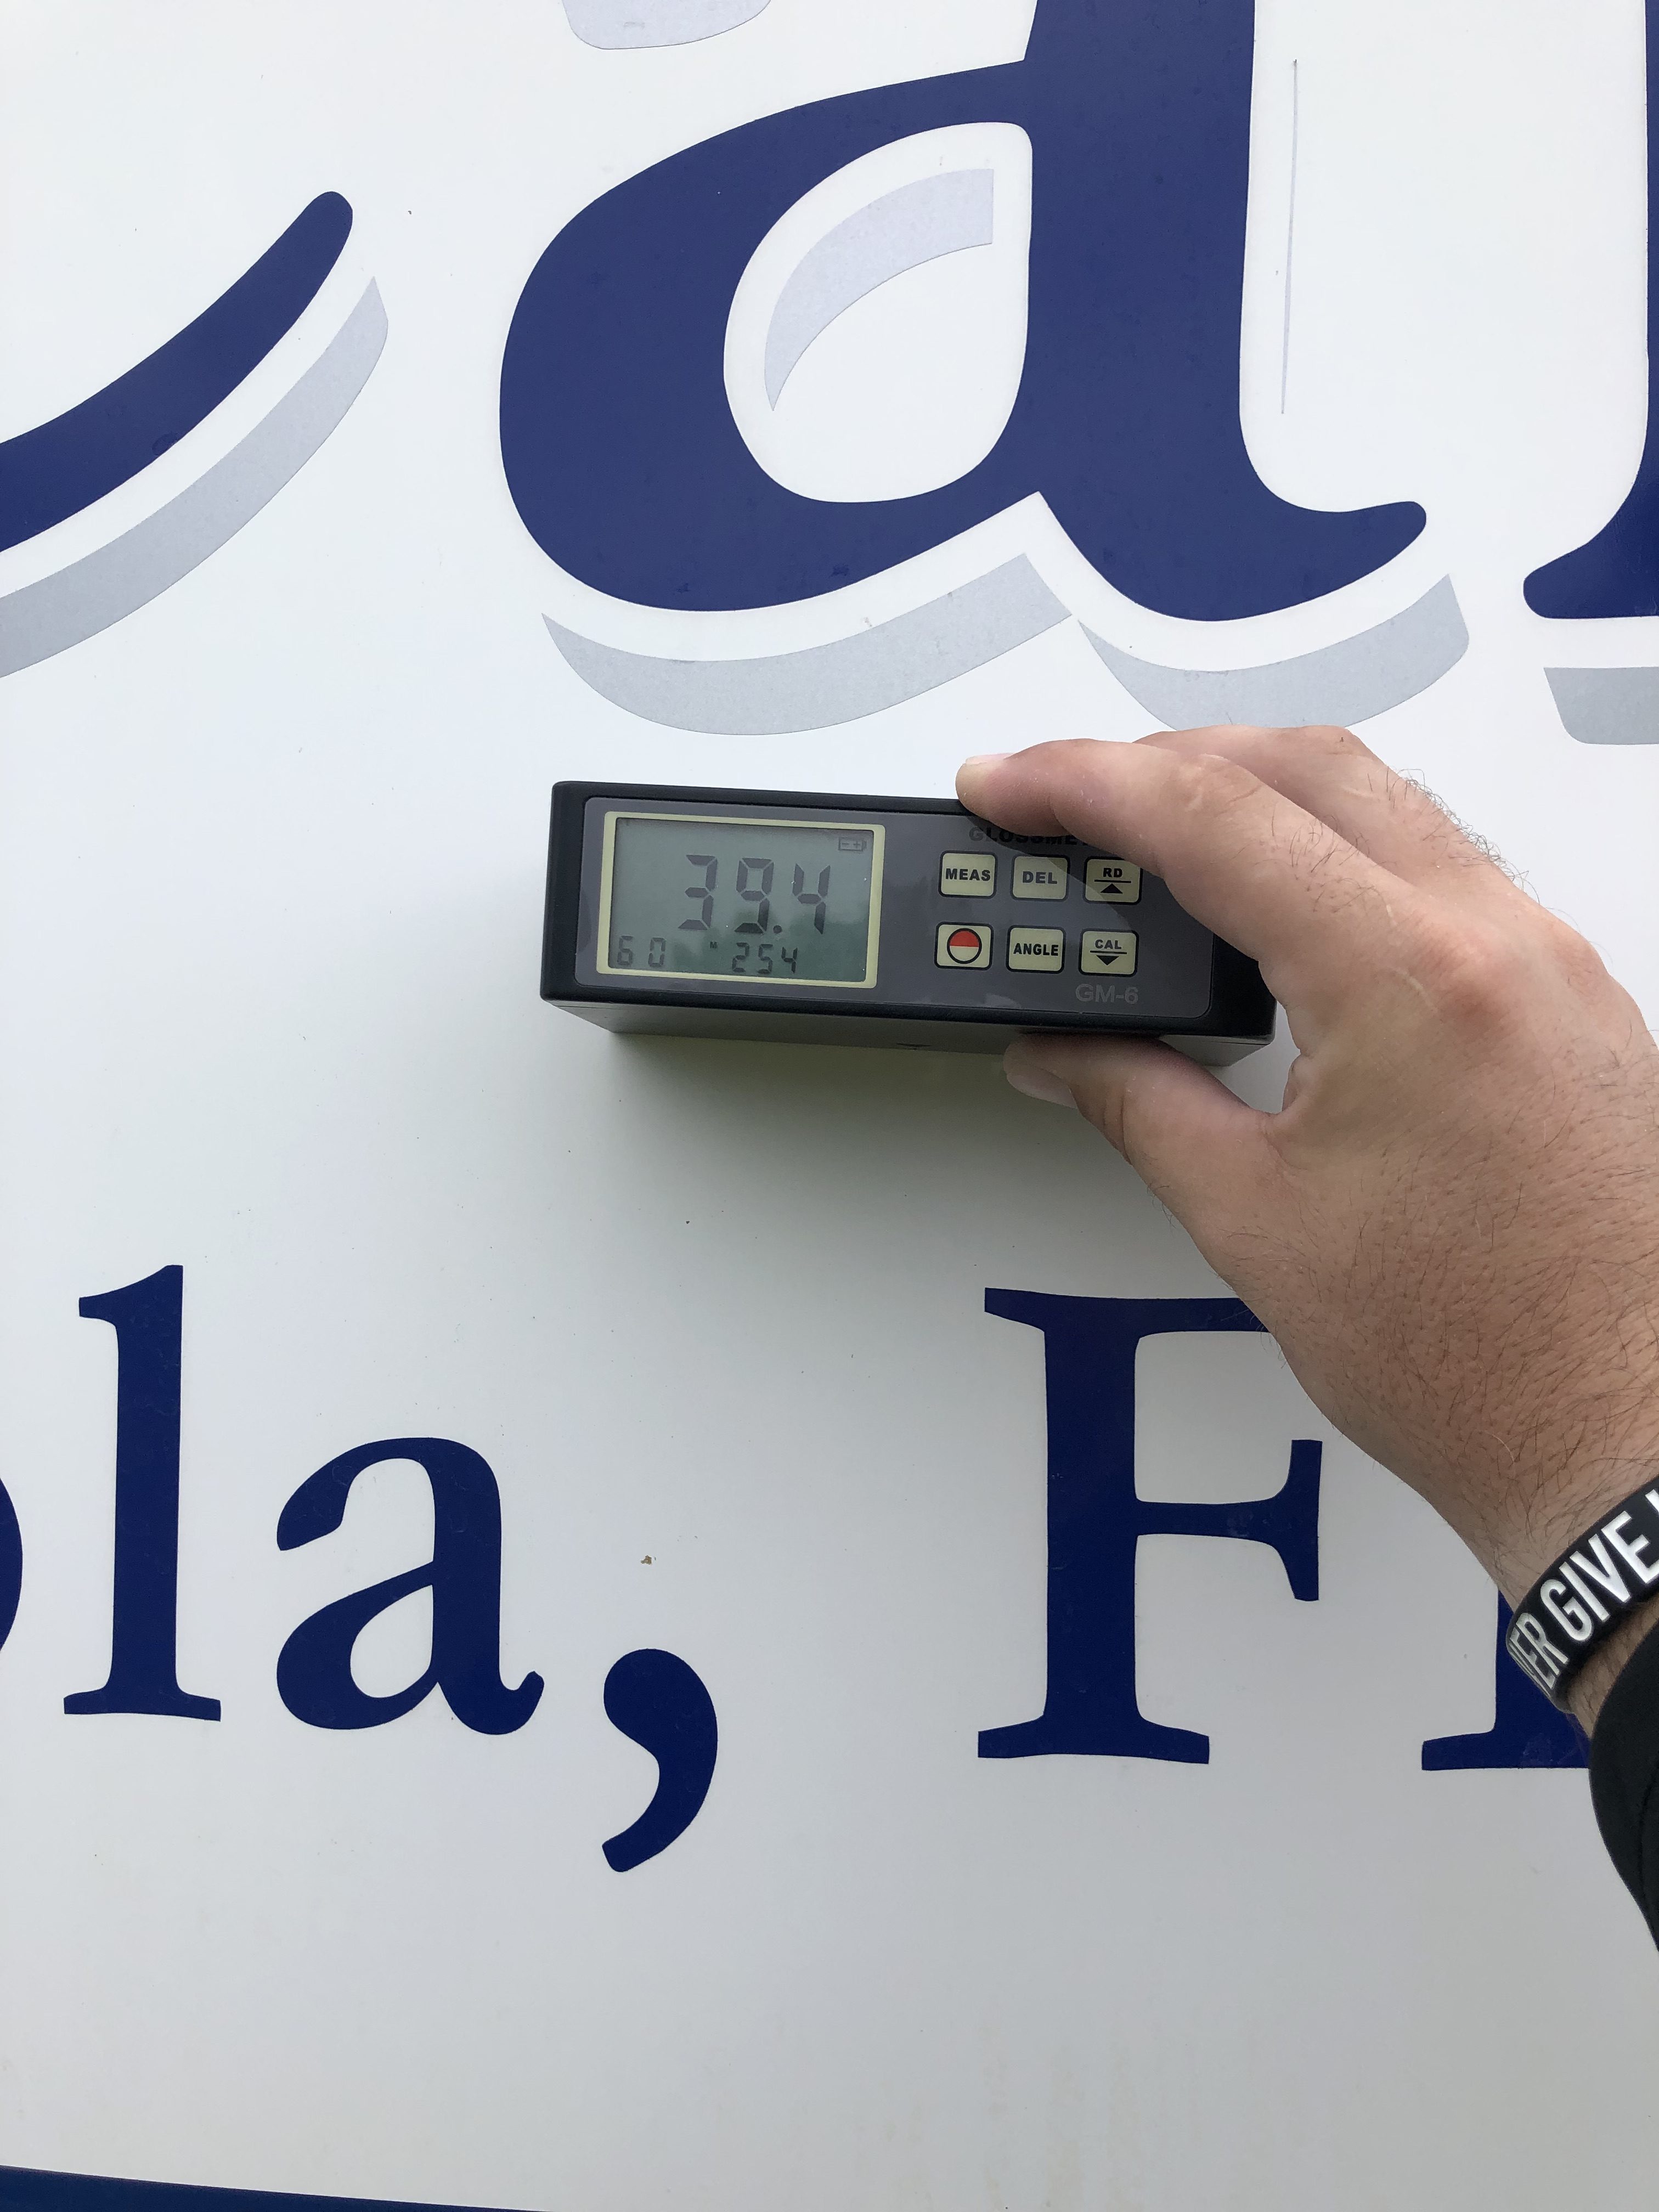
By following our multi-step ceramic coating process, this 2005 42' Viking went from a dull and oxidized surface with gloss meter readings as low as 35.3 to 97.9, which is approximately 12 - 15% higher than factory new.
- Boat Brand:
- Viking
- Length Overall:
- 42'
- Ceramic Coating To:
- Hull, Transom, Top Side, Tower & Vinyl Cushions
- Completion Time:
- 100 hours
- Project Completed By Authorized Glidecoat Detailer:
- All About The Details LLC
- Location:
- Apalachicola, FL
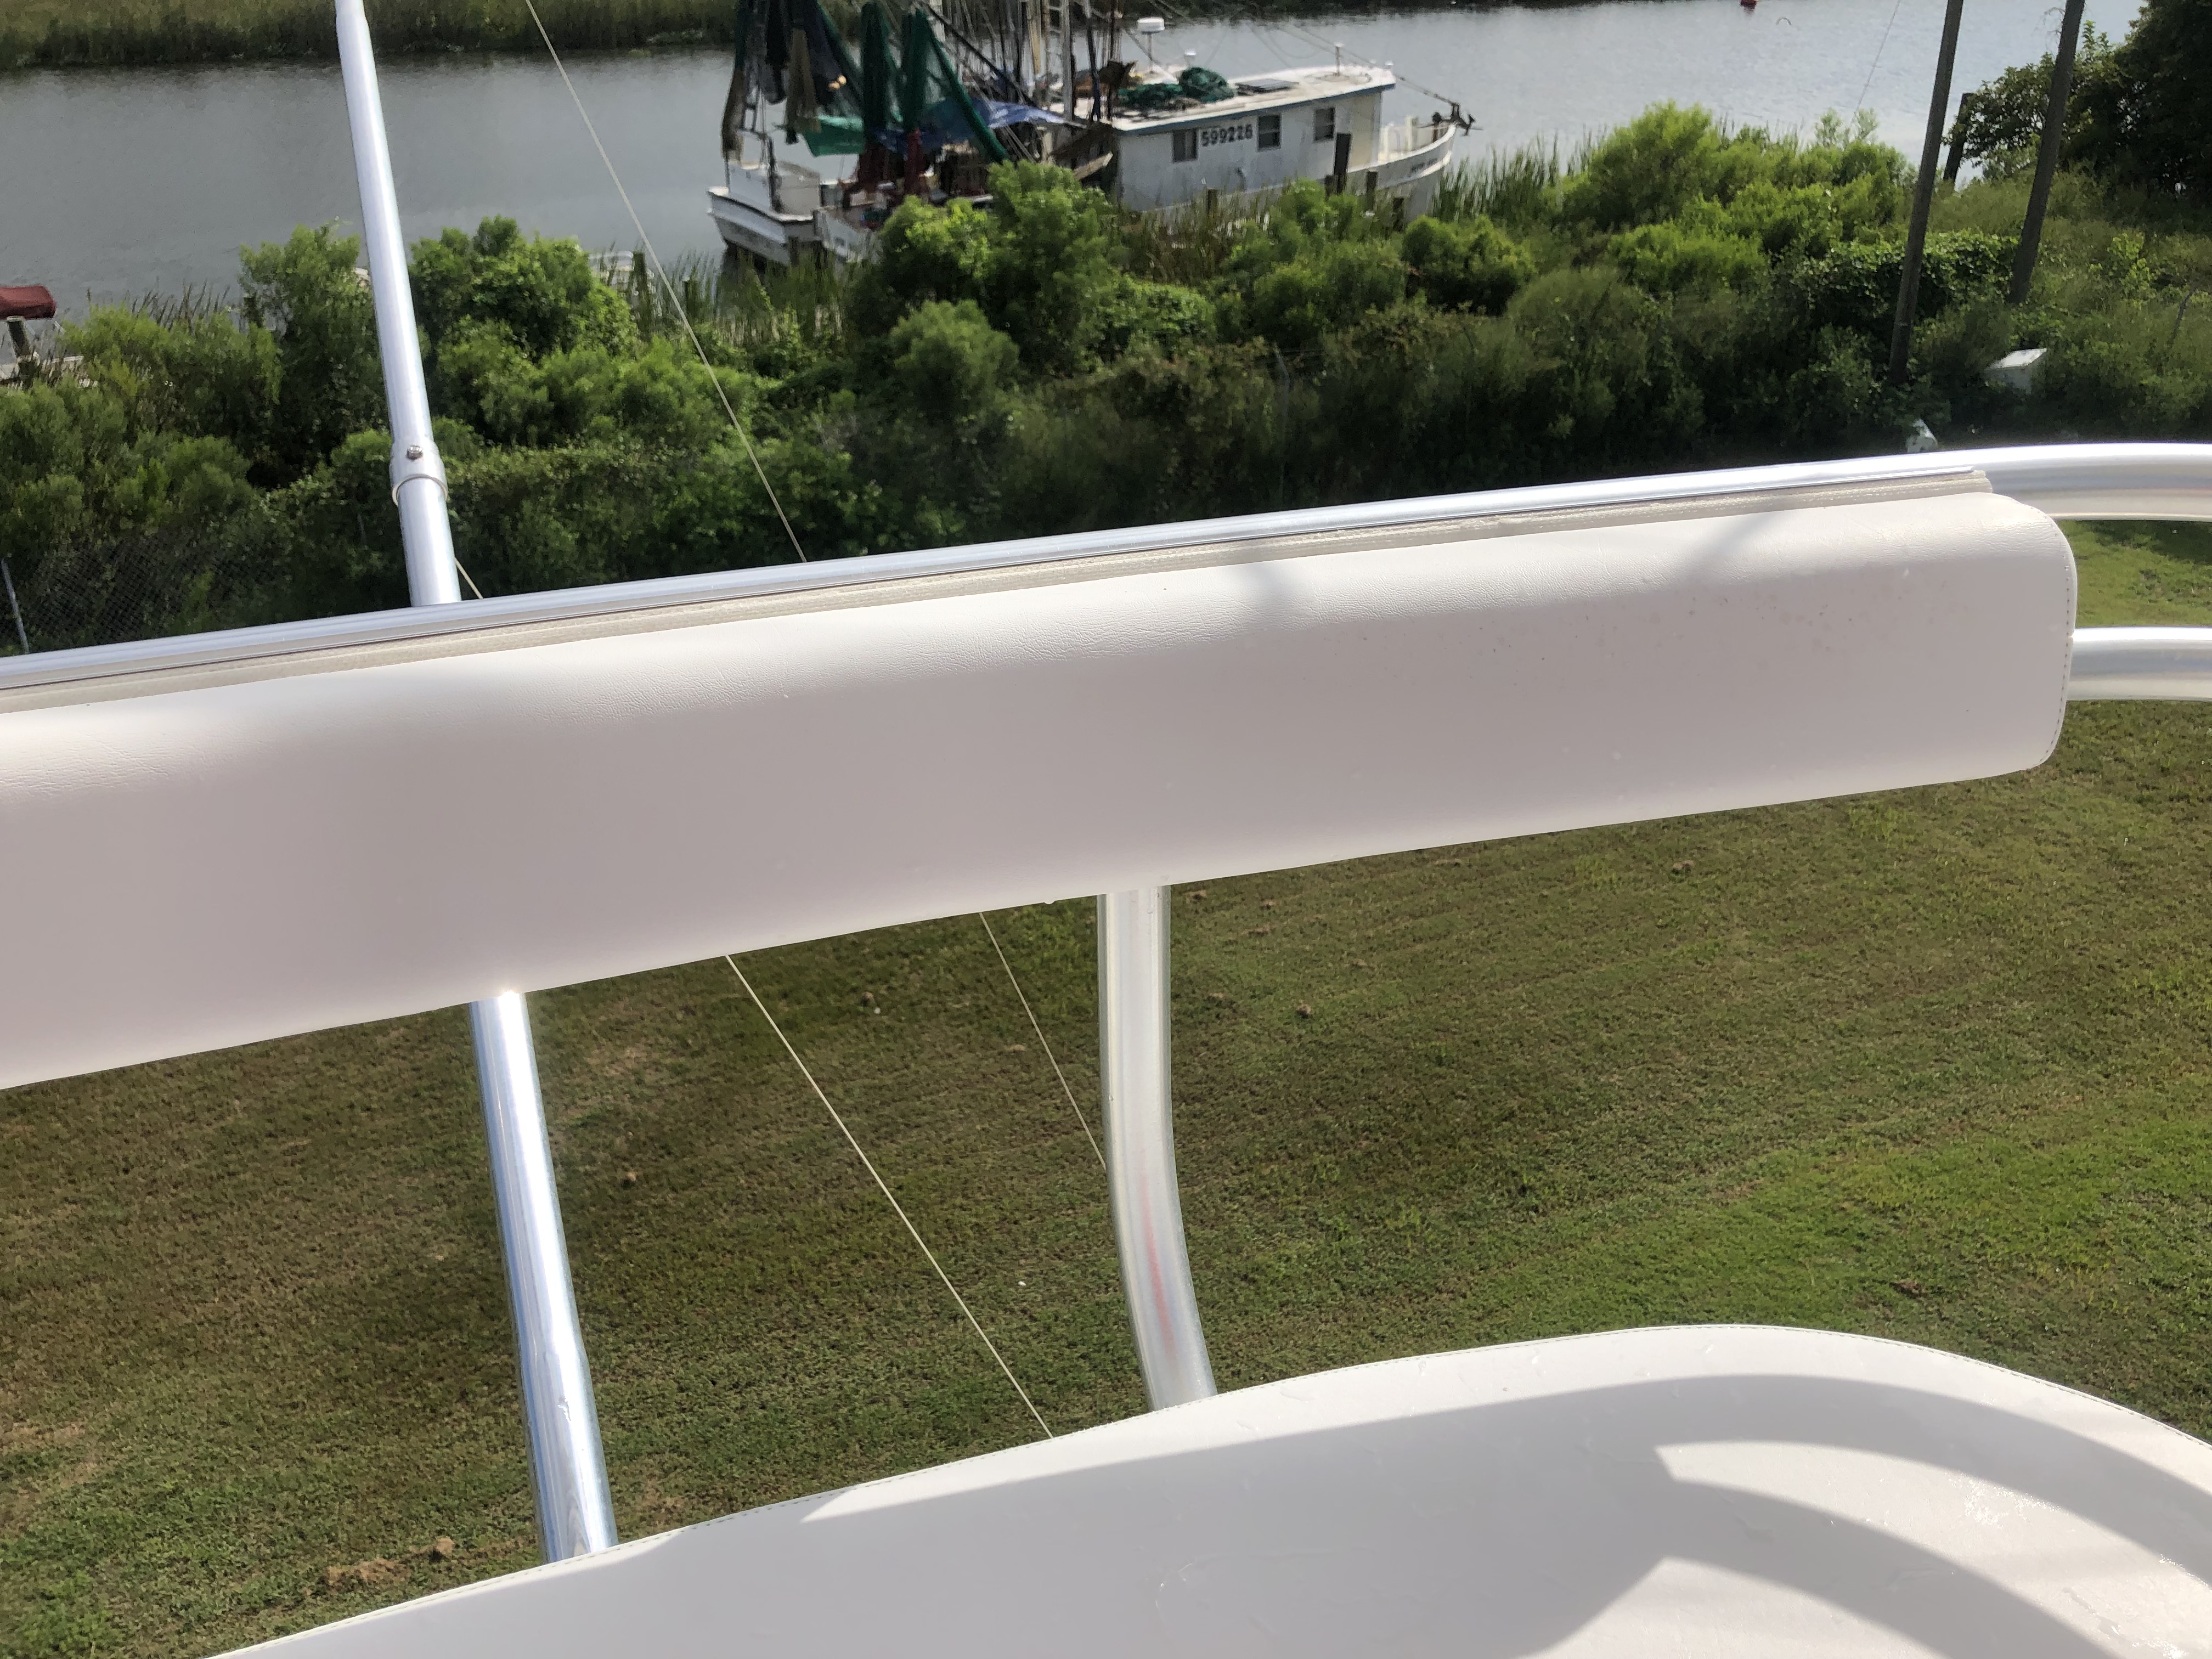
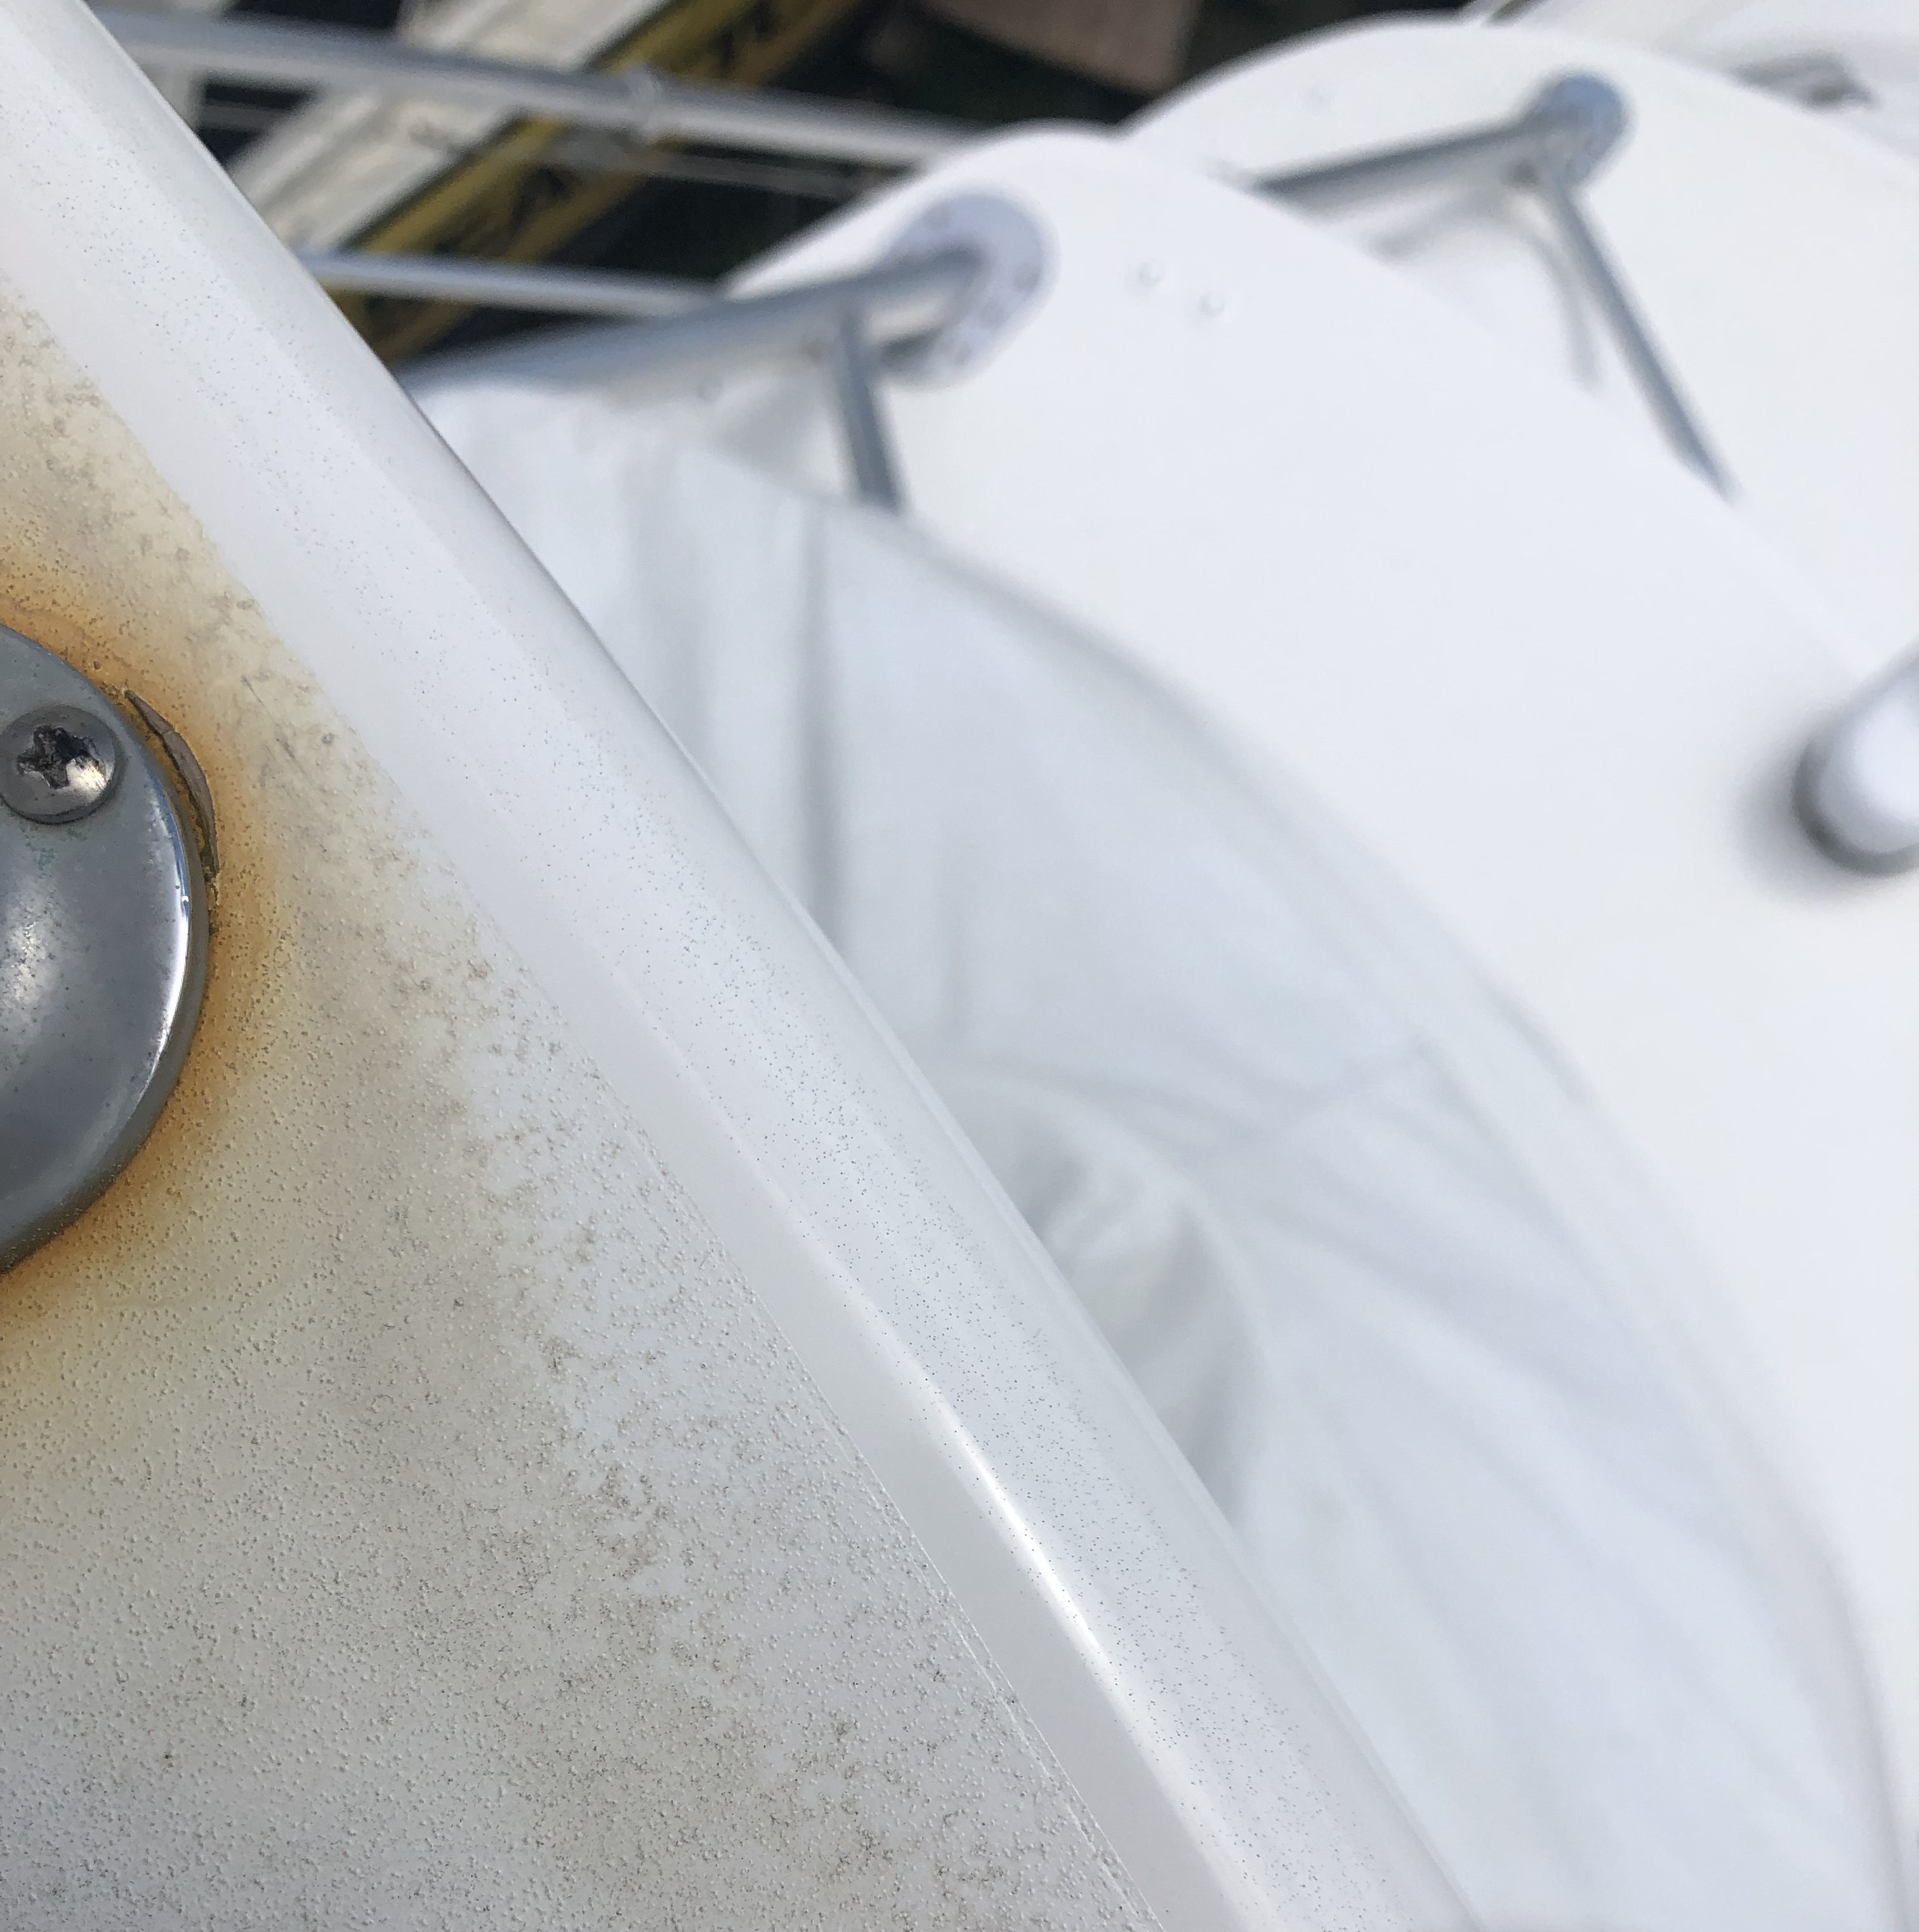
The 42' Viking needed some serious TLC to bring it back to life. Upon arriving at the boat, during the initial inspection, it was suffering from noticeable signs of oxidization, mold build up on cushions, signs of faded gel coat in select areas.
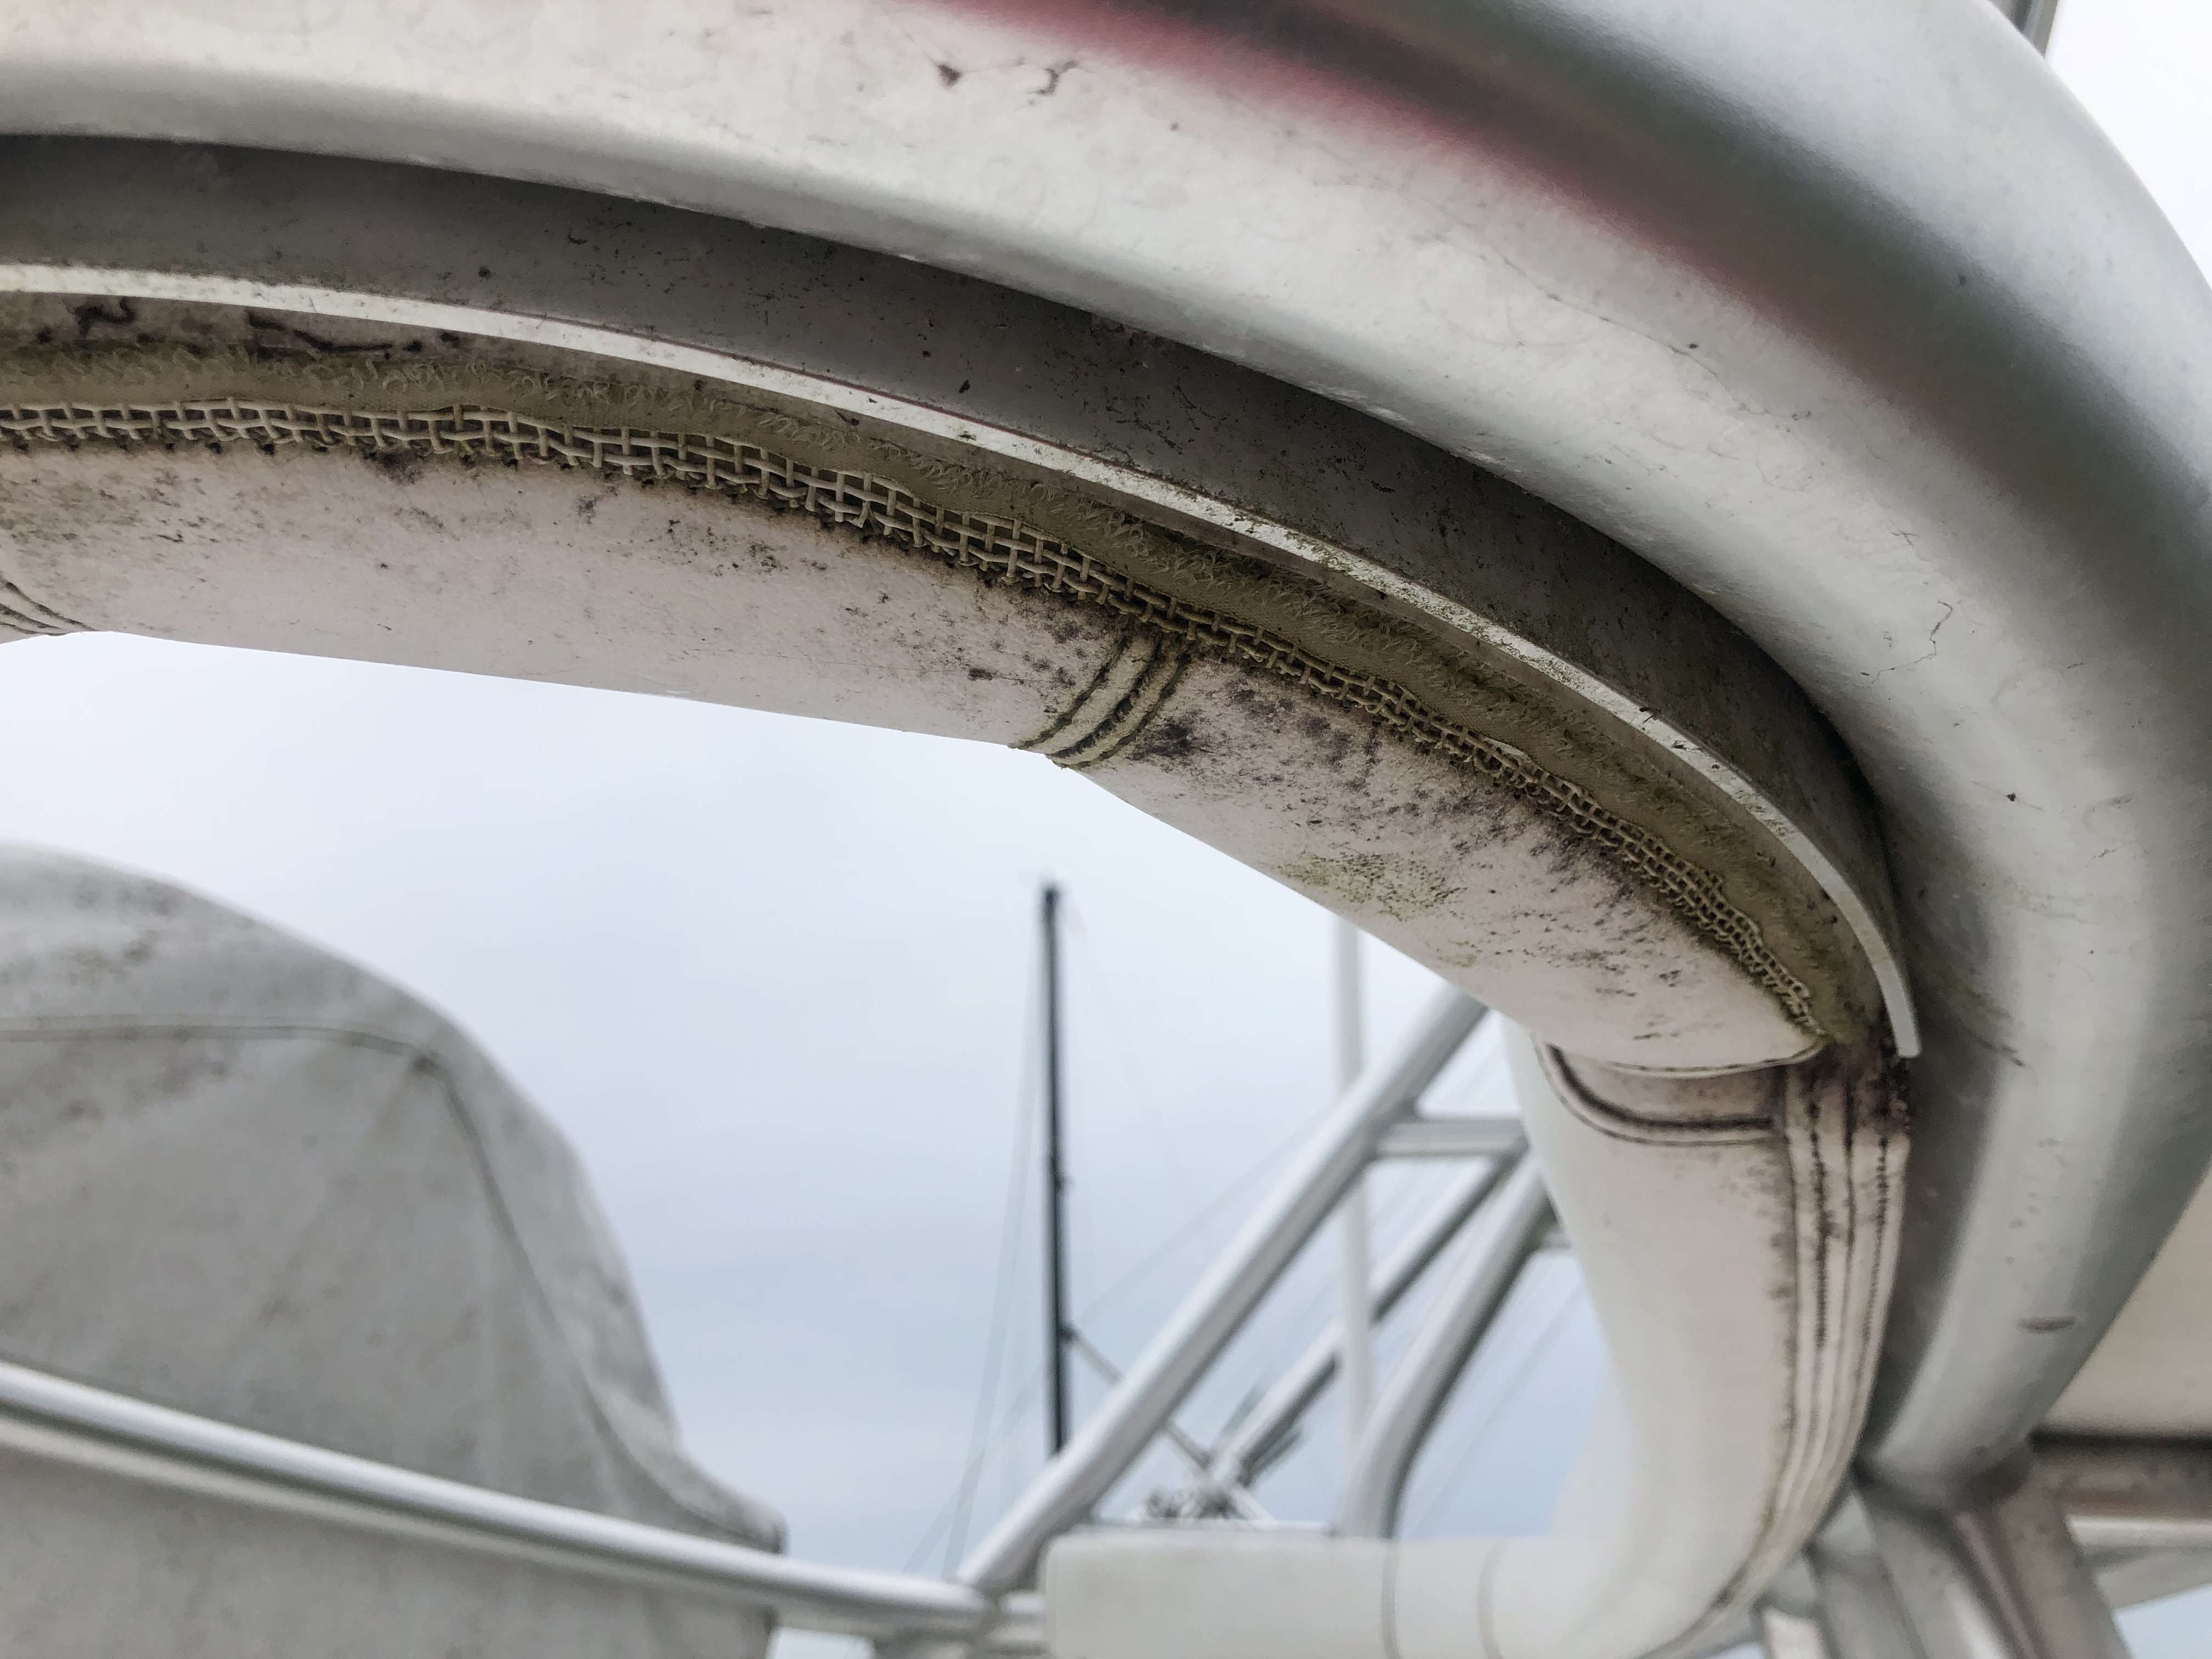
Anytime our service team or one of our authorized Glidecoat applicators is inspecting an older boat, we are looking for any signs to show little gel coat is left on the surface. The indicator is tiny little black spots. As shown in the photo below, you can see the Viking was battling no more gel coat on the outer edge of the top of the tower. To prevent any further damage, we recommend you to proceed cautiously with your buffing .

The Ceramic Coating Process
One of the realities in the marine industry, is that each and every boat has it's own characteristics and completing several test spots around the boat is essential to understand the best approach for the boat. As a baseline, our ceramic coating process is 6 steps;
Step #1 - Wash and dry the boat
Step #2 - Compound with a buffer
Step #3 - Polish with a Rupes polisher
Step #4 - Sterilize the intended sections with Surface Wipe
Step #5 - Apply first coat of ceramic coating
Step #6 - Apply second coat of ceramic coating
Considering the condition of boats varies drastically from owner to owner, it may require several additional buffing steps prior to the ceramic coating application. A general rule, is that you want the surface to be in as good of condition as possible before applying the ceramic coating, as it will seal in the surface. Any blemishes, oxidization or swirl marks will then be locked in for a minimum of two years, or until the next re-application.
Additional Restoration For Ceramic Coating Process
This particular boat required several additional restorations steps to our baseline process to ensure the oxidization was properly removed and boost the gloss meter readings back into the 80's (before ceramic coating application).
To remove the oxidization from the surface, Thomas needed the use of wool pad with several buffing steps and our nano compound. This buffing step will show the most significant jump in the shine levels of the surface, but also, may leave some swirl marks in the surface from the heavy abrasion of the wool pad.
As a result, you always need to use of medium grade and soft foam pad as well as a Rupes polisher (recommended polisher) to help smooth out the surface and eliminate those subtle imperfections in the surface. For this particular project, Thomas was required to complete the additional steps with wool then finish off with multiple steps with the polisher to get the gloss meter readings back to our expectation, which is at least in the 80's before applying the ceramic coating.

