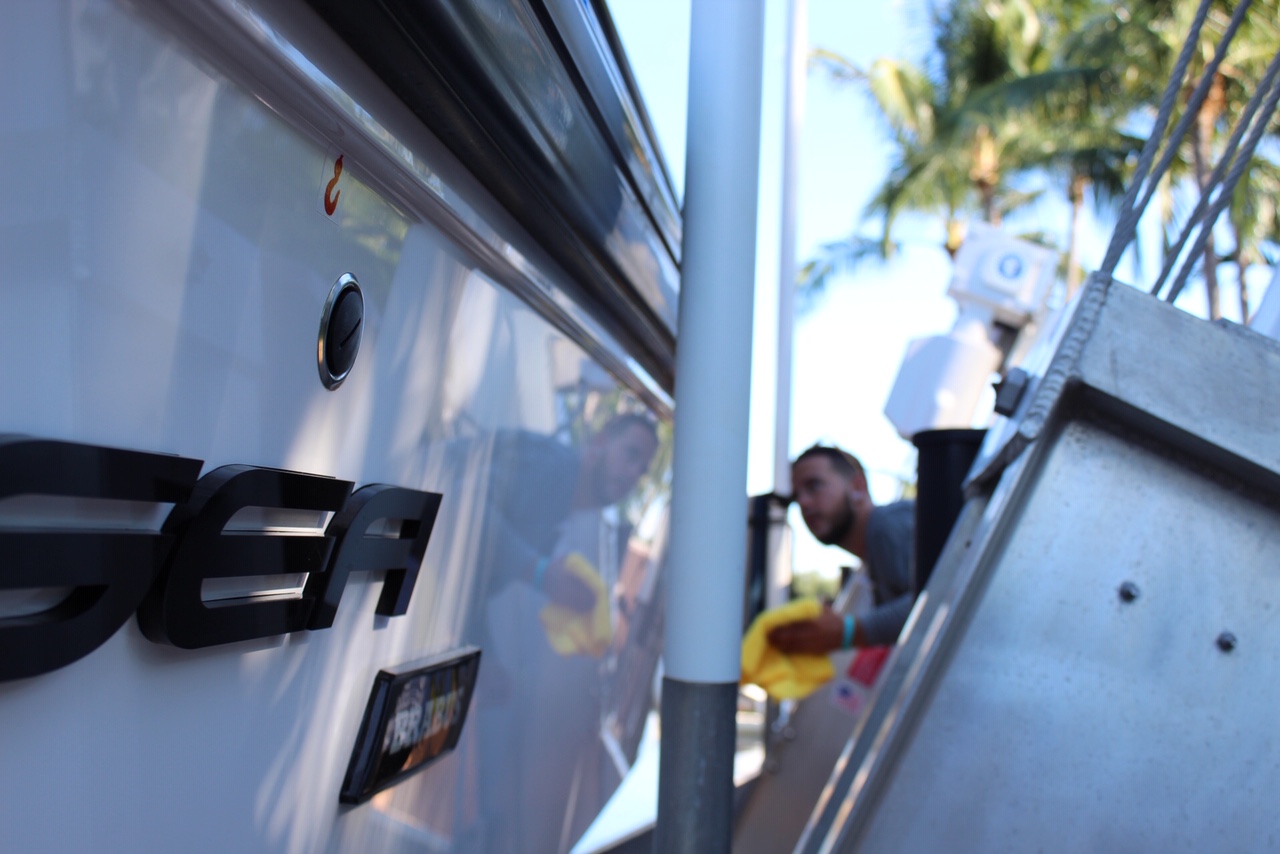
El propietario de este Axopar 2019 37' estaba interesado en conocer las ventajas del revestimiento cerámico para proteger su reciente adquisición. Una de nuestras funciones en Glidecoat es ayudar a los detallistas de embarcaciones locales a aprender el proceso de aplicación de revestimientos cerámicos para barcos para completar adecuadamente un proyecto como este Axopar 37'.
Alfredo y su equipo de Wax Mobile Services nos fueron presentados a través de un contacto mutuo y durante los últimos meses, se ha unido a nuestro equipo de servicio para ayudar a completar otras aplicaciones revestimiento cerámico para barcos para asegurarse de que sabía cómo completar adecuadamente este servicio de primera calidad para sus clientes.
Uno de los clientes de Alfredo, el propietario de este Axopar 37', quería seguir adelante con el proceso de aplicación de revestimiento cerámico para barcos. Este estudio de caso ayudará a demostrar todo el proceso de aplicación de revestimiento cerámico para barcos,los aprendizajes clave para el equipo de Wax Mobile Services y los resultados después de que se completó el proyecto.
- Marca del Barco:
- Axopar
- Longitud Total:
- 37'
- Revestimiento Cerámico A:
- Hull
- Tiempo de finalización:
- 3.5 Days
- Proyecto realizado por un detallista autorizado de Glidecoat:
- Wax Mobile Services
- Ubicación:
- Ft. Lauderdale, FL
For this project, Glidecoat agreed to assist in training the entire team at Wax Mobile Services and oversee the boat ceramic coating application process to ensure it went smoothly. Considering boat ceramic coating was new to most of the staff at Wax Mobile Services, it was important to complete a thorough training for their team to understand the differences when completing a boat ceramic coating application process compared to the traditional buff and wax approach.
A number of those differences included;
1). Complete surface restorations to ensure swirls marks are removed from the surface before applying the boat ceramic coating
2). Complete a minimum of 4 steps to every surface on the boat
3). Be aware of the surface temperature and plan your boat ceramic coating time
4). Complete small sections in the high sun exposed areas
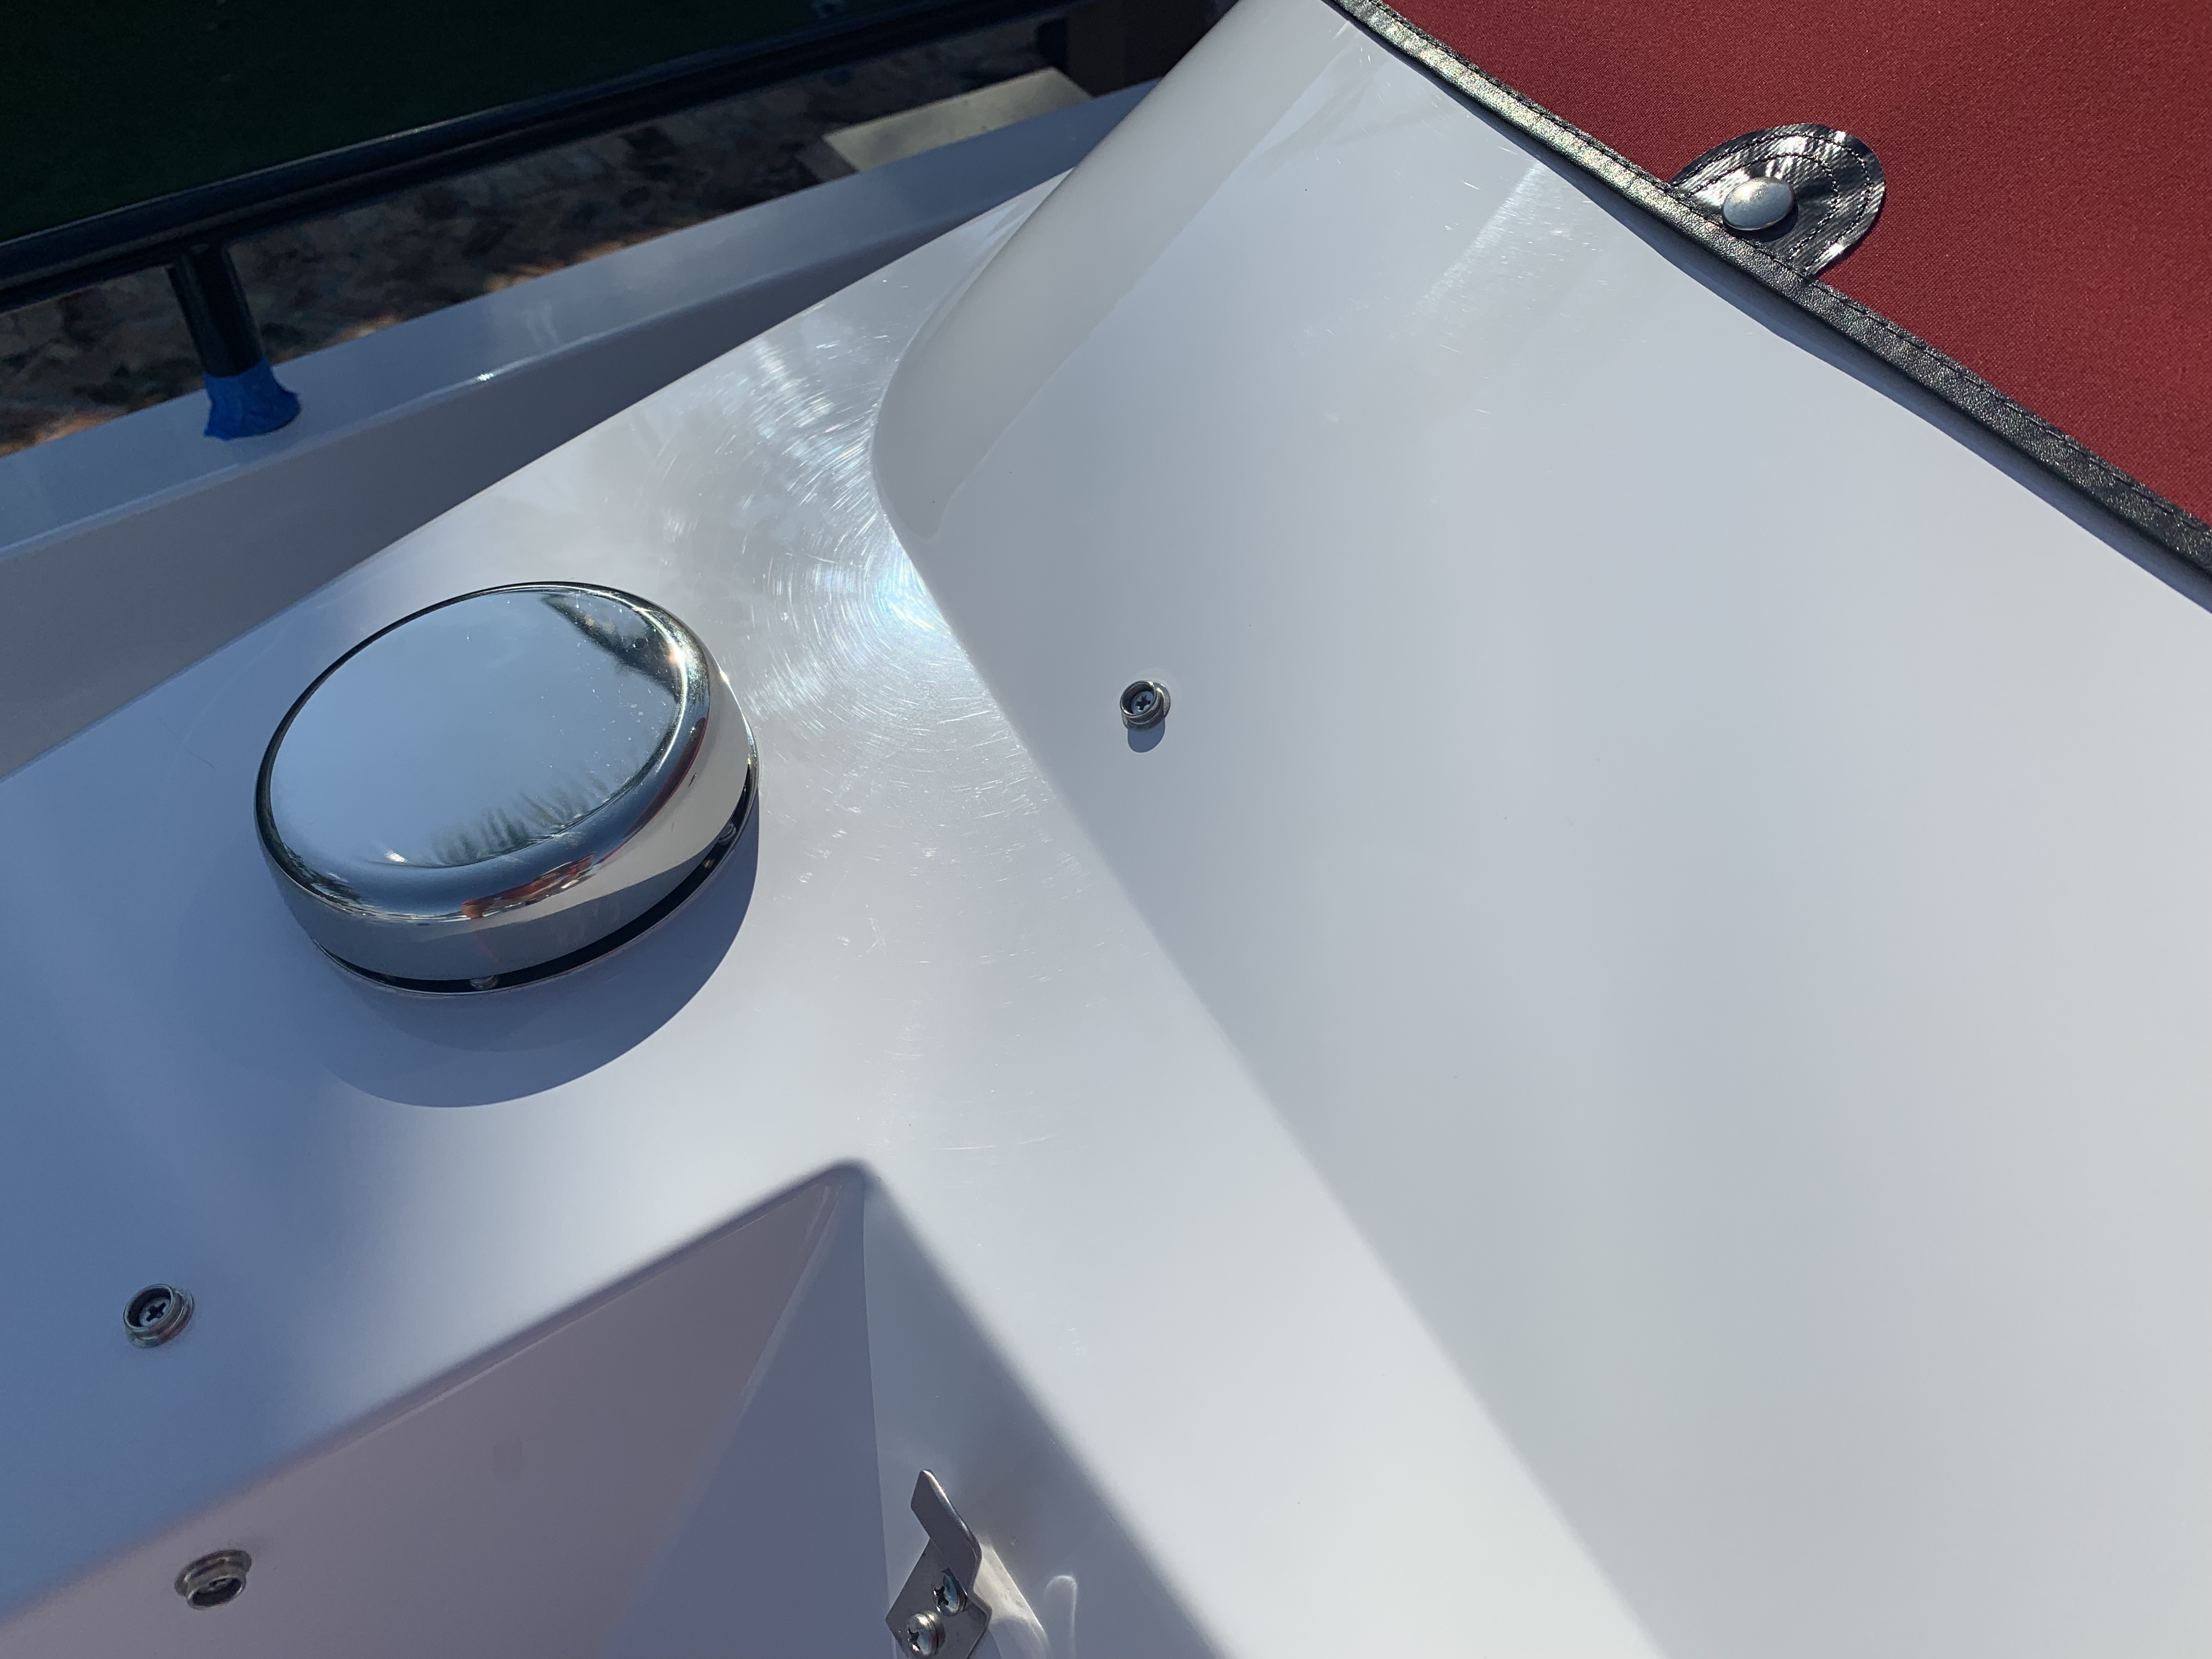
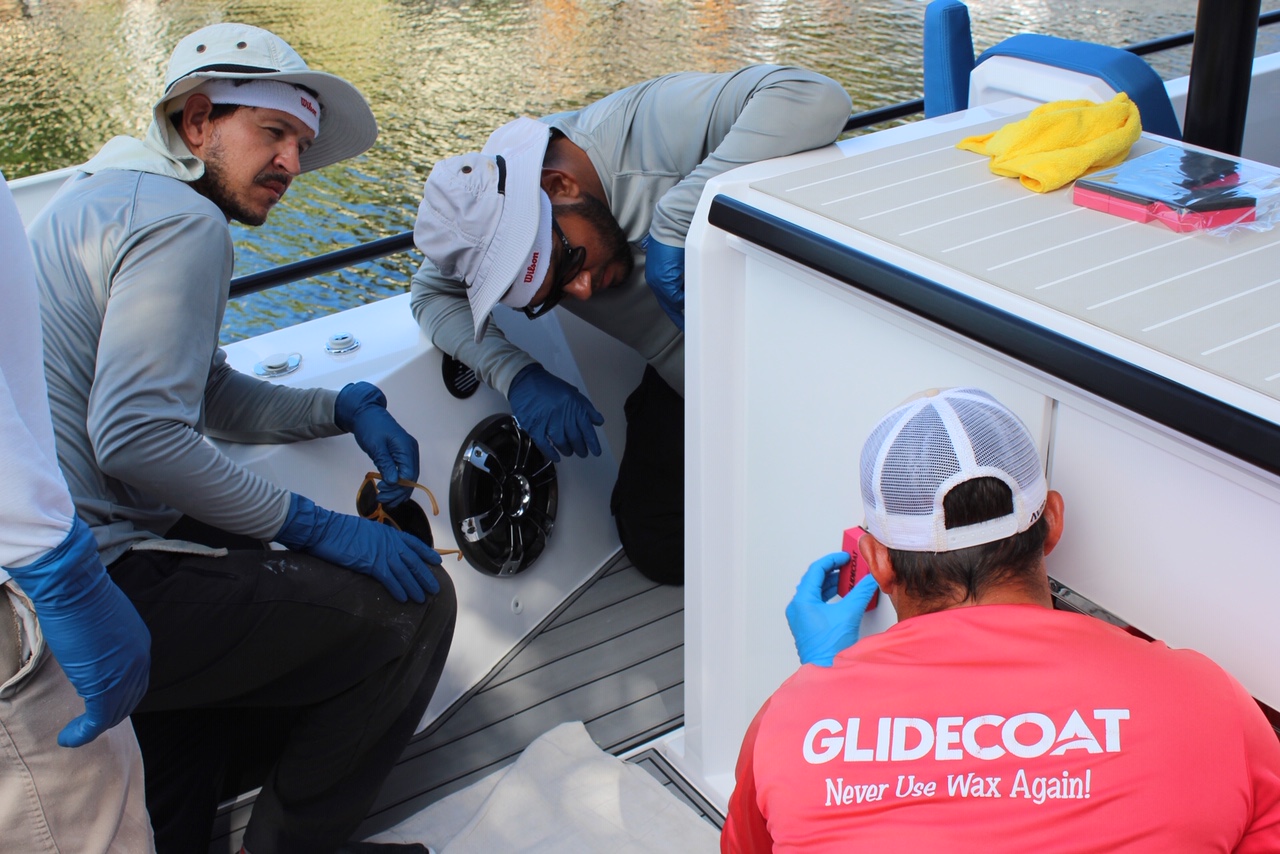
Unfortunately, even on brand new boats, you will notice a number of surface imperfections during close inspection. During project set up, we walked through the entire boat and used a light to help us discover any swirls marks or other imperfections in the surface. As shown in the photo below, the noticeable swirls marks in the surface before the boat ceramic coating application process.
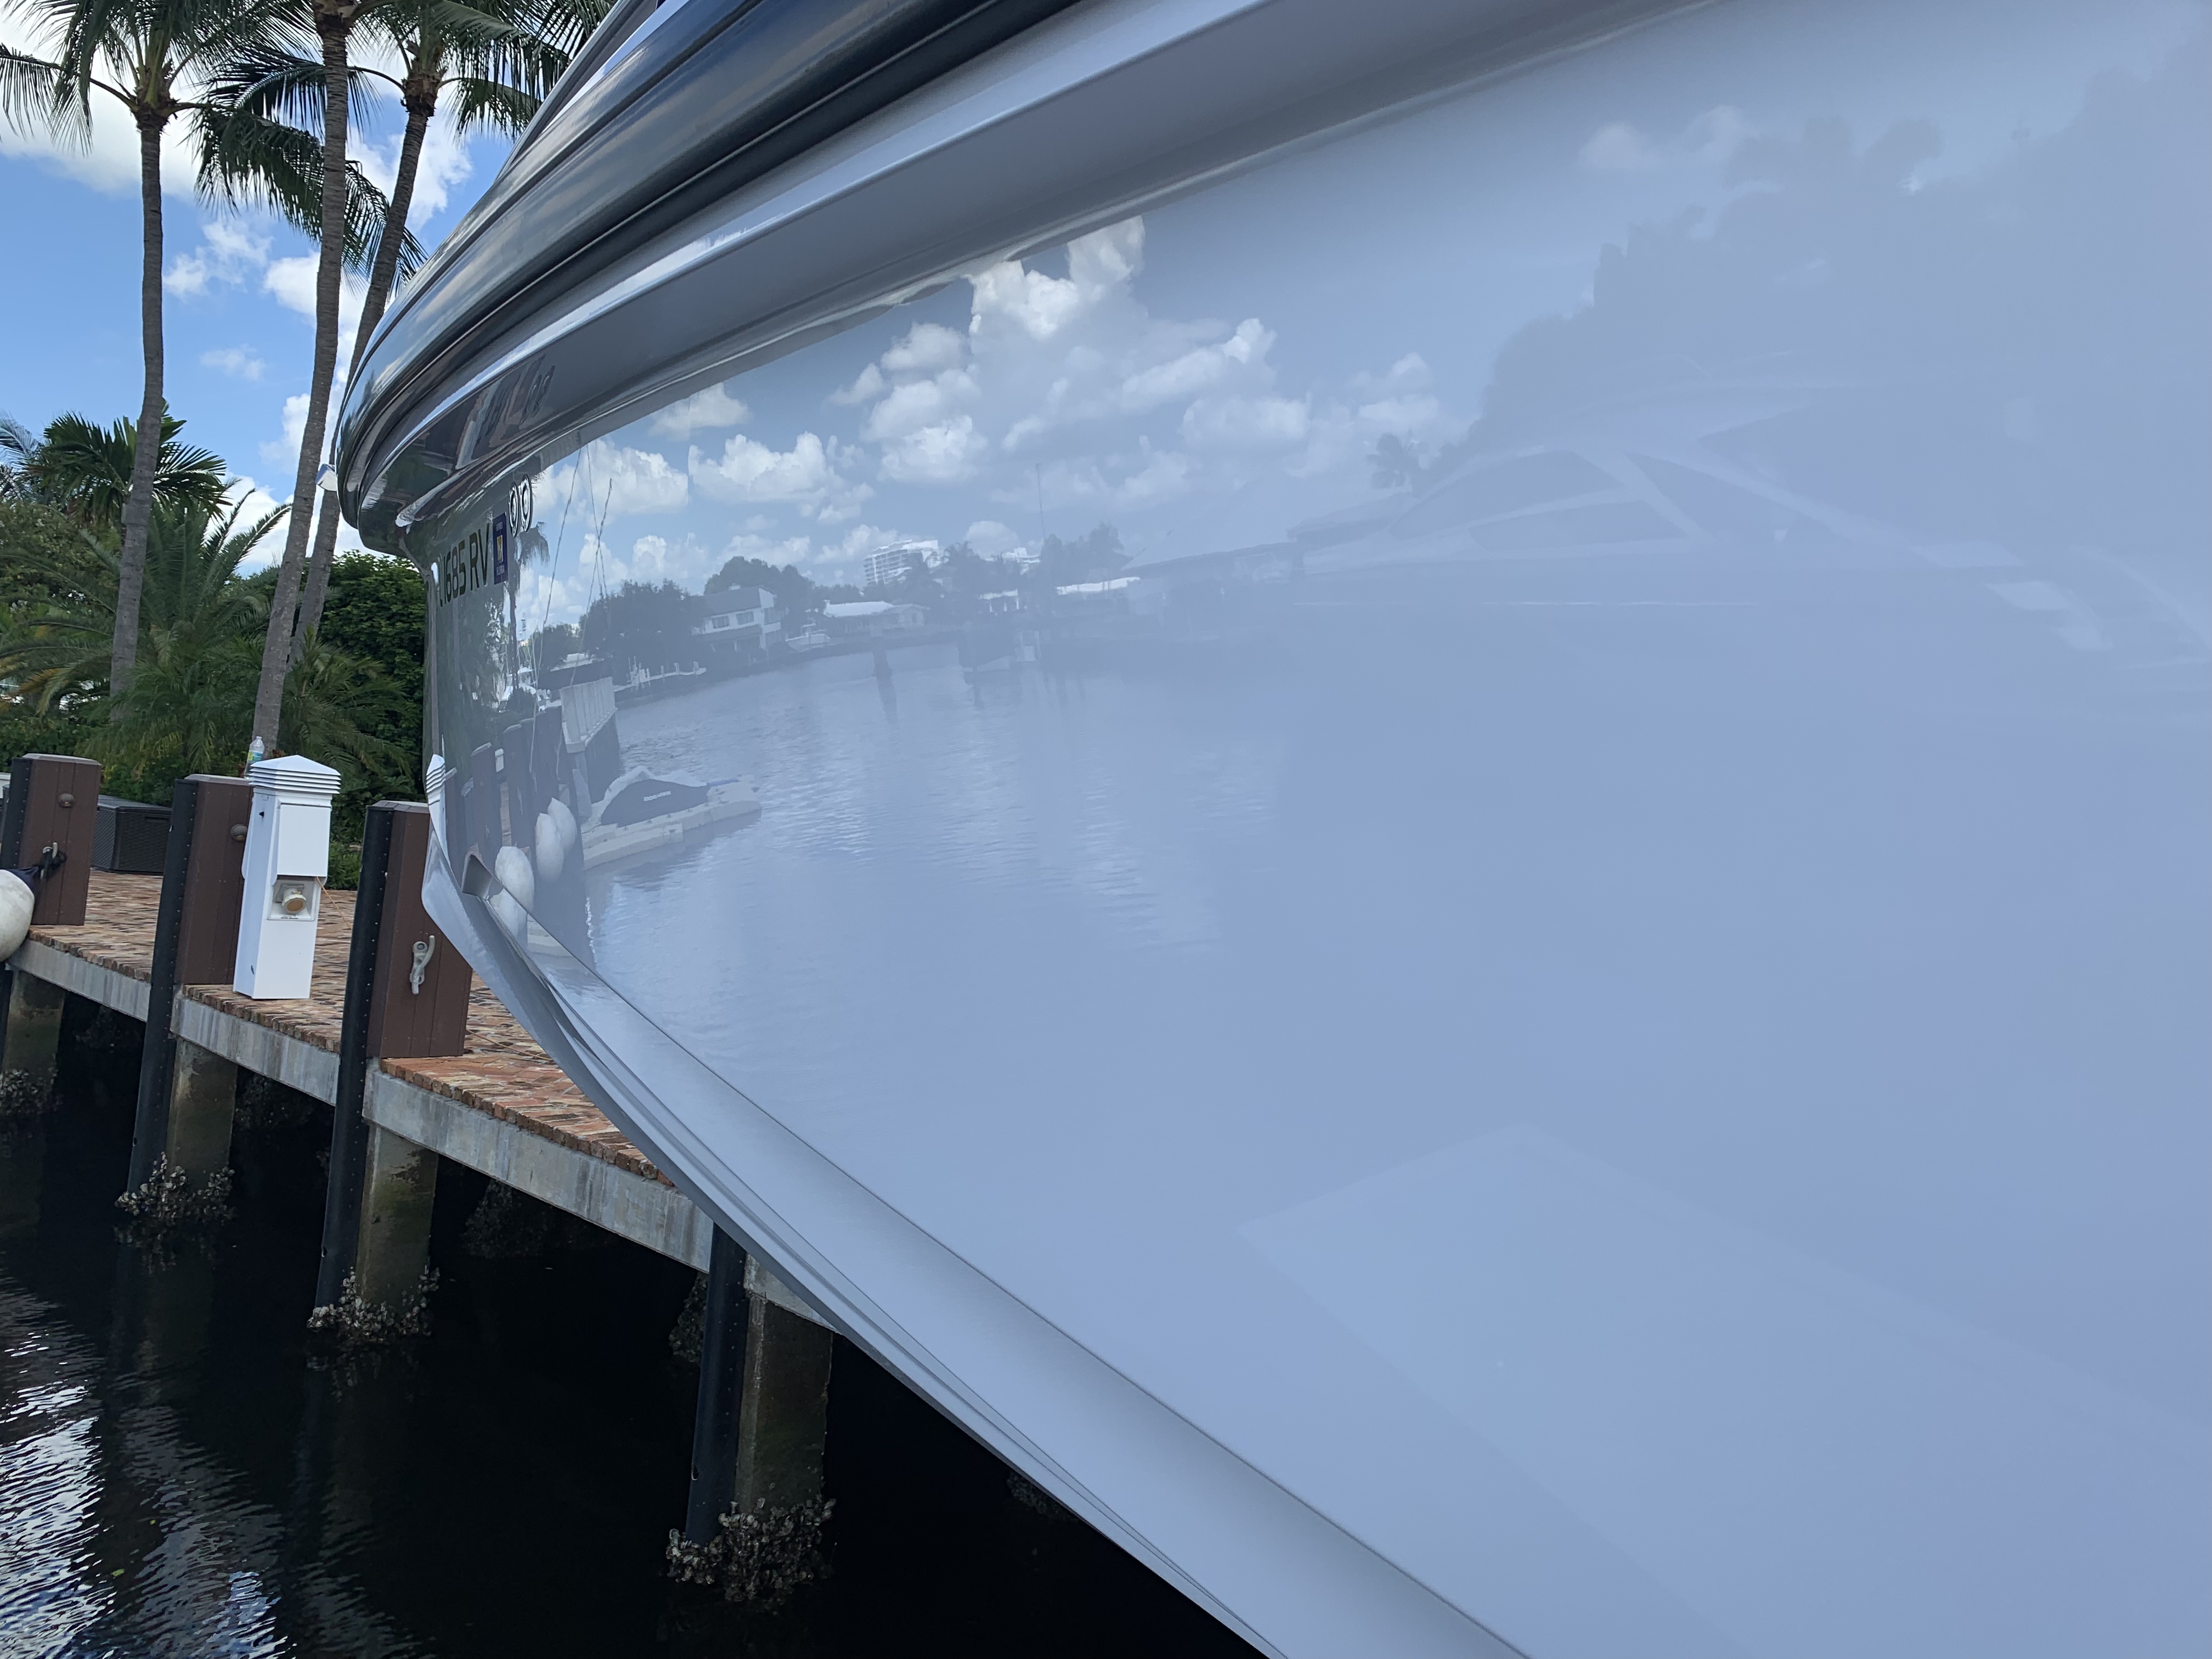
For those of you just learning more about boat ceramic coatings, the principle is that you want the surface to be in as good of condition as possible with the highest gloss before you apply a boat ceramic coating because the product will lock down the surface you are protecting.
Por eso es fundamental intentar eliminar el mayor número posible de remolinos de la superficie antes del revestimiento cerámico. Para toda la parte superior, el equipo completó un proceso de pulido en dos pasos con una almohadilla de espuma de grado medio y nano compuesto, y luego terminó con una almohadilla de espuma ligera y nano pulido (nano polish)..
El pulidor y el uso de estas almohadillas de espuma permiten al equipo alisar la superficie y eliminar las imperfecciones perceptibles anteriormente.
The Boat Ceramic Coating Application Process
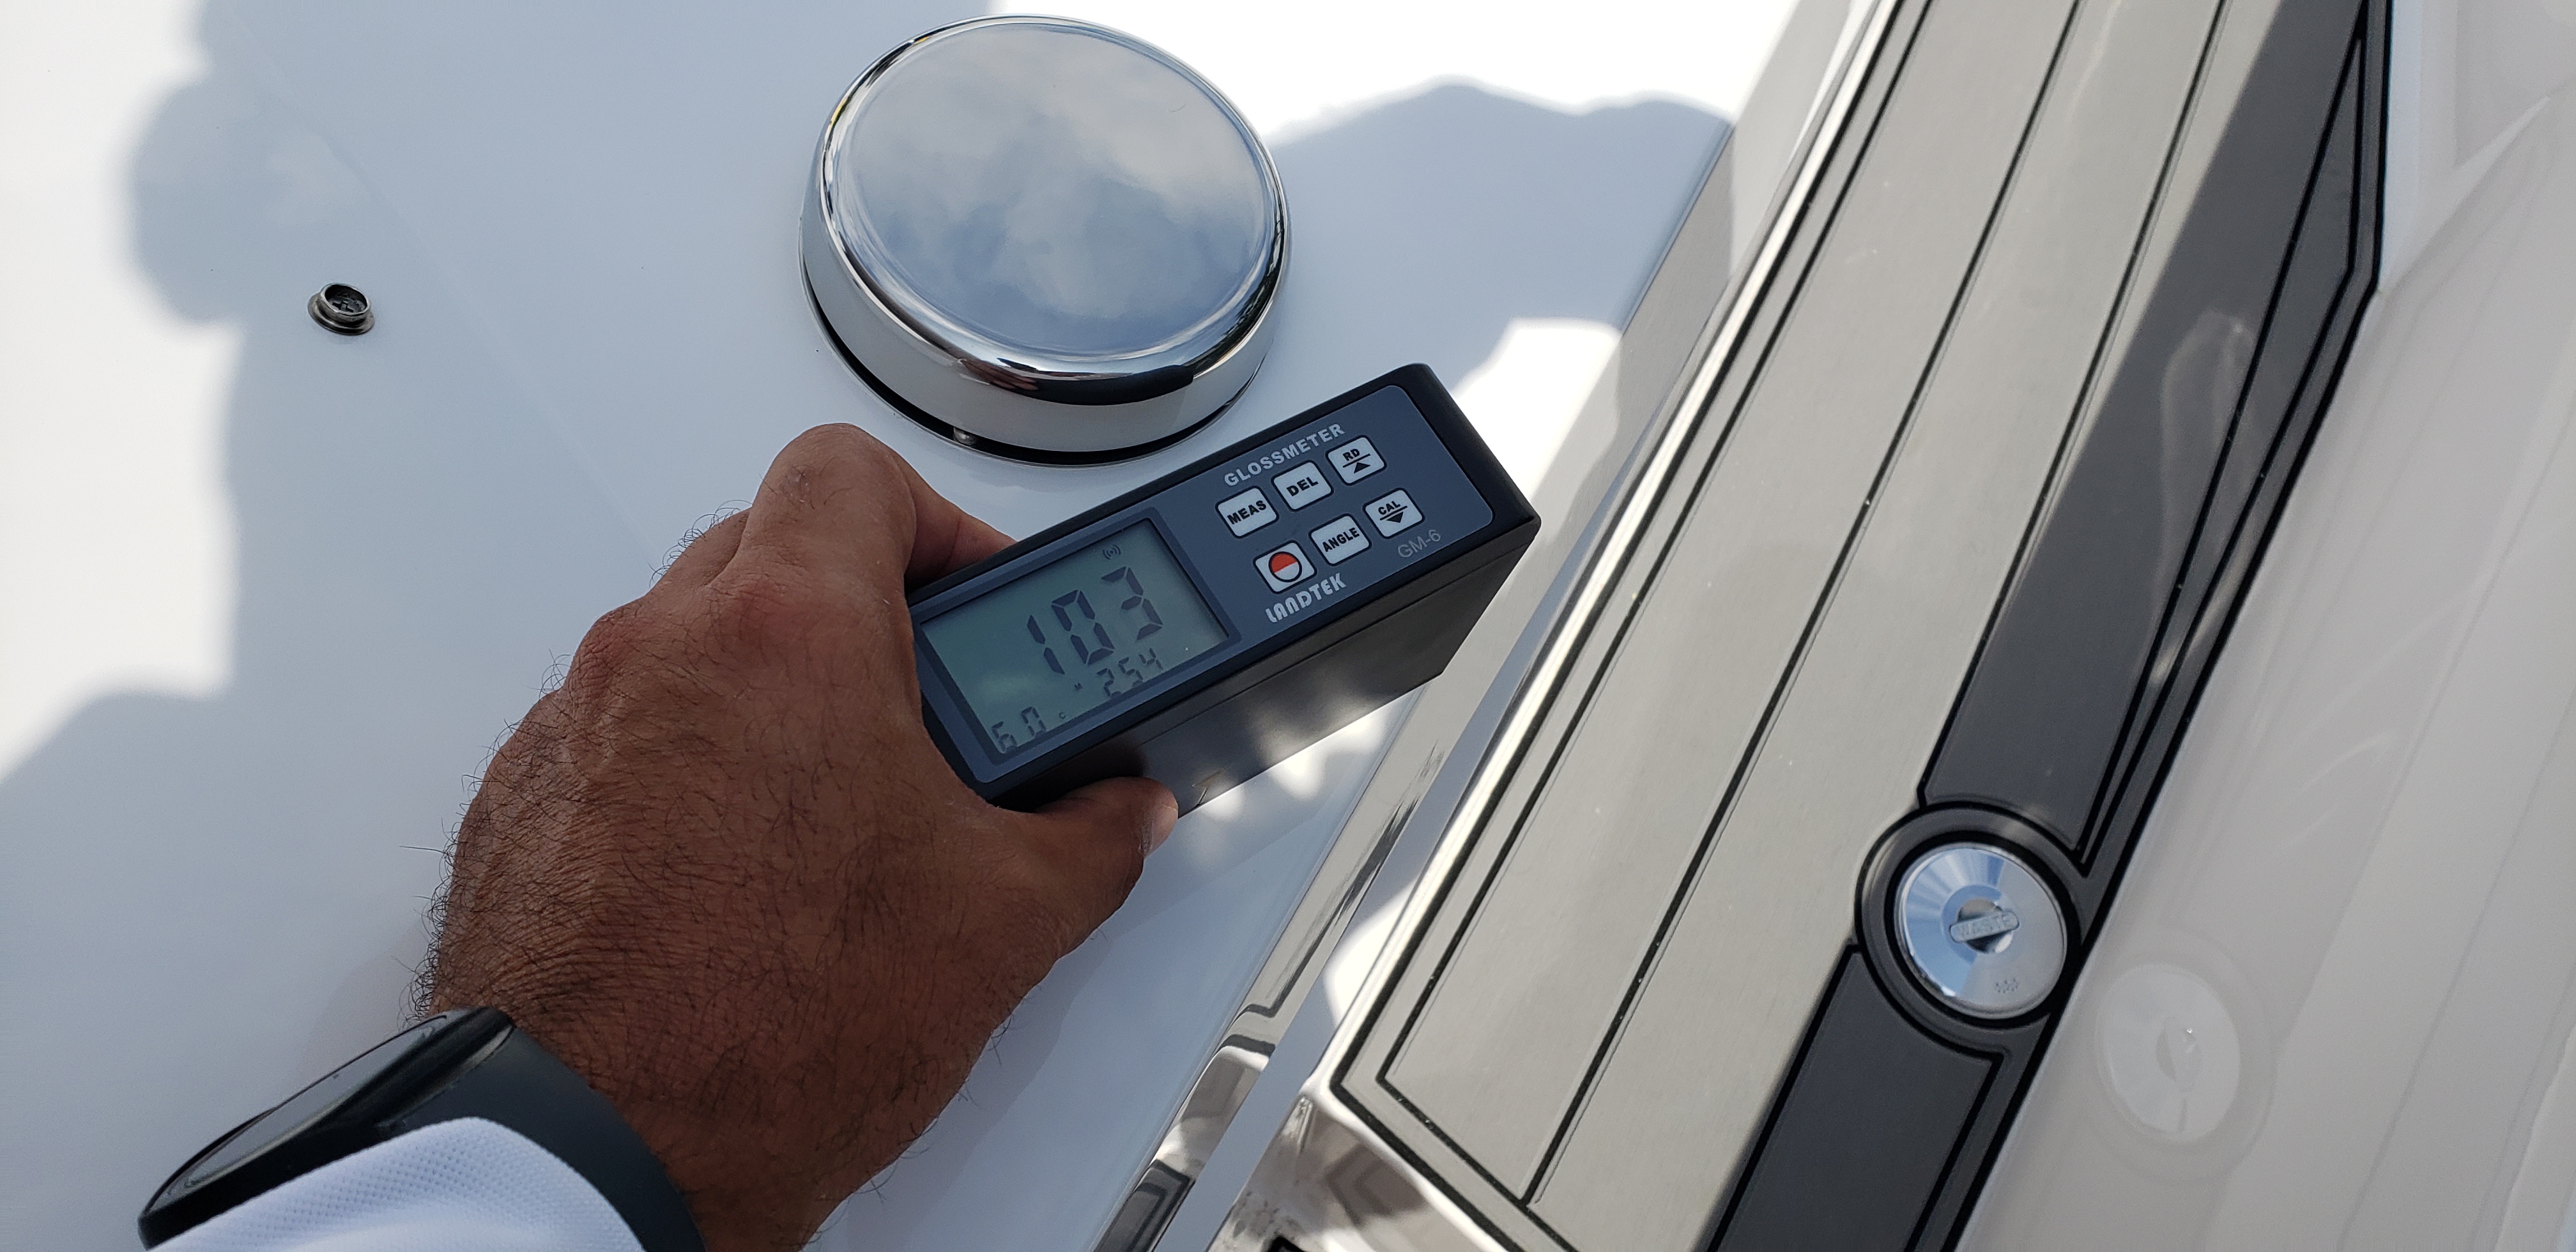
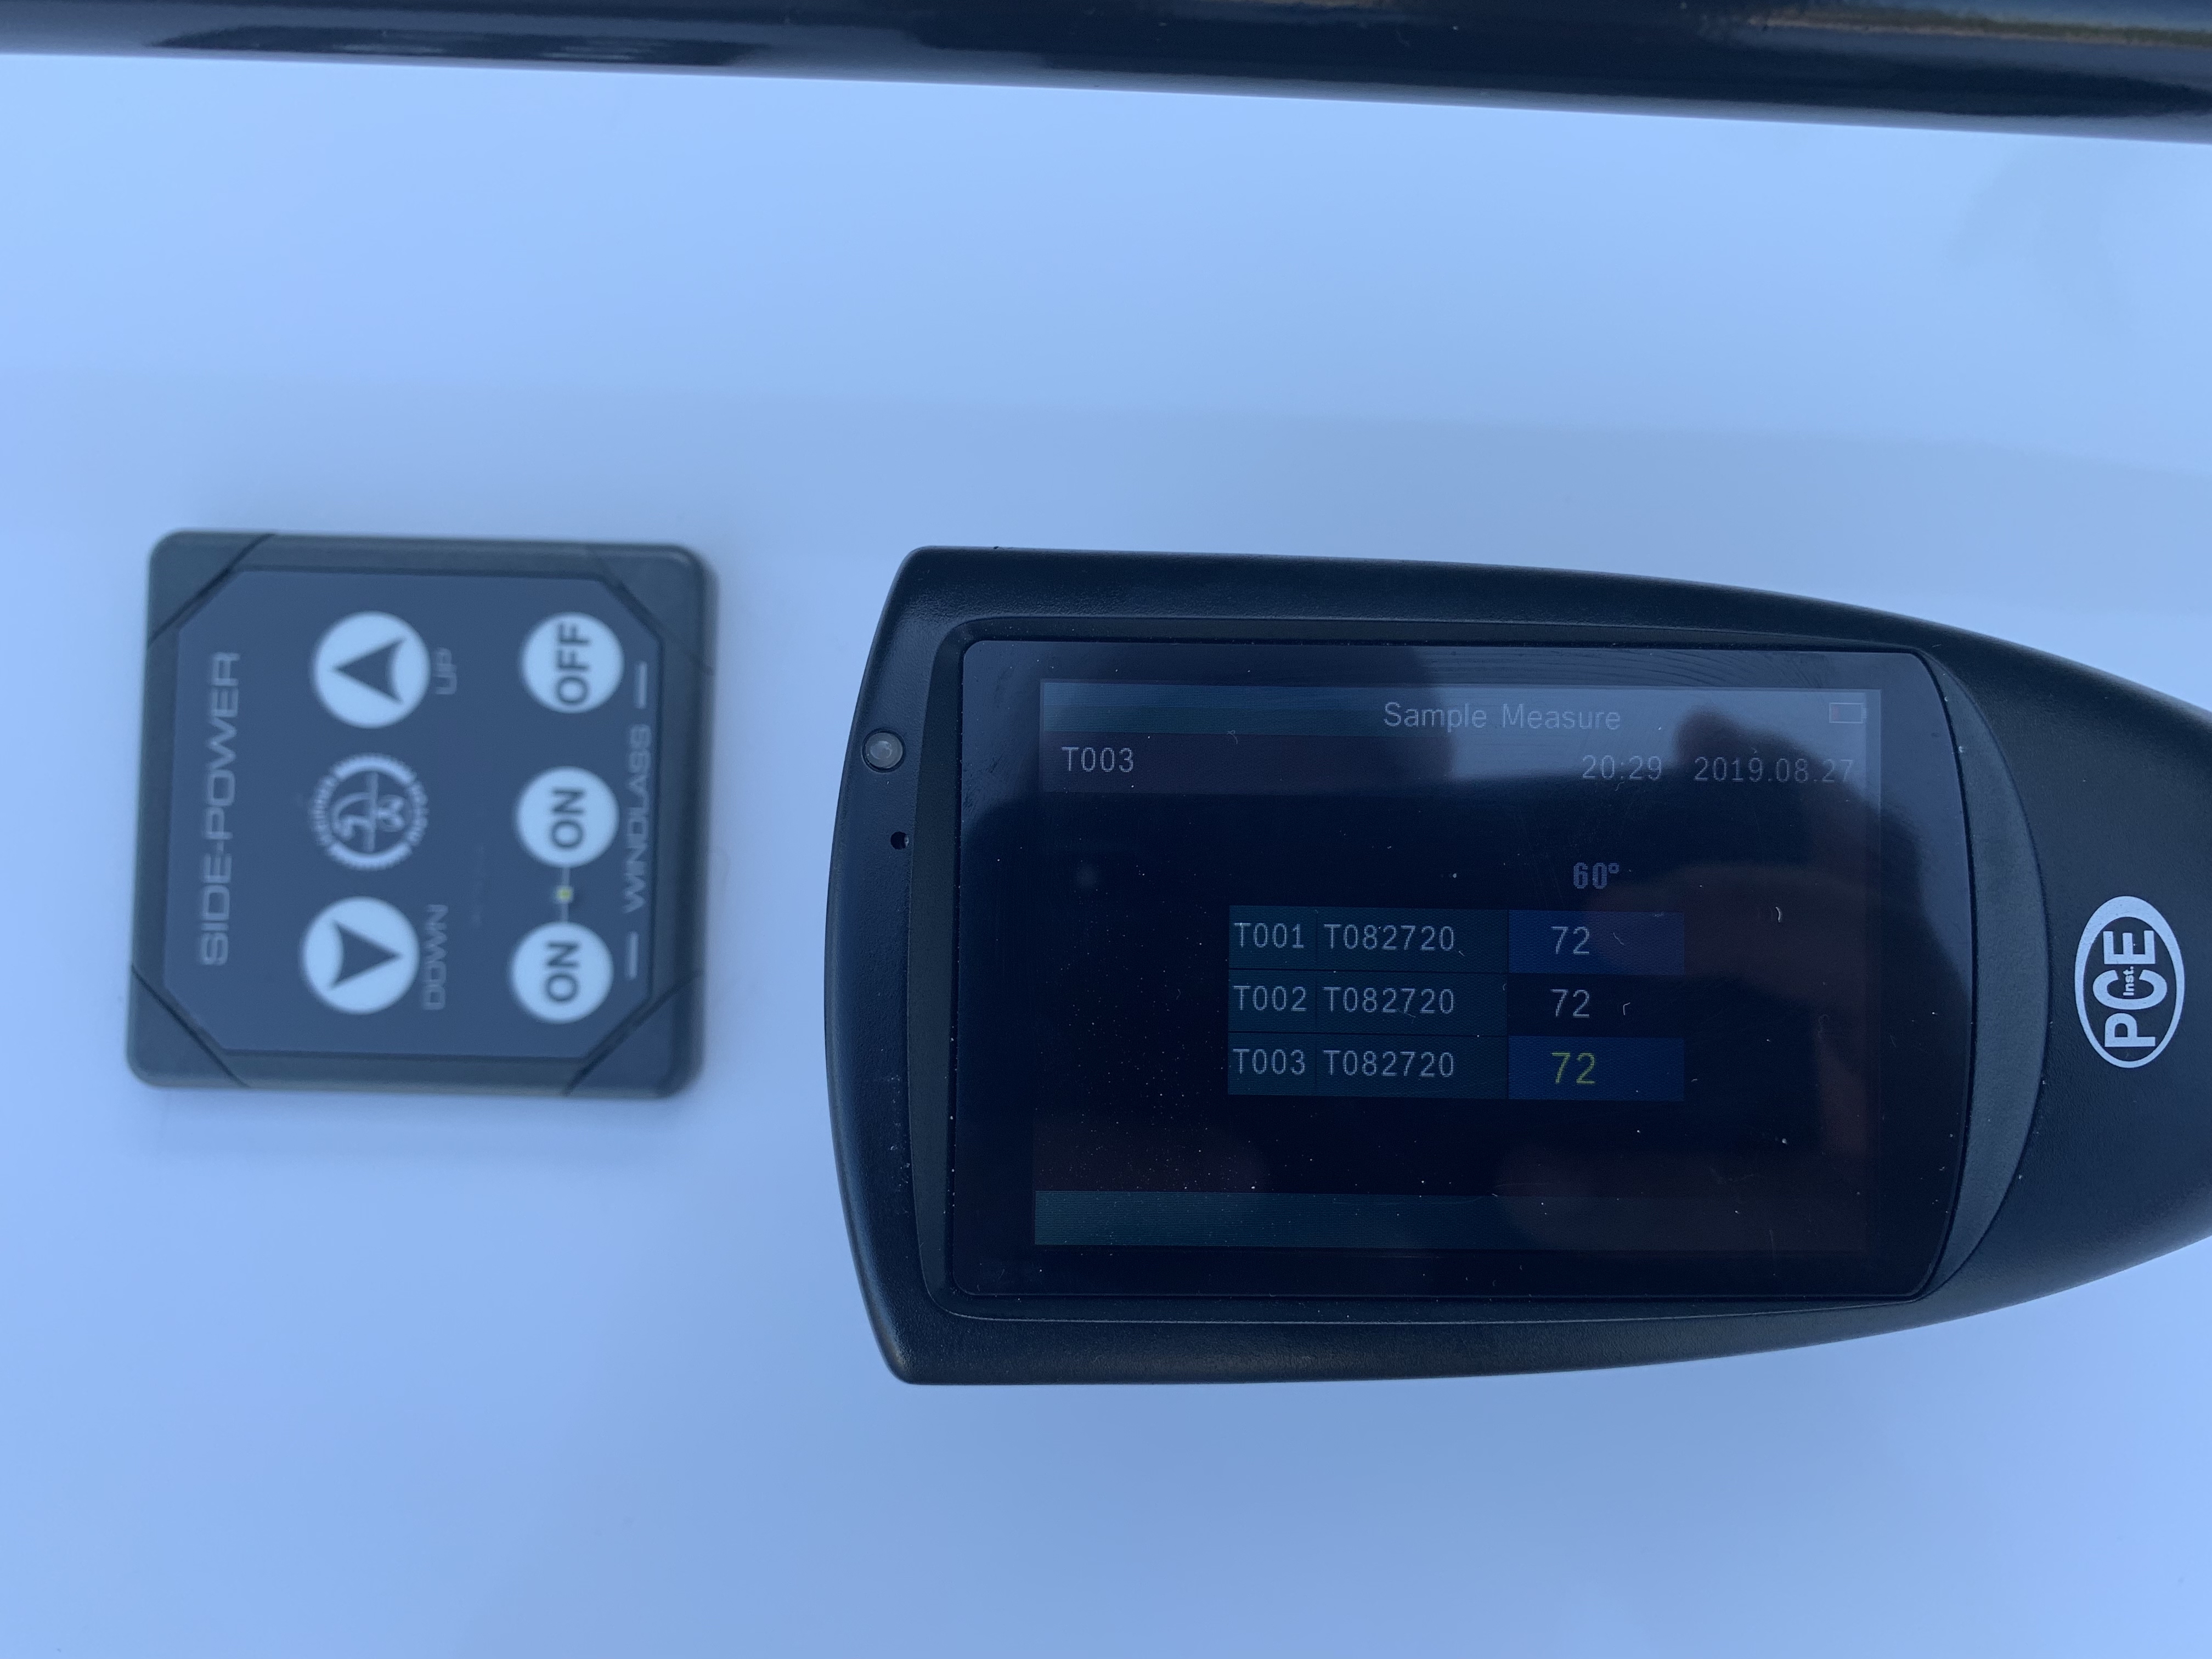
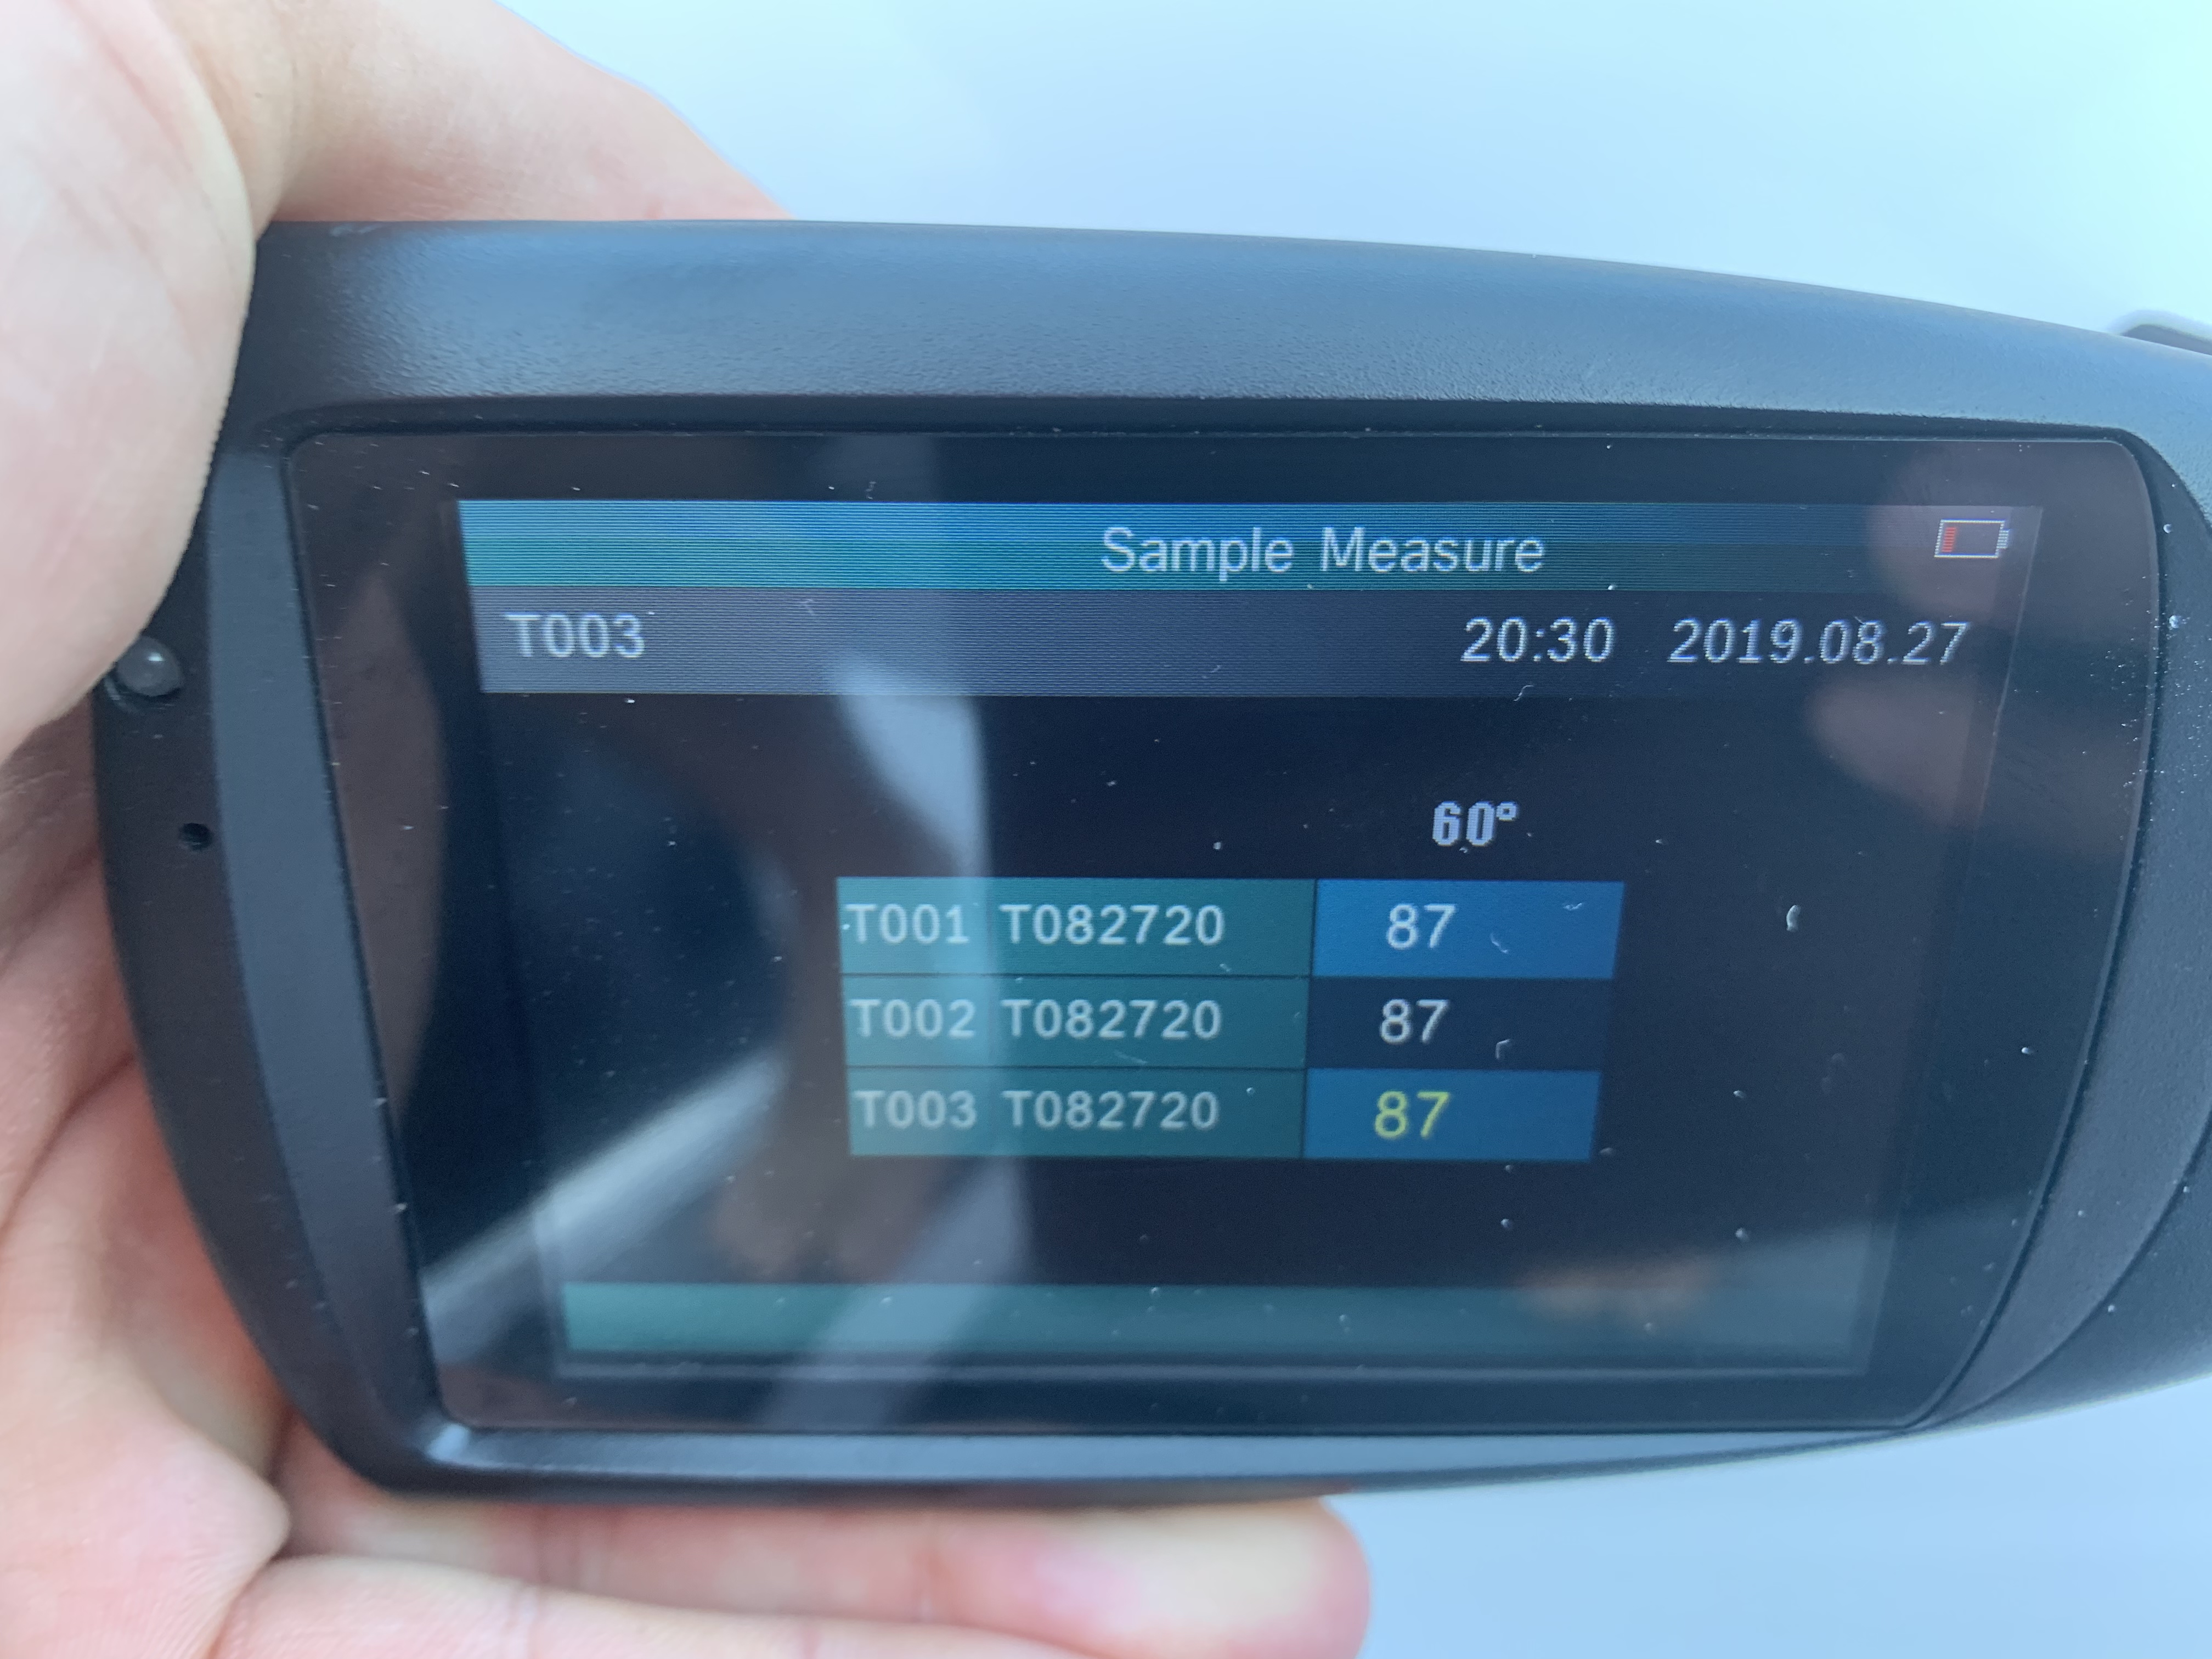
To start the boat ceramic coating application process, it is highly recommended to evaluate the entire boat and use the gloss meter to help evaluate the best approach for the various areas on the boat.
During our walk through and test spots, we determined the hull would require a 4 step process and all of the flat fiberglass on the top side would get a 5 step process. The hull has minimal imperfections in the surface with high gloss meter readings (in the 80's) before starting process. Considering those factors, the team could use a soft foam pad and the nano polish to help clean up the surface and increase the gloss levels.

On the top side of the 37' Axopar boat with more noticeable swirls marks in the surface, the team at Wax Mobile Services completed a two corrective buffing steps with a medium grade foam pad and nano compound, then soft foam pad with the nano polish to help smooth out the surface and combat those swirl marks.

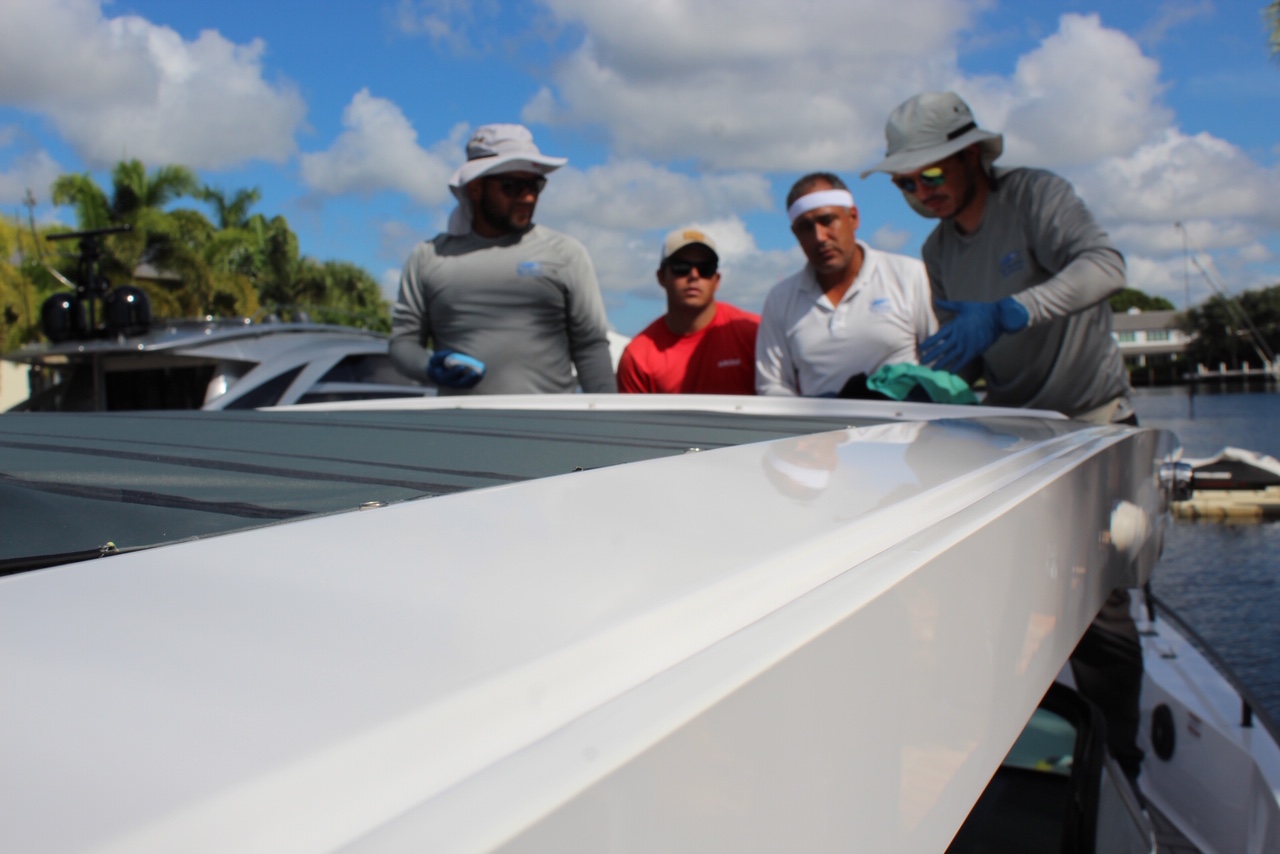
After completing the necessary restoration steps, we turned our attention to training the Wax Mobile Services team on the boat ceramic coating application process.
Tips On boat ceramic coating Application Process
With the Glidecoat professional grade marine ceramic coating, the product has unique aspects for optimal application and performance. From other experienced ceramic coating applicators, the Glidecoat ceramic coating has differences amongst our competition to allow our clients the ability to apply the product in high humidity, in direct sunlight, high temperatures and more.
As a result, by working directly with Alfredo and his team, we could closely monitor the application, share the helpful tips and ensure the coating was applied properly. A few of those tips include;
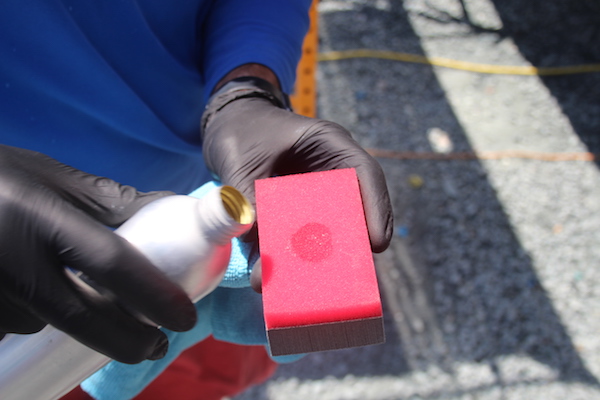
1). Pouring the size of a quarter directly onto the application sponge
2). Start with small sections (2' by 2') by boxing off your section and overlapping both vertically and horizontally to ensure the entire surface has a consistent lubricated look
3). Immediately wipe the surface with a high GSM microfiber towel (we recommend the use of 400 GSM). Use two different microfiber towels and wipe down the section at least three times to ensure you have removed any excess coating from the surface
4). Inspect the section to ensure you did not miss any coating or if the coating has flashed on the surface.

5). Plan your boat ceramic coating application process to be completed when the surface temperature is moderate. We designed our marine ceramic coatings to be applied in our hot temperatures here in South Florida.
That is the reality of working here in Florida as you need the ability to apply the ceramic coating outside and under the hot temperatures. We highly recommend to any applicator to plan your day by forecasting when apply the ceramic coating to specific sections.
A great example is the hard top on center consoles. When the surface temperature is cool to moderate, you will notice how much easier the coating can be applied, less errors and overall, just better for everyone. Sometimes that can't be reality, as shown in the photo below as we applied the first coat of ceramic coating to the hard top in direct sunlight.
When applying the ceramic coating to the highly sun exposed areas, we recommend reducing your section size, speeding up the wiping process and thoroughly checking the section to ensure a consistent finish.