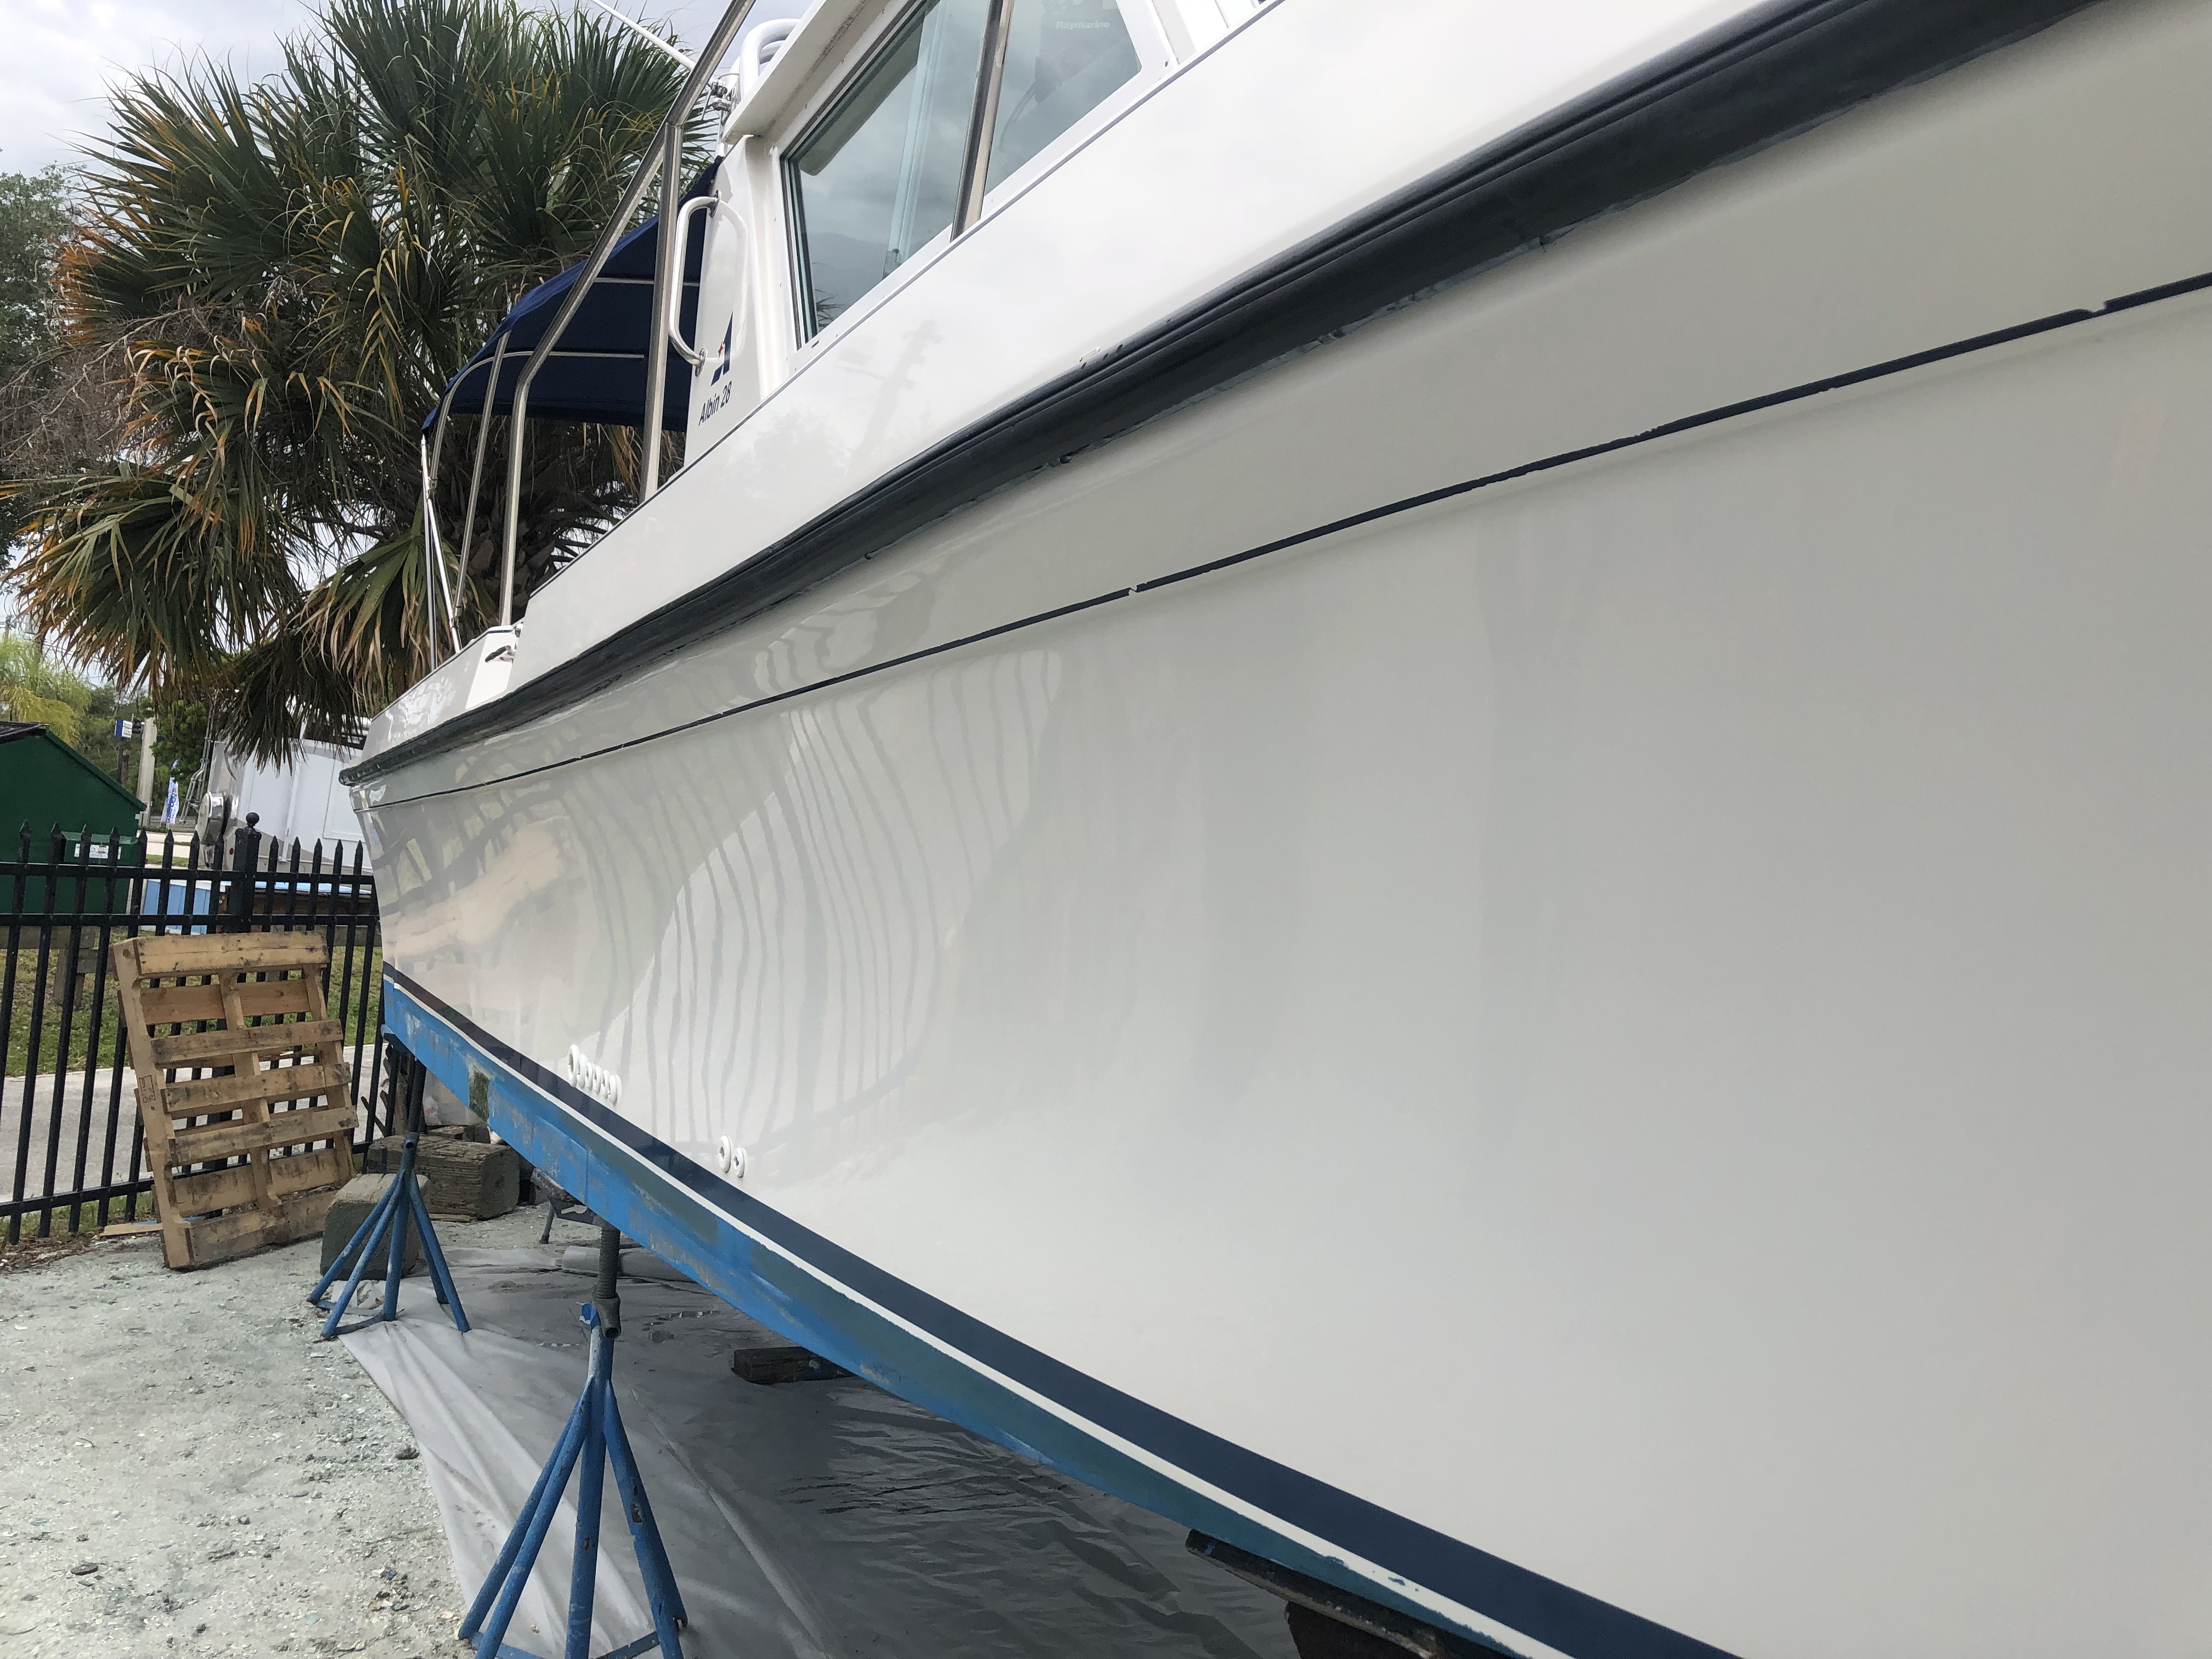
Three years ago, Greg purchased a 1997 28' Albin boat and has enjoyed taking on projects to upgrade it including painting the exterior of the cabin. After meeting the Glidecoat team at the 2019 Stuart Boat Show and learning about the advantages of marine protective ceramic coatings, Greg was interested in the transformation for his boat.
With an upcoming scheduled haul out and maintenance work, Greg knew the timing would be perfect for Glidecoat and our Authorized Dealer in Stuart; Triton Marine Detailing to complete the restoration and marine protective ceramic coating application to the boat's exterior, hull, and transom.
- Boat Brand:
- Albin
- Length Overall:
- 28'
- Ceramic Coating To:
- Hull, Transom and exterior of the cabin
- Completion Time:
- 42 man hours
- Location:
- Stuart, FL
During our first conversations with Greg, he was initially surprised by our traditional price range for projects (typically from $80 - 120 per linear foot - dependent on a number of factors). For an individual, like himself, who is a Do-It-Yourself person, after learning the number of steps and length of time to properly complete a marine protective ceramic coating application, Greg elected for us to complete the work.
One of the key factors to consider during the evaluation of a boat is the age and the current condition of the surface. With the case for Greg, the 28' Albin was built in 1997 and had not been detailed in over two (2) years.
To be successful with a marine protective ceramic coating application, the restoration and prep work is vital! Therefore, you must remove any stains, imperfections and restore the shine in the surface before moving to the ceramic coating.
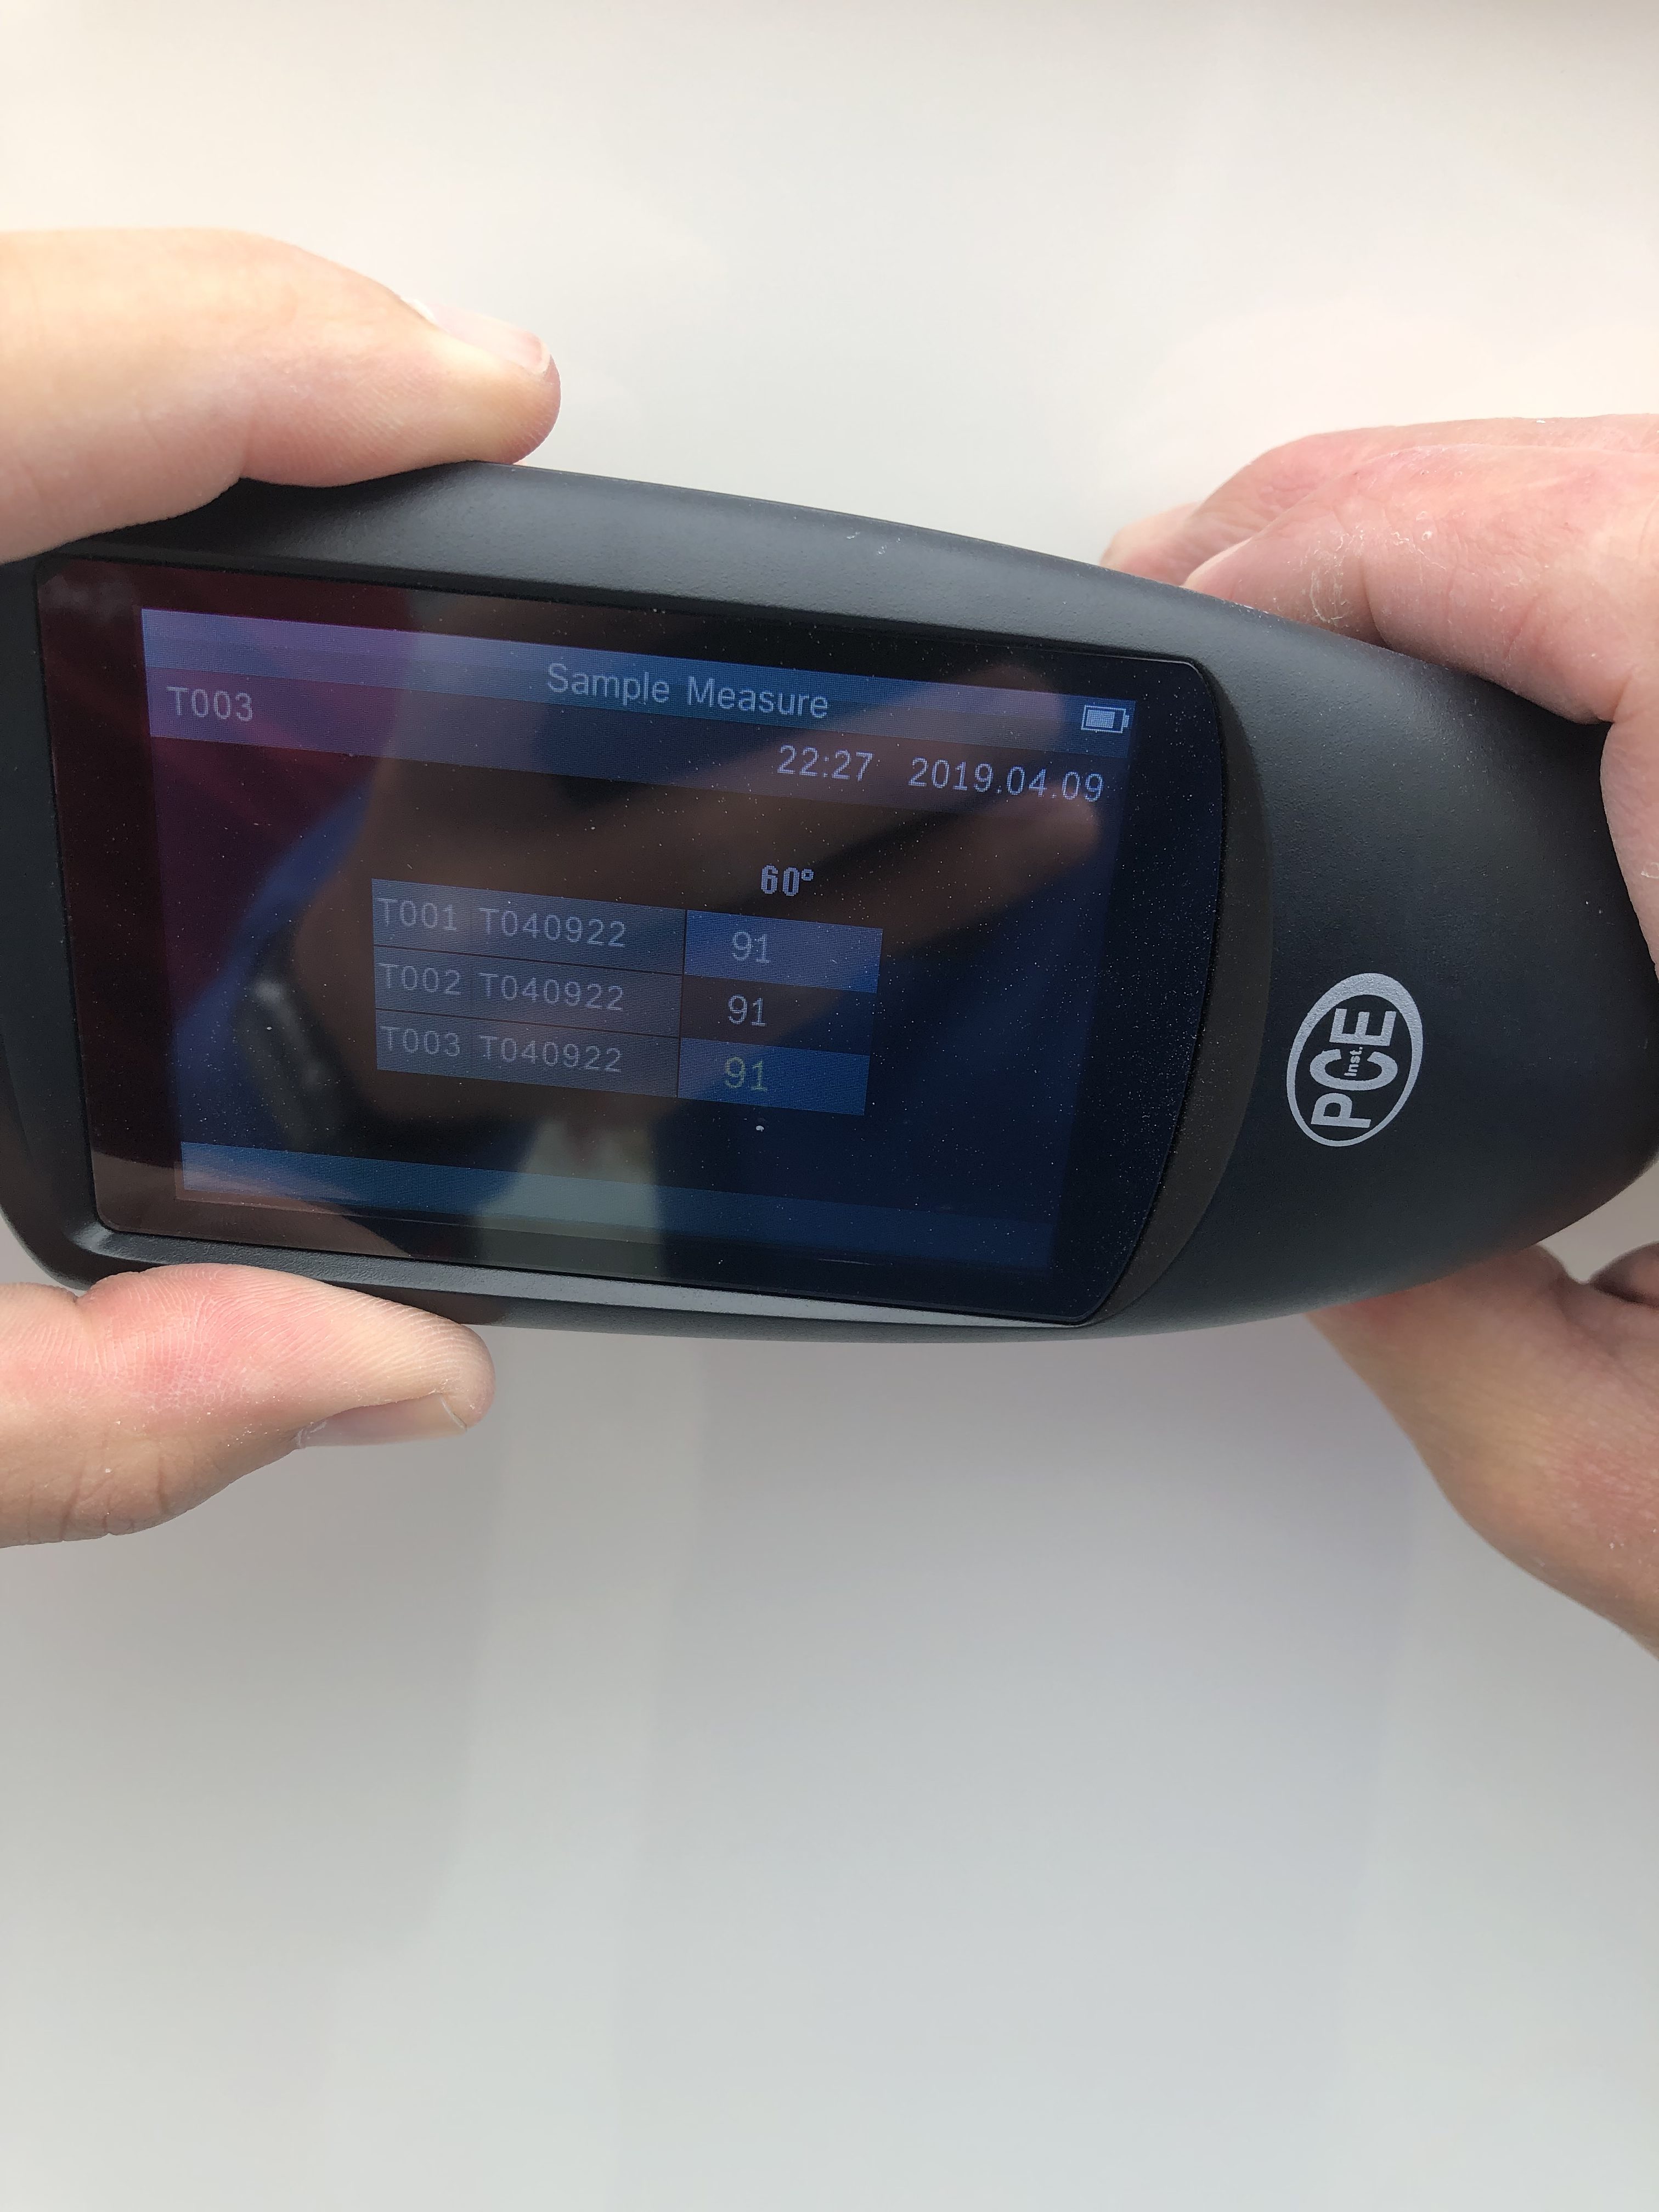
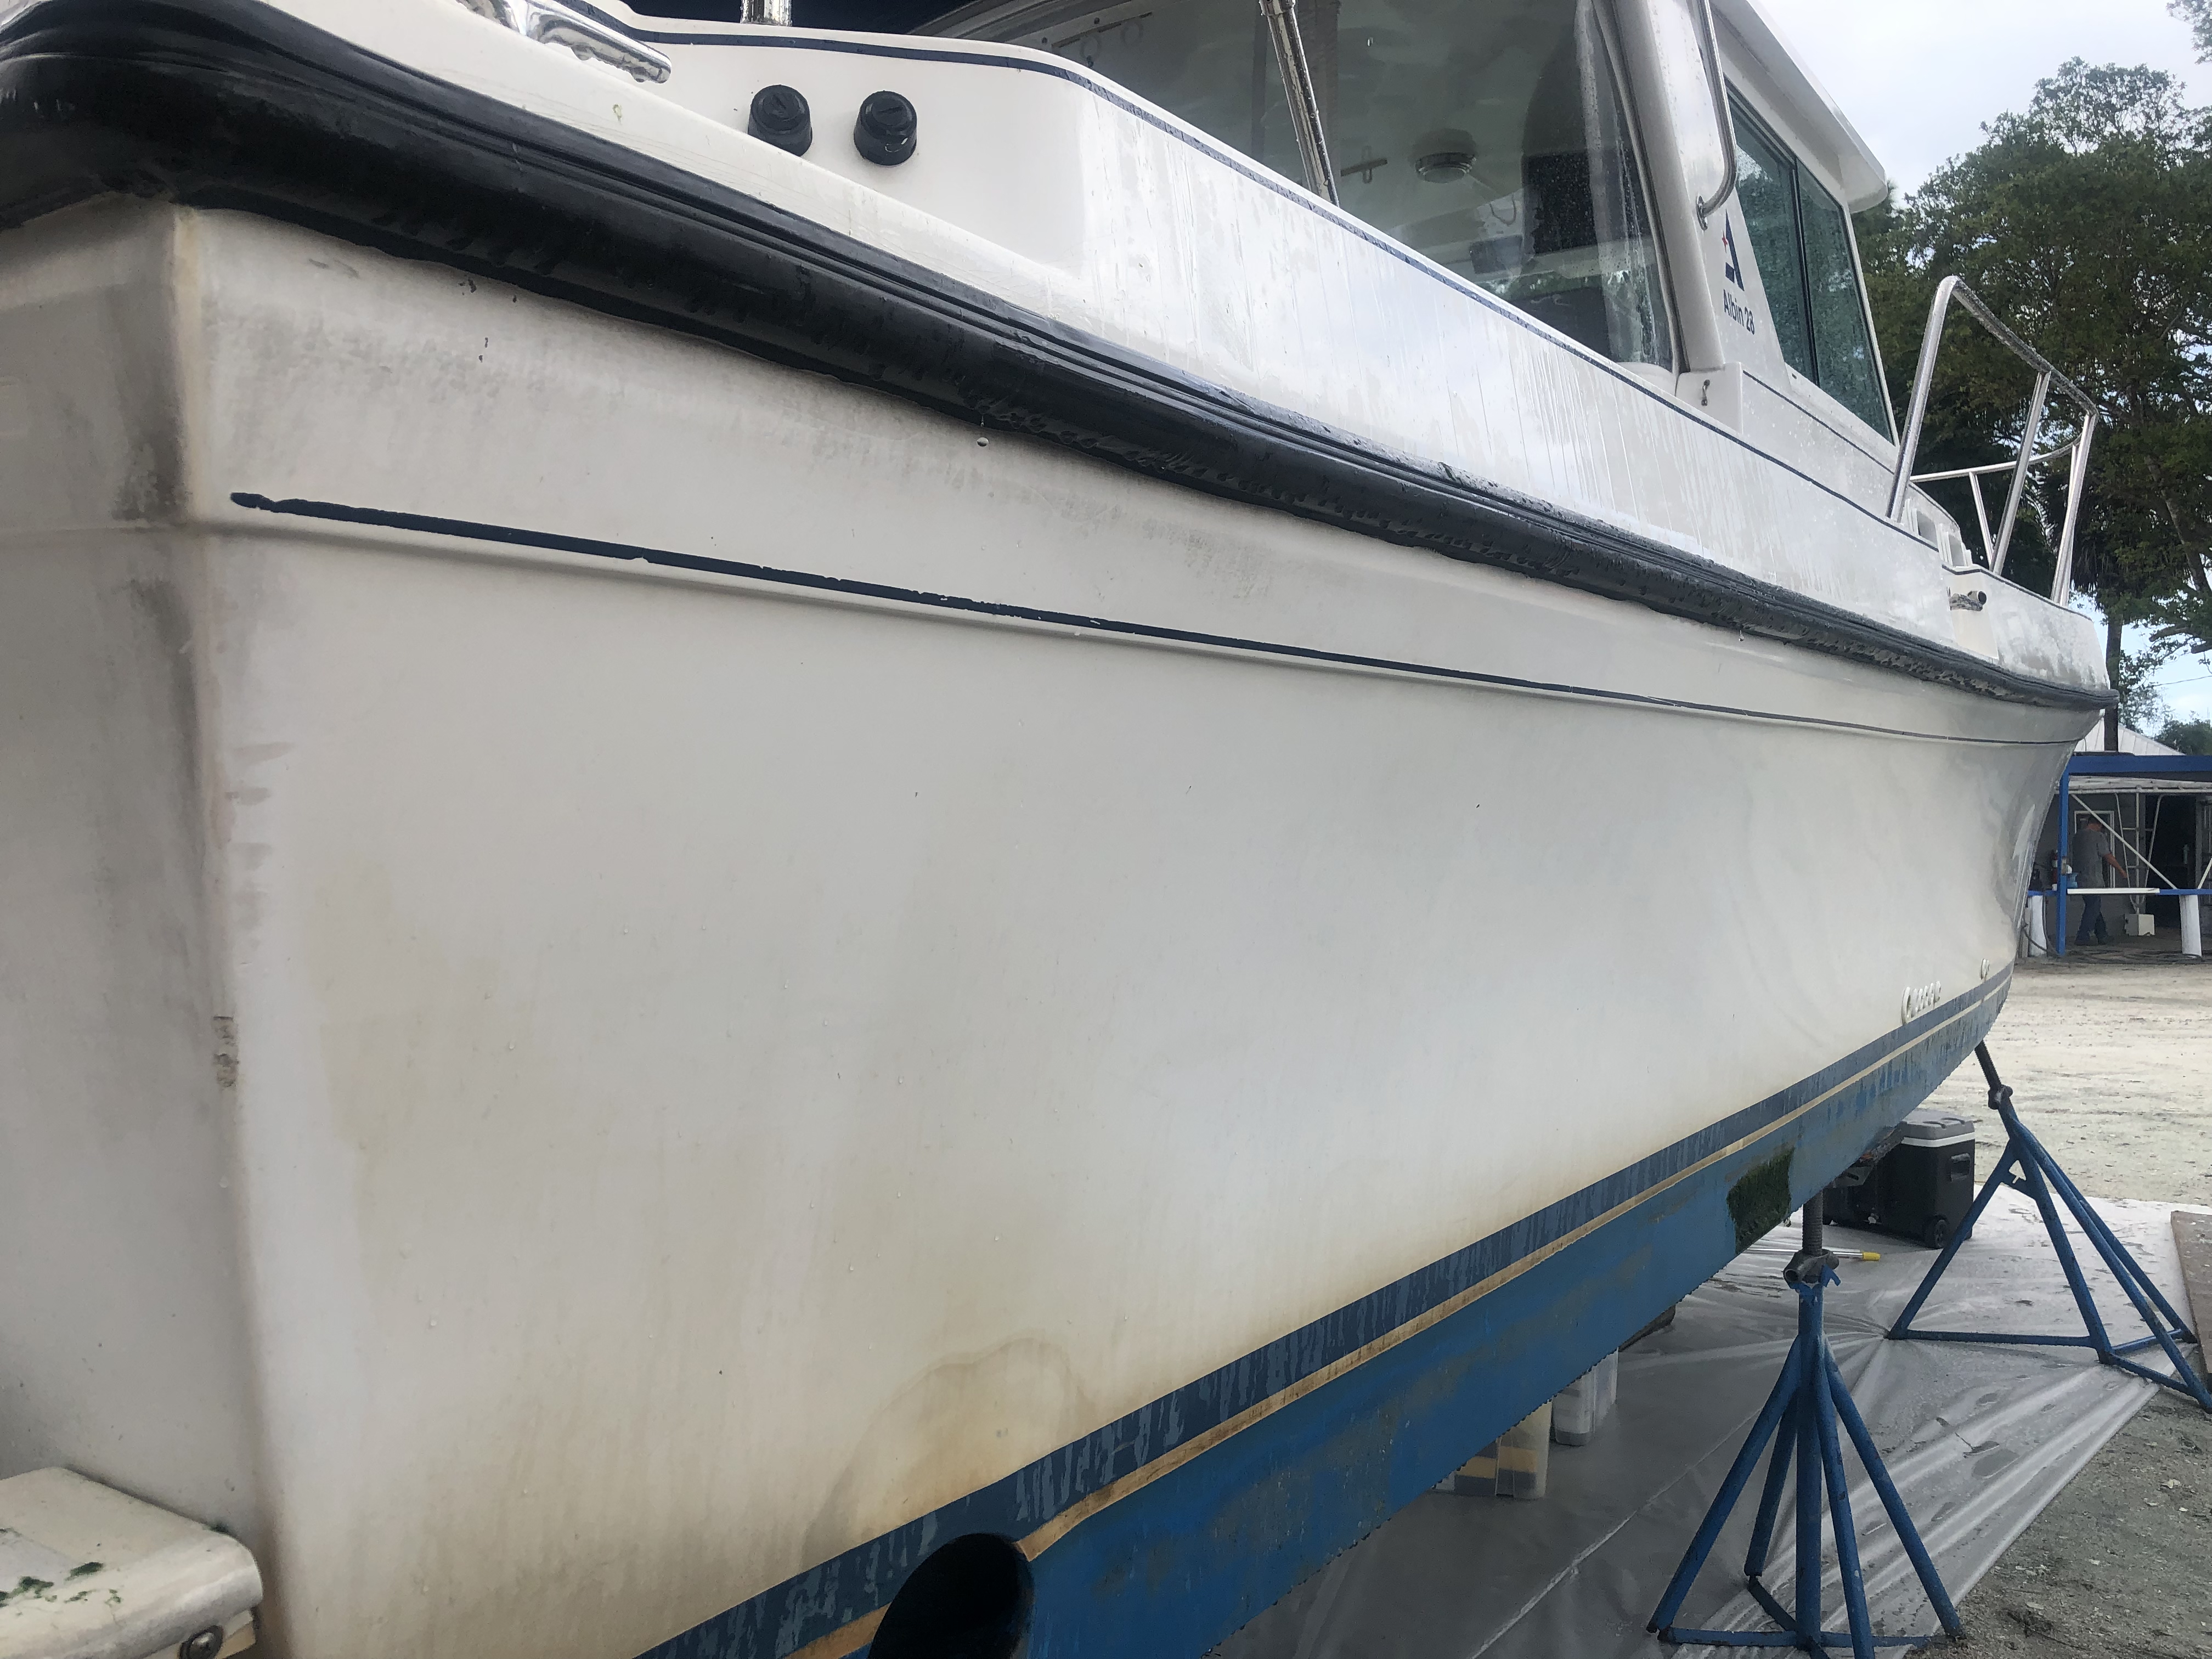
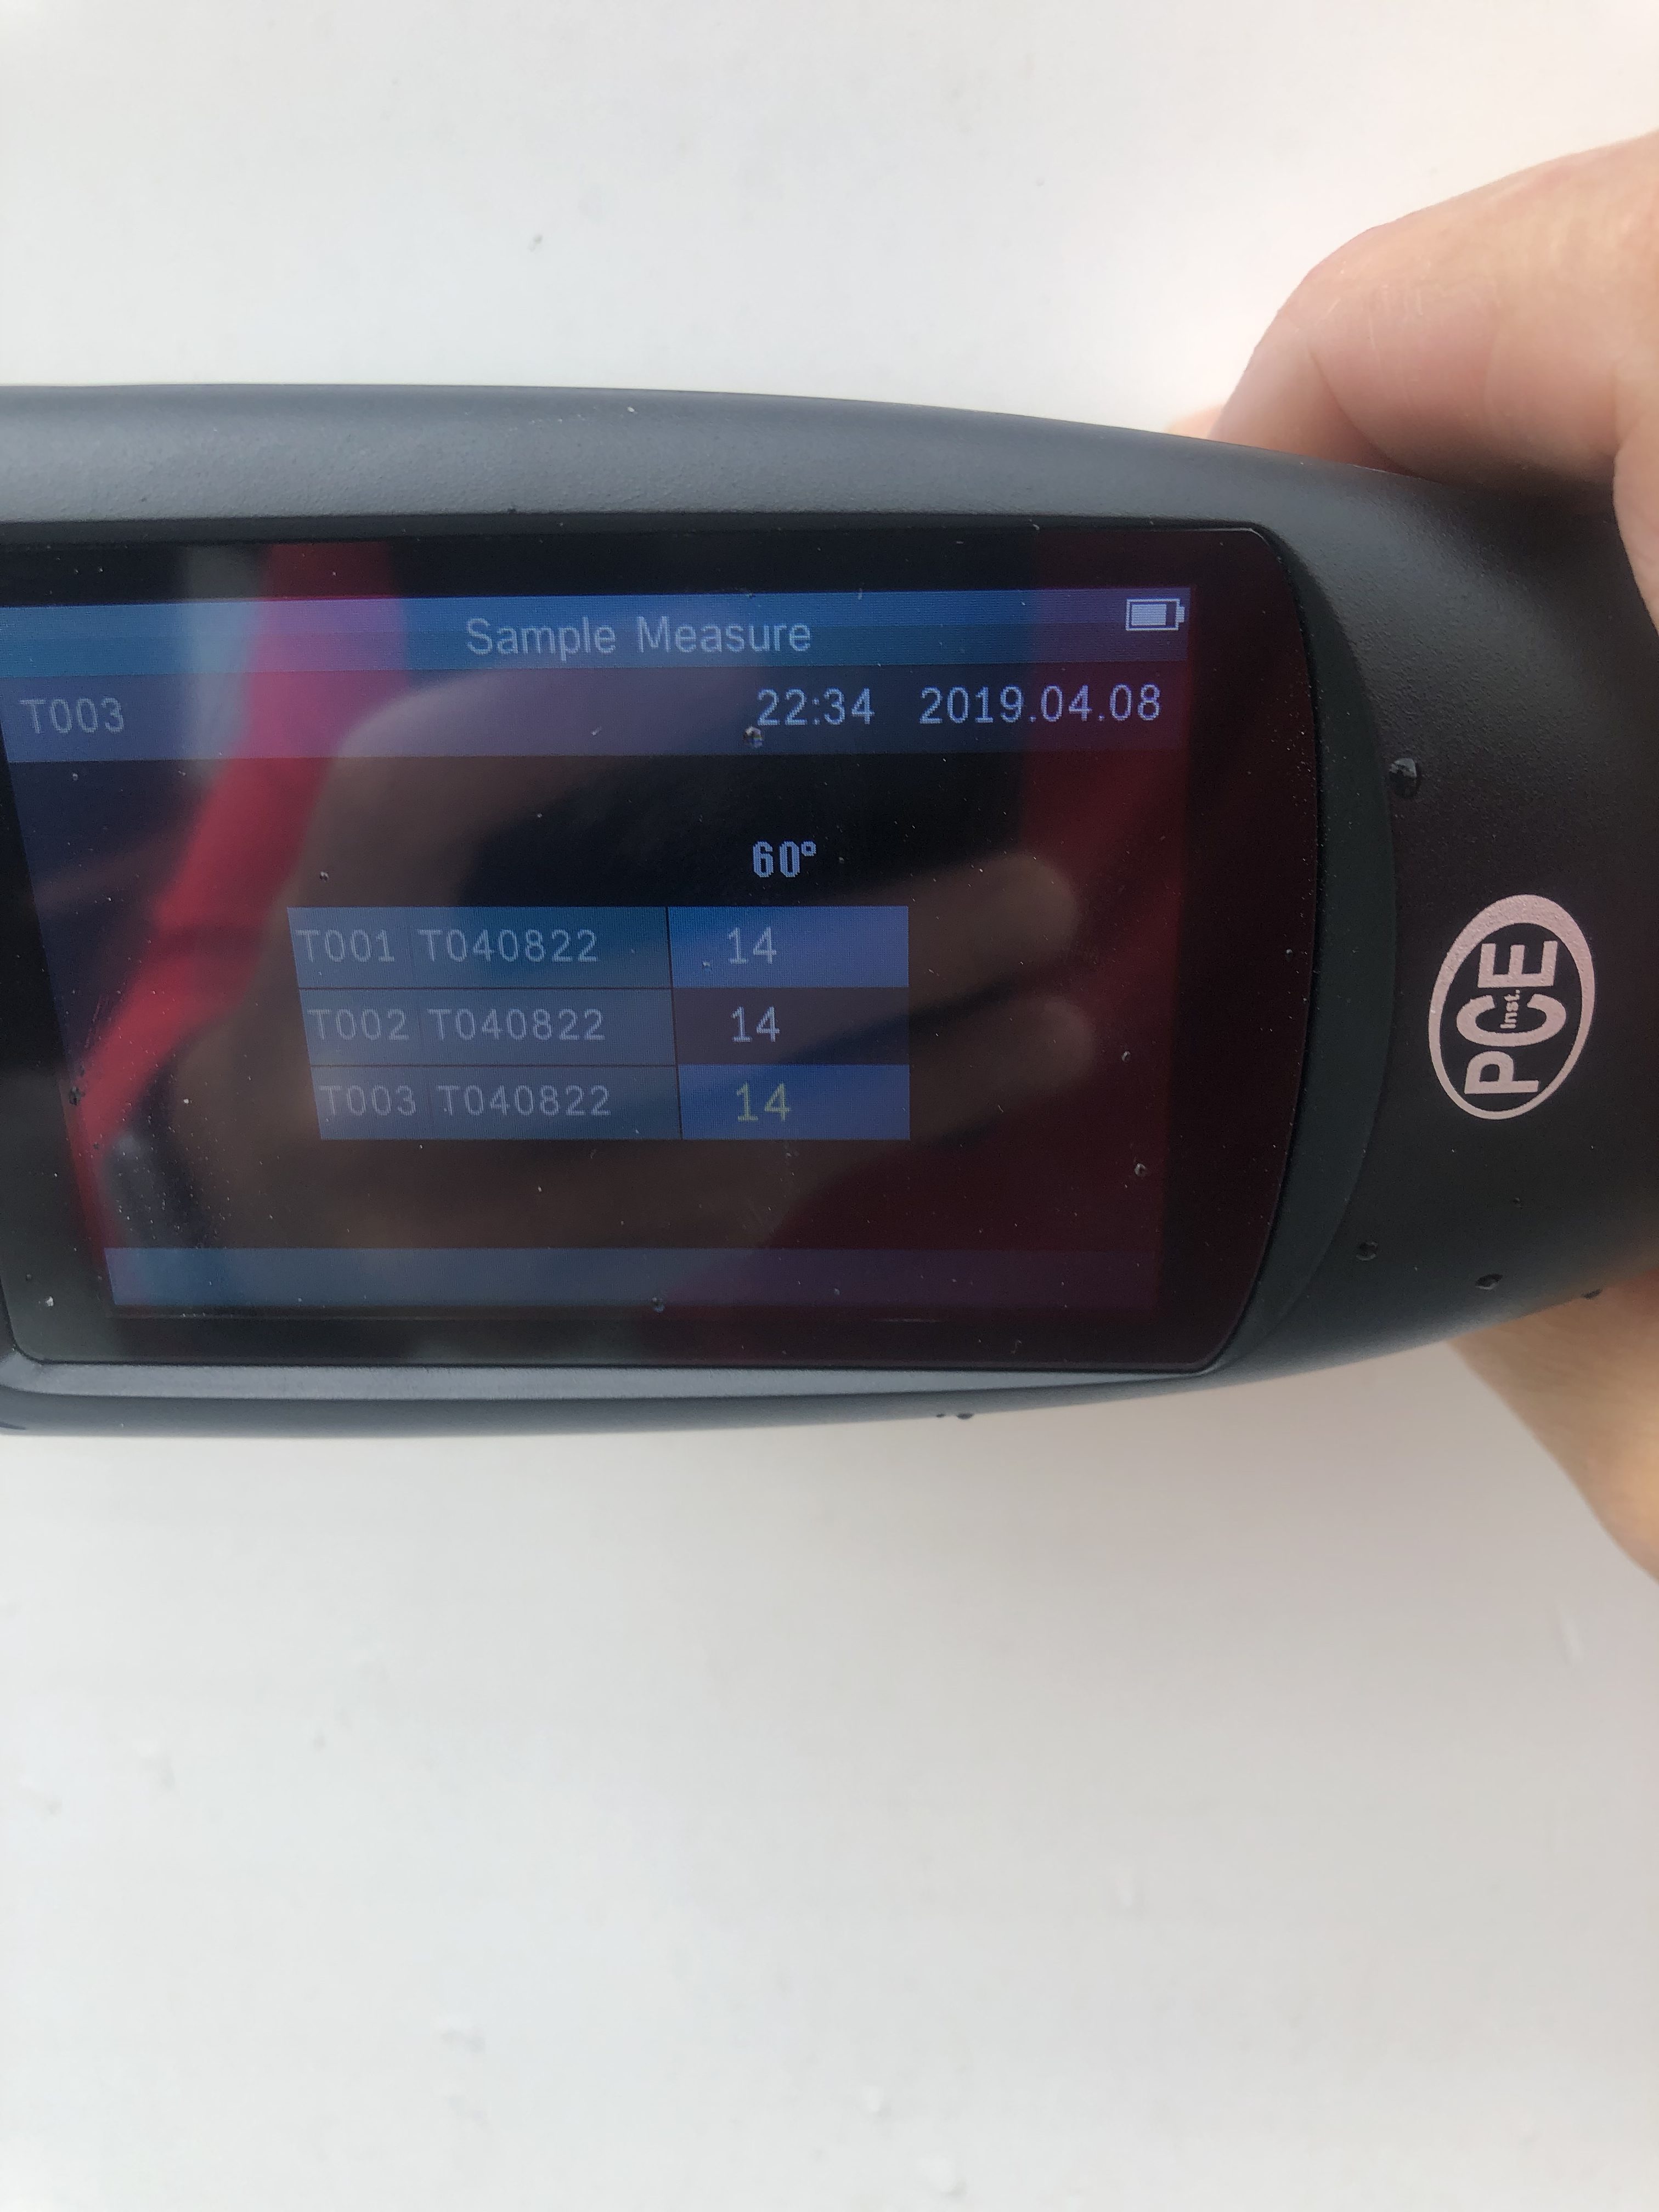
As shown in the photos below, the hull and gunwales had suffered from heavy oxidization and staining to the surface. This resulted in a wide range of gloss meter readings with the lowest on the hull coming in at 14.
The Process On Older Boats
Older, faded boats cause a significant challenge to estimate the length of time and steps required to bring the boat back to life. As we mentioned to Greg as we got started with the project, it's like trying to solve a complex puzzle.
You have to try a number of different compounds, pads, machines and speeds to find out which combination works best for the boat. With low gloss meter readings (14) across the hull, this gives us a clear indication that several restoration steps will be required prior to moving forward with the ceramic coating application.
During the restoration process, our goal is to have the gloss meter readings in the 80's but ideally, as high as possible. After the marine protective ceramic coating application, typically the gloss meter readings jump another 3 - 5%.
Step #1
The first step of the restoration process included using a heavy compound with a wool pad and Makita. This step helps cut a vast majority of the oxidization and stains on the surface and in a sense, is removing the top layer of damage.
Step #2
As we move along in the process, we start to reduce the abrasion, as we want to minimize the amount of gelcoat that is removed as part of the process. For the next step, we switched to our medium cut compound and wool pad with the Makita.
Step #3
As described earlier in this case study, working on older boats is like a puzzle, to figure out the best products to use on the surface in order to bring back the shine. For the vast majority of the projects we complete, we are using all available products we produce here at Glidecoat including our compounds, polishes, etc.
And, in some rare instances, we find other products help us achieve the shine we are looking for. On Greg's boat, this rare case happened. After trying our various compounds, we found the 3M Extra Fine, worked the best as the final buffing step that achieved the highest gloss meter readings before proceeding to the marine protective ceramic coating application.
For the third buffing step, we switched to Rupes Random Orbital Polisher and a medium grade foam pad to help remove any marks in the surface.
The Time To Apply Our Marine Protective Ceramic Coating
For first time users of our marine protective ceramic coating, they are surprised how laborious and diligent you must be in the prep process to achieve optimal results. This includes first wiping down the entire surface with our Surface Wipe, which helps remove any decontaminants from the surface.
Then, pouring approximately the size of a quarter of the coating onto an application sponge and wiping a 2' by 2' section. We like to start by boxing off the section and filling in the area by going over the surface both vertically and horizontally.
Once, the 2' by 2' section is fully saturated, you are immediately wiping down the surface with a clean microfiber towel. The trick is to make sure there is no waiting time and you make sure every part of the liquid is removed from the surface.
The process includes applying two coats of the ceramic coating to the surface and ideally you would like the first coat to settle for an hour before applying the second coat.
Our recommendation is to start at the stern and work your way to the bow (working the 2' by 2' sections). By the time, you have completed one side the hull, you will be ready to start on the second coat at the stern.

