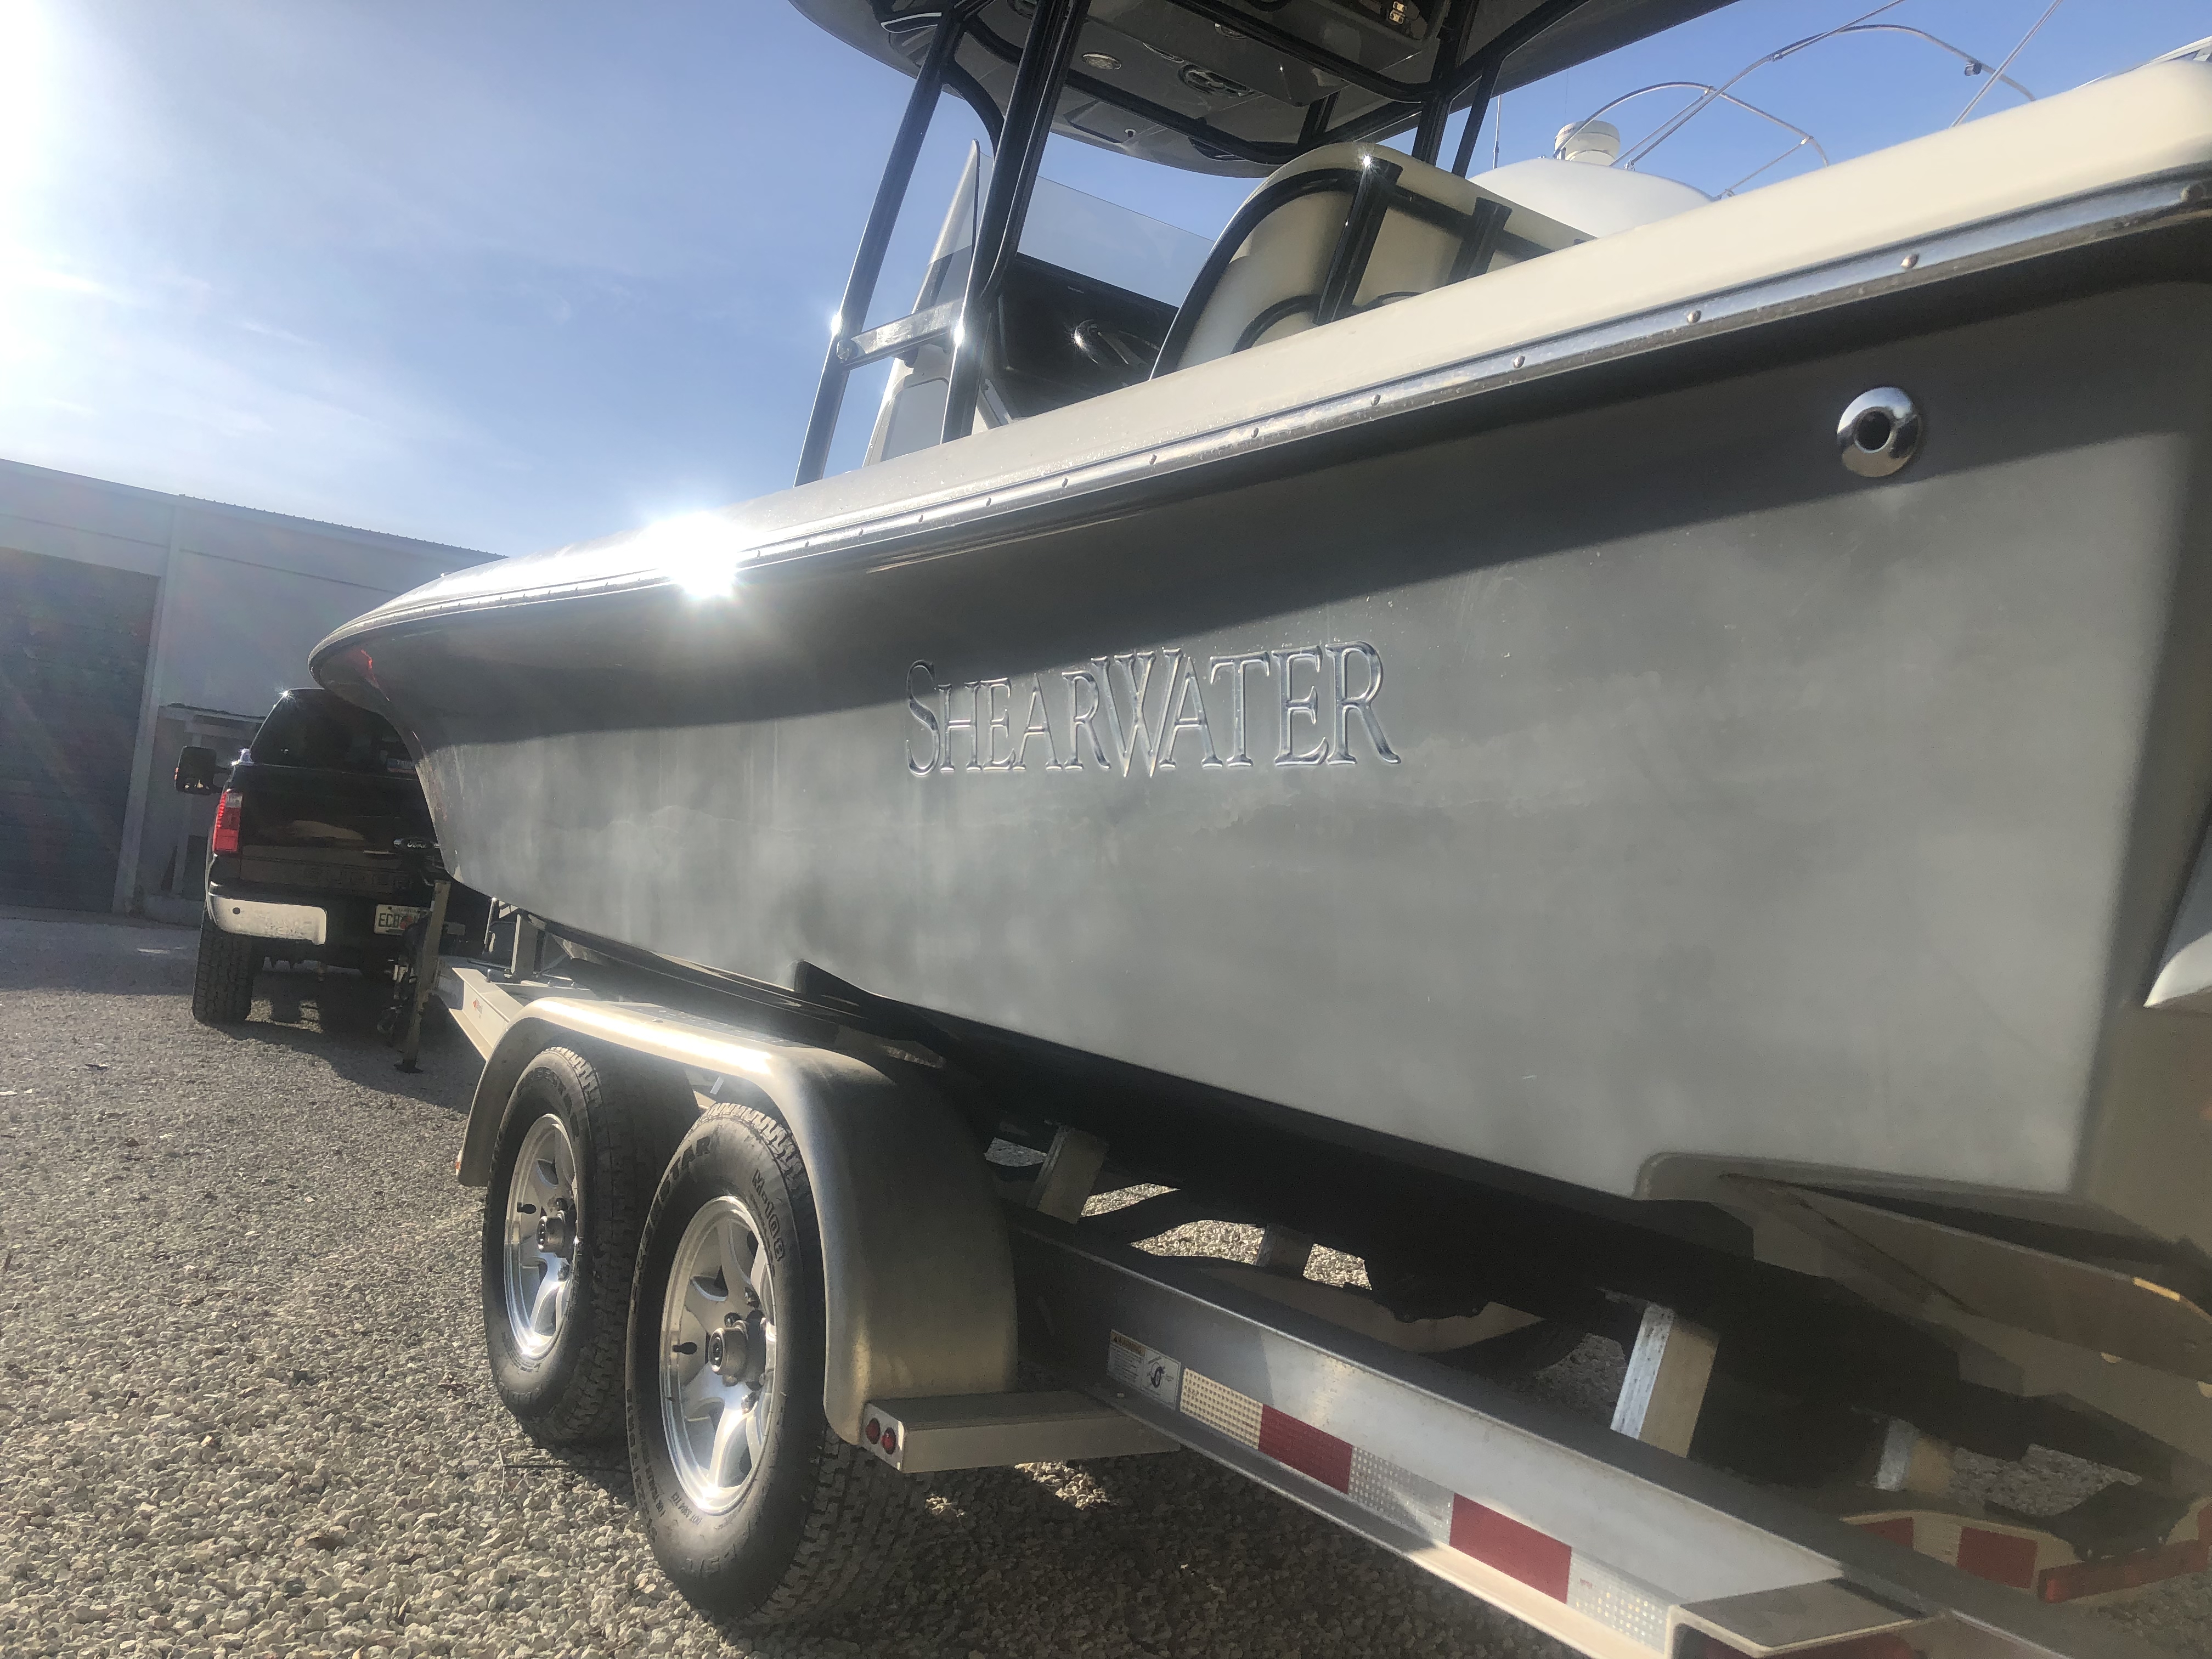
Walt, recently took over a fleet of boats for his client and wanted to revitalize this 2015 23' Shearwater, which had significant oxidization issues on the hull, gunwales and hard top. As a local, he has met us at the various boat shows here in South Florida and continually kept hearing about the strong performance of our ceramic boat coating.
Considering the necessity for extensive restoration work before applying the ceramic boat coating, Walt and the owner decided to move forward with us completing the application.
This case study will be informative for any boat owner, detailer and/or marina who would like to understand the level of effort is required to complete a ceramic boat coating. And, that each boat presents their unique challenges and the requirement to make the best of it.
- Boat Brand:
- Shearwater
- Boat Year:
- 2015
- Length Overall:
- 23'
- Ceramic Coating To:
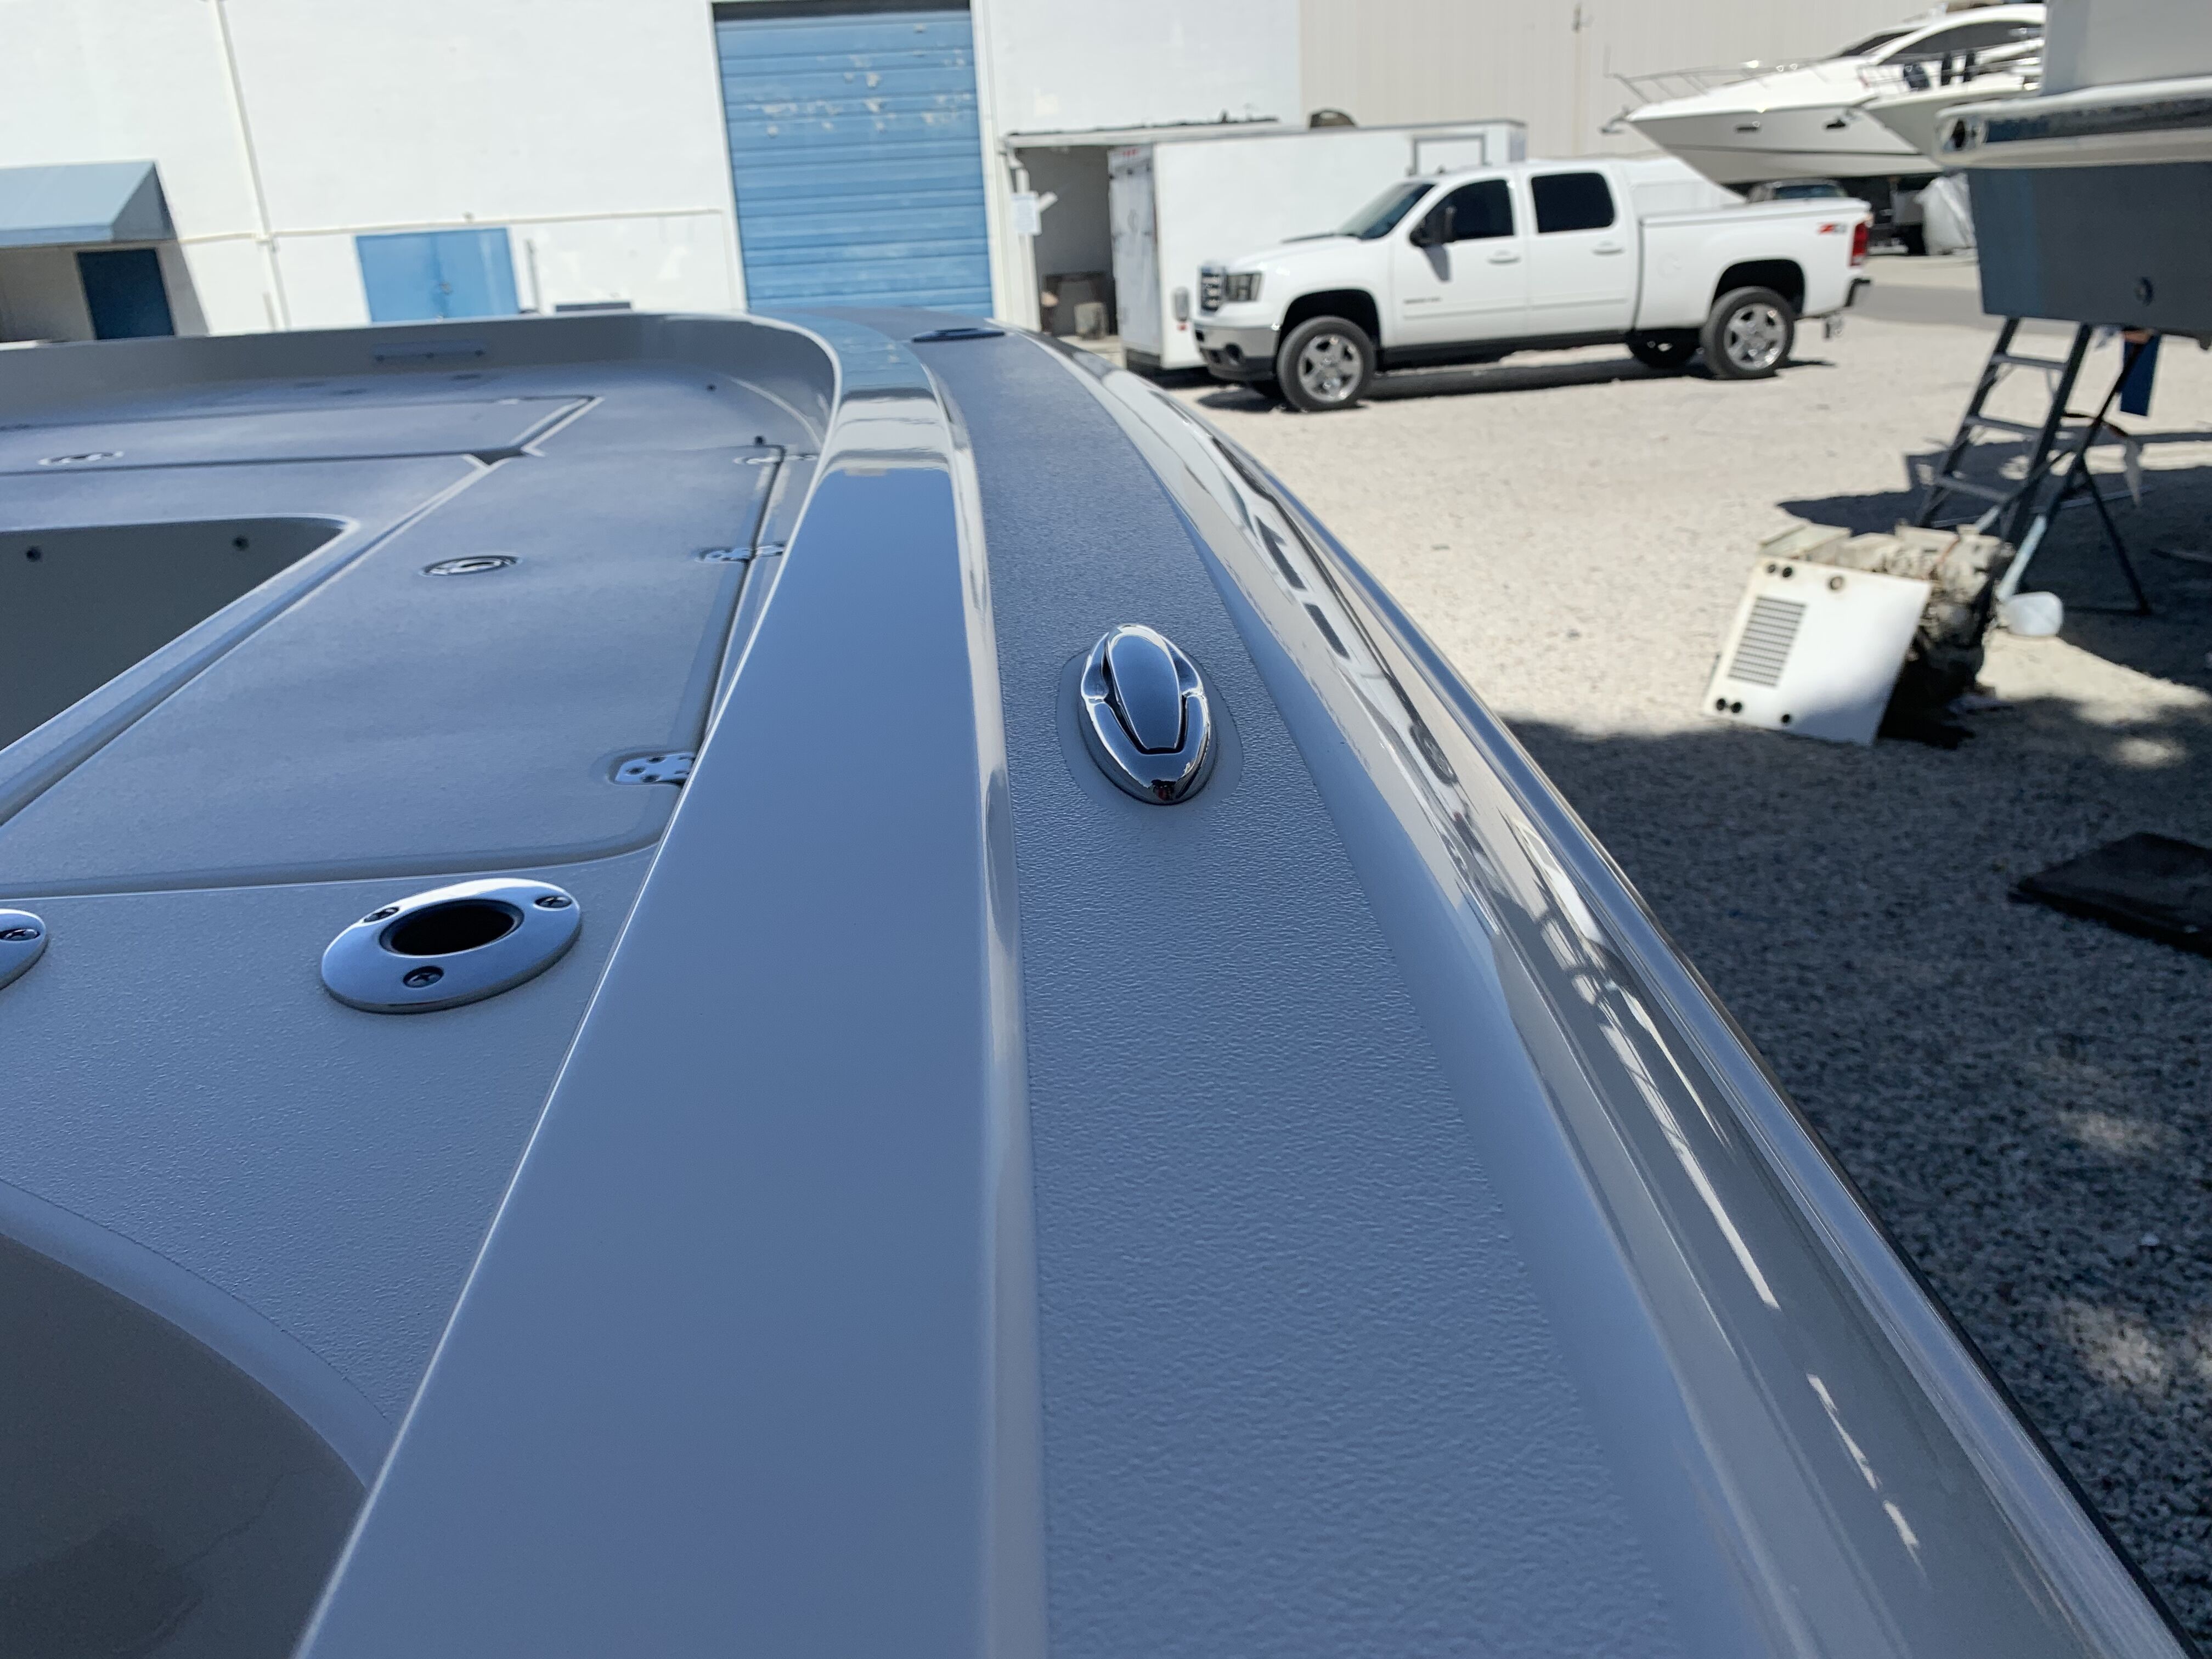
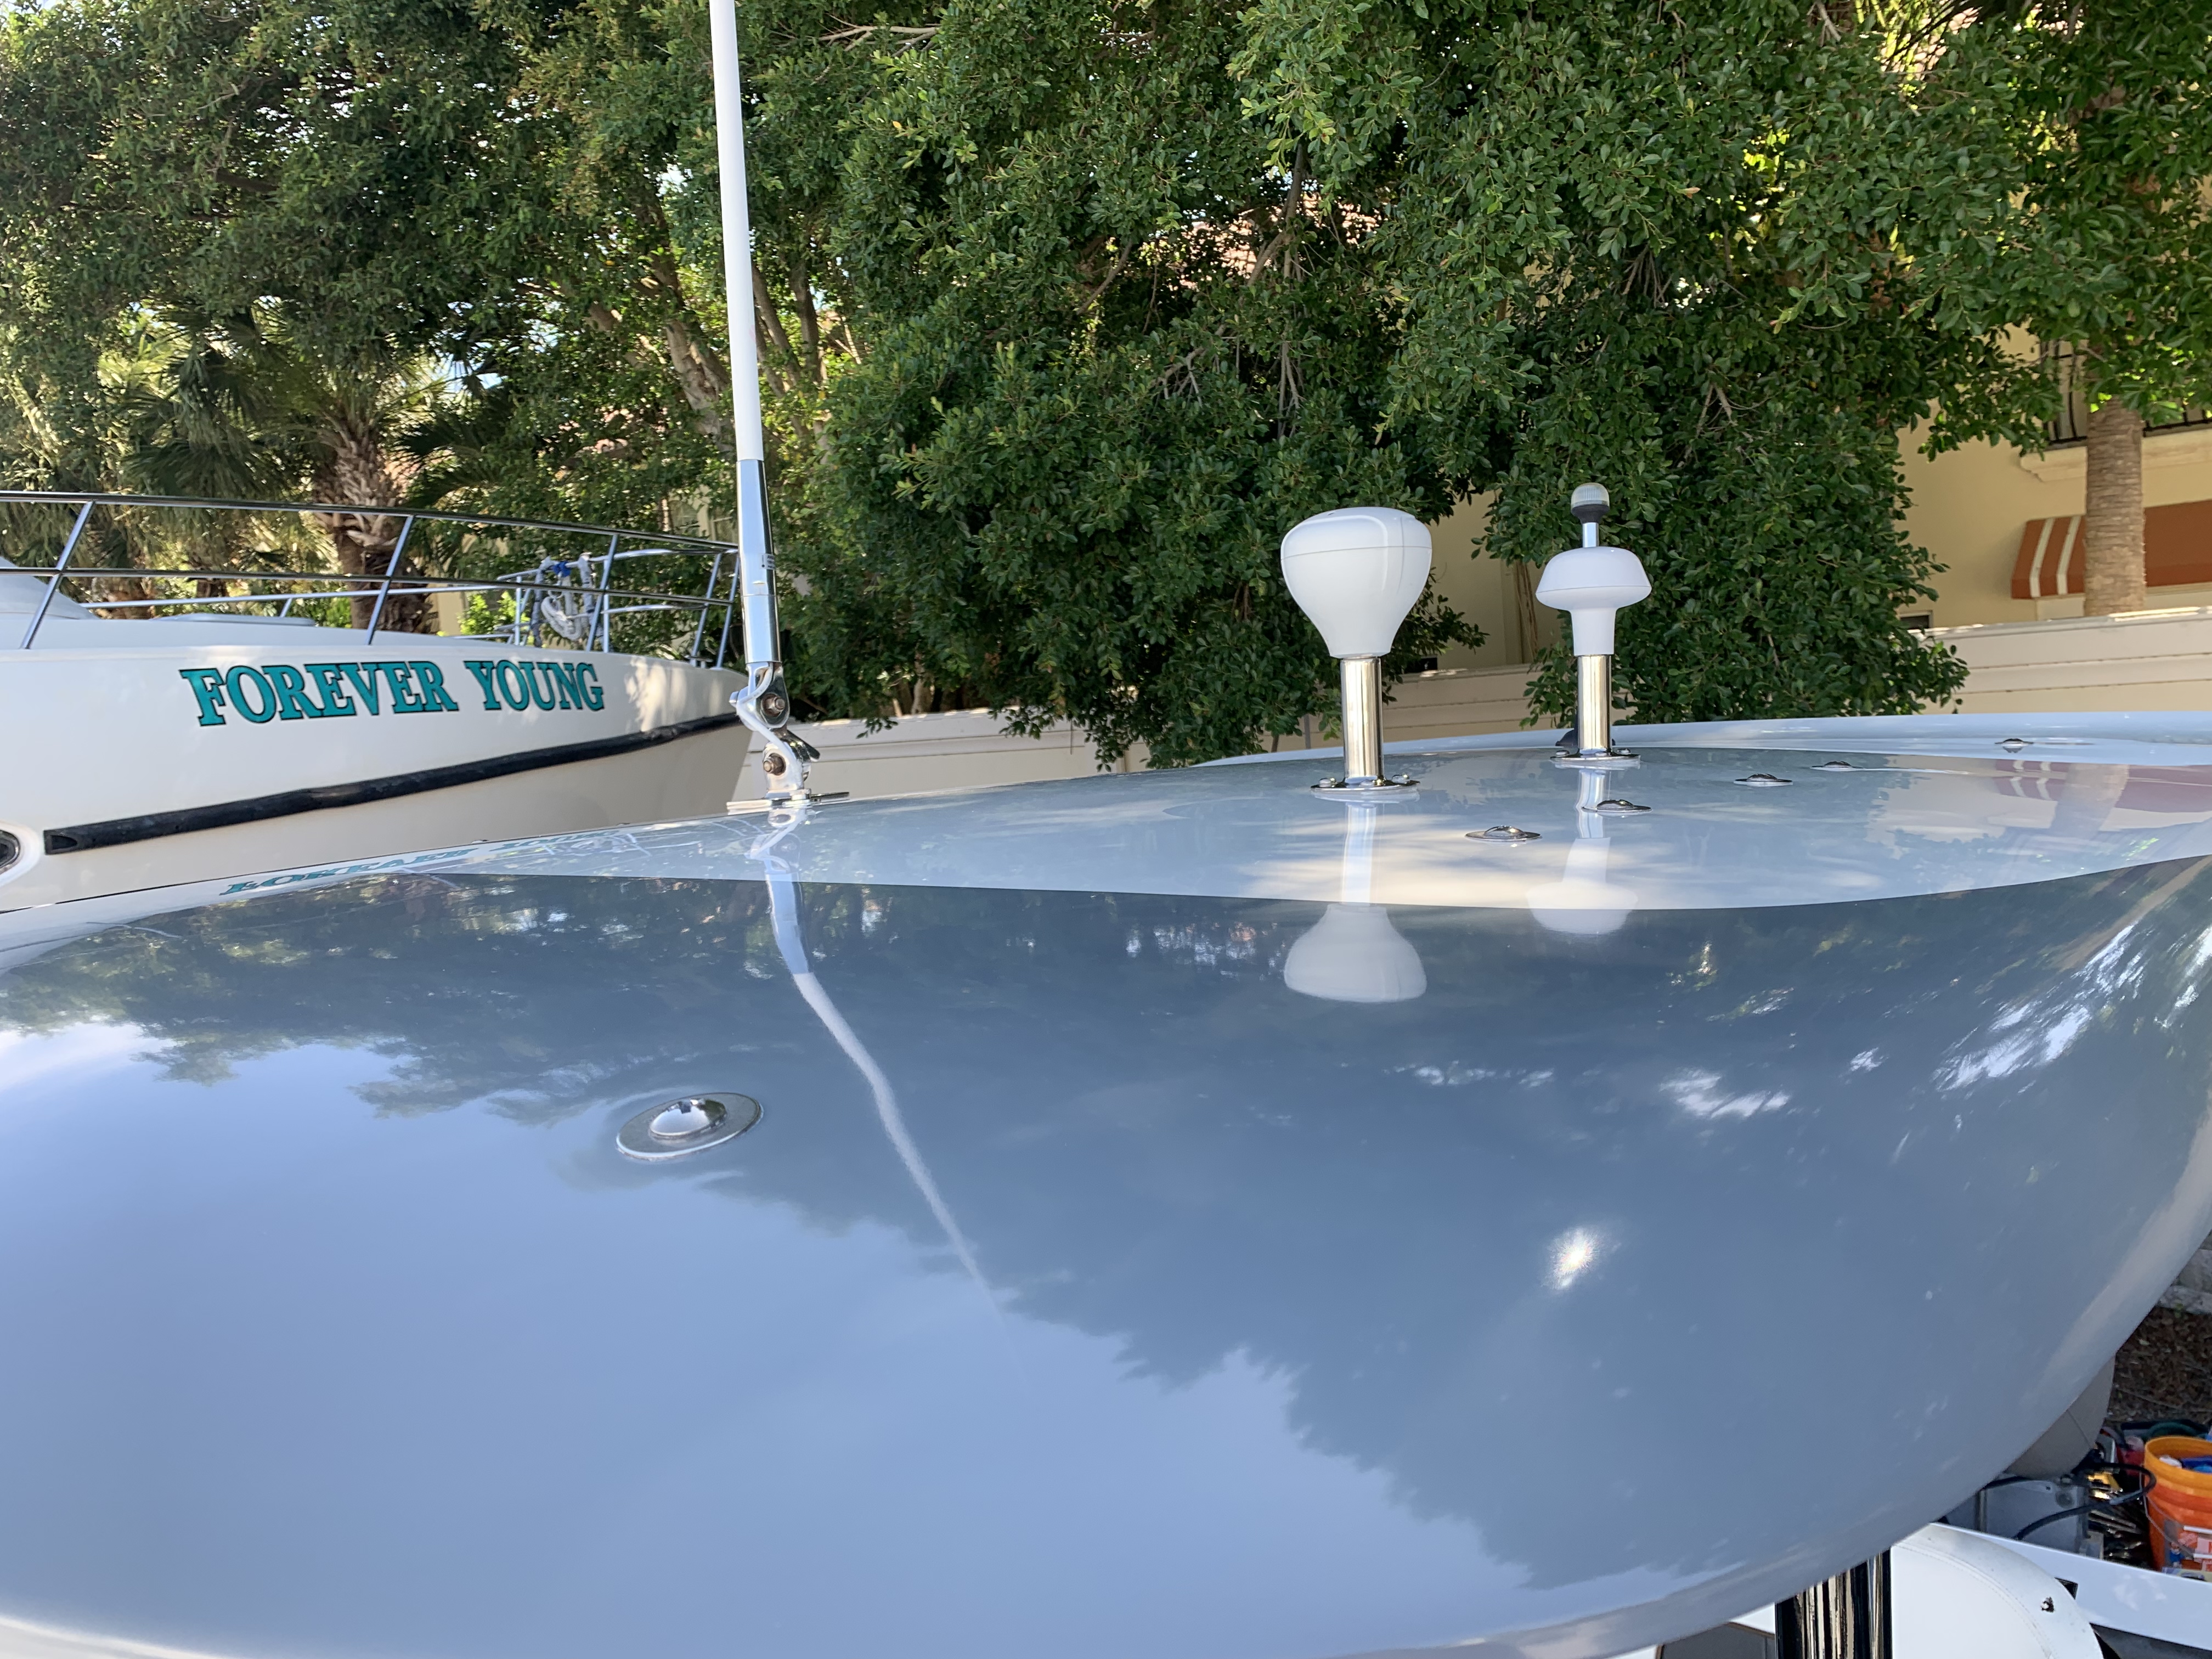
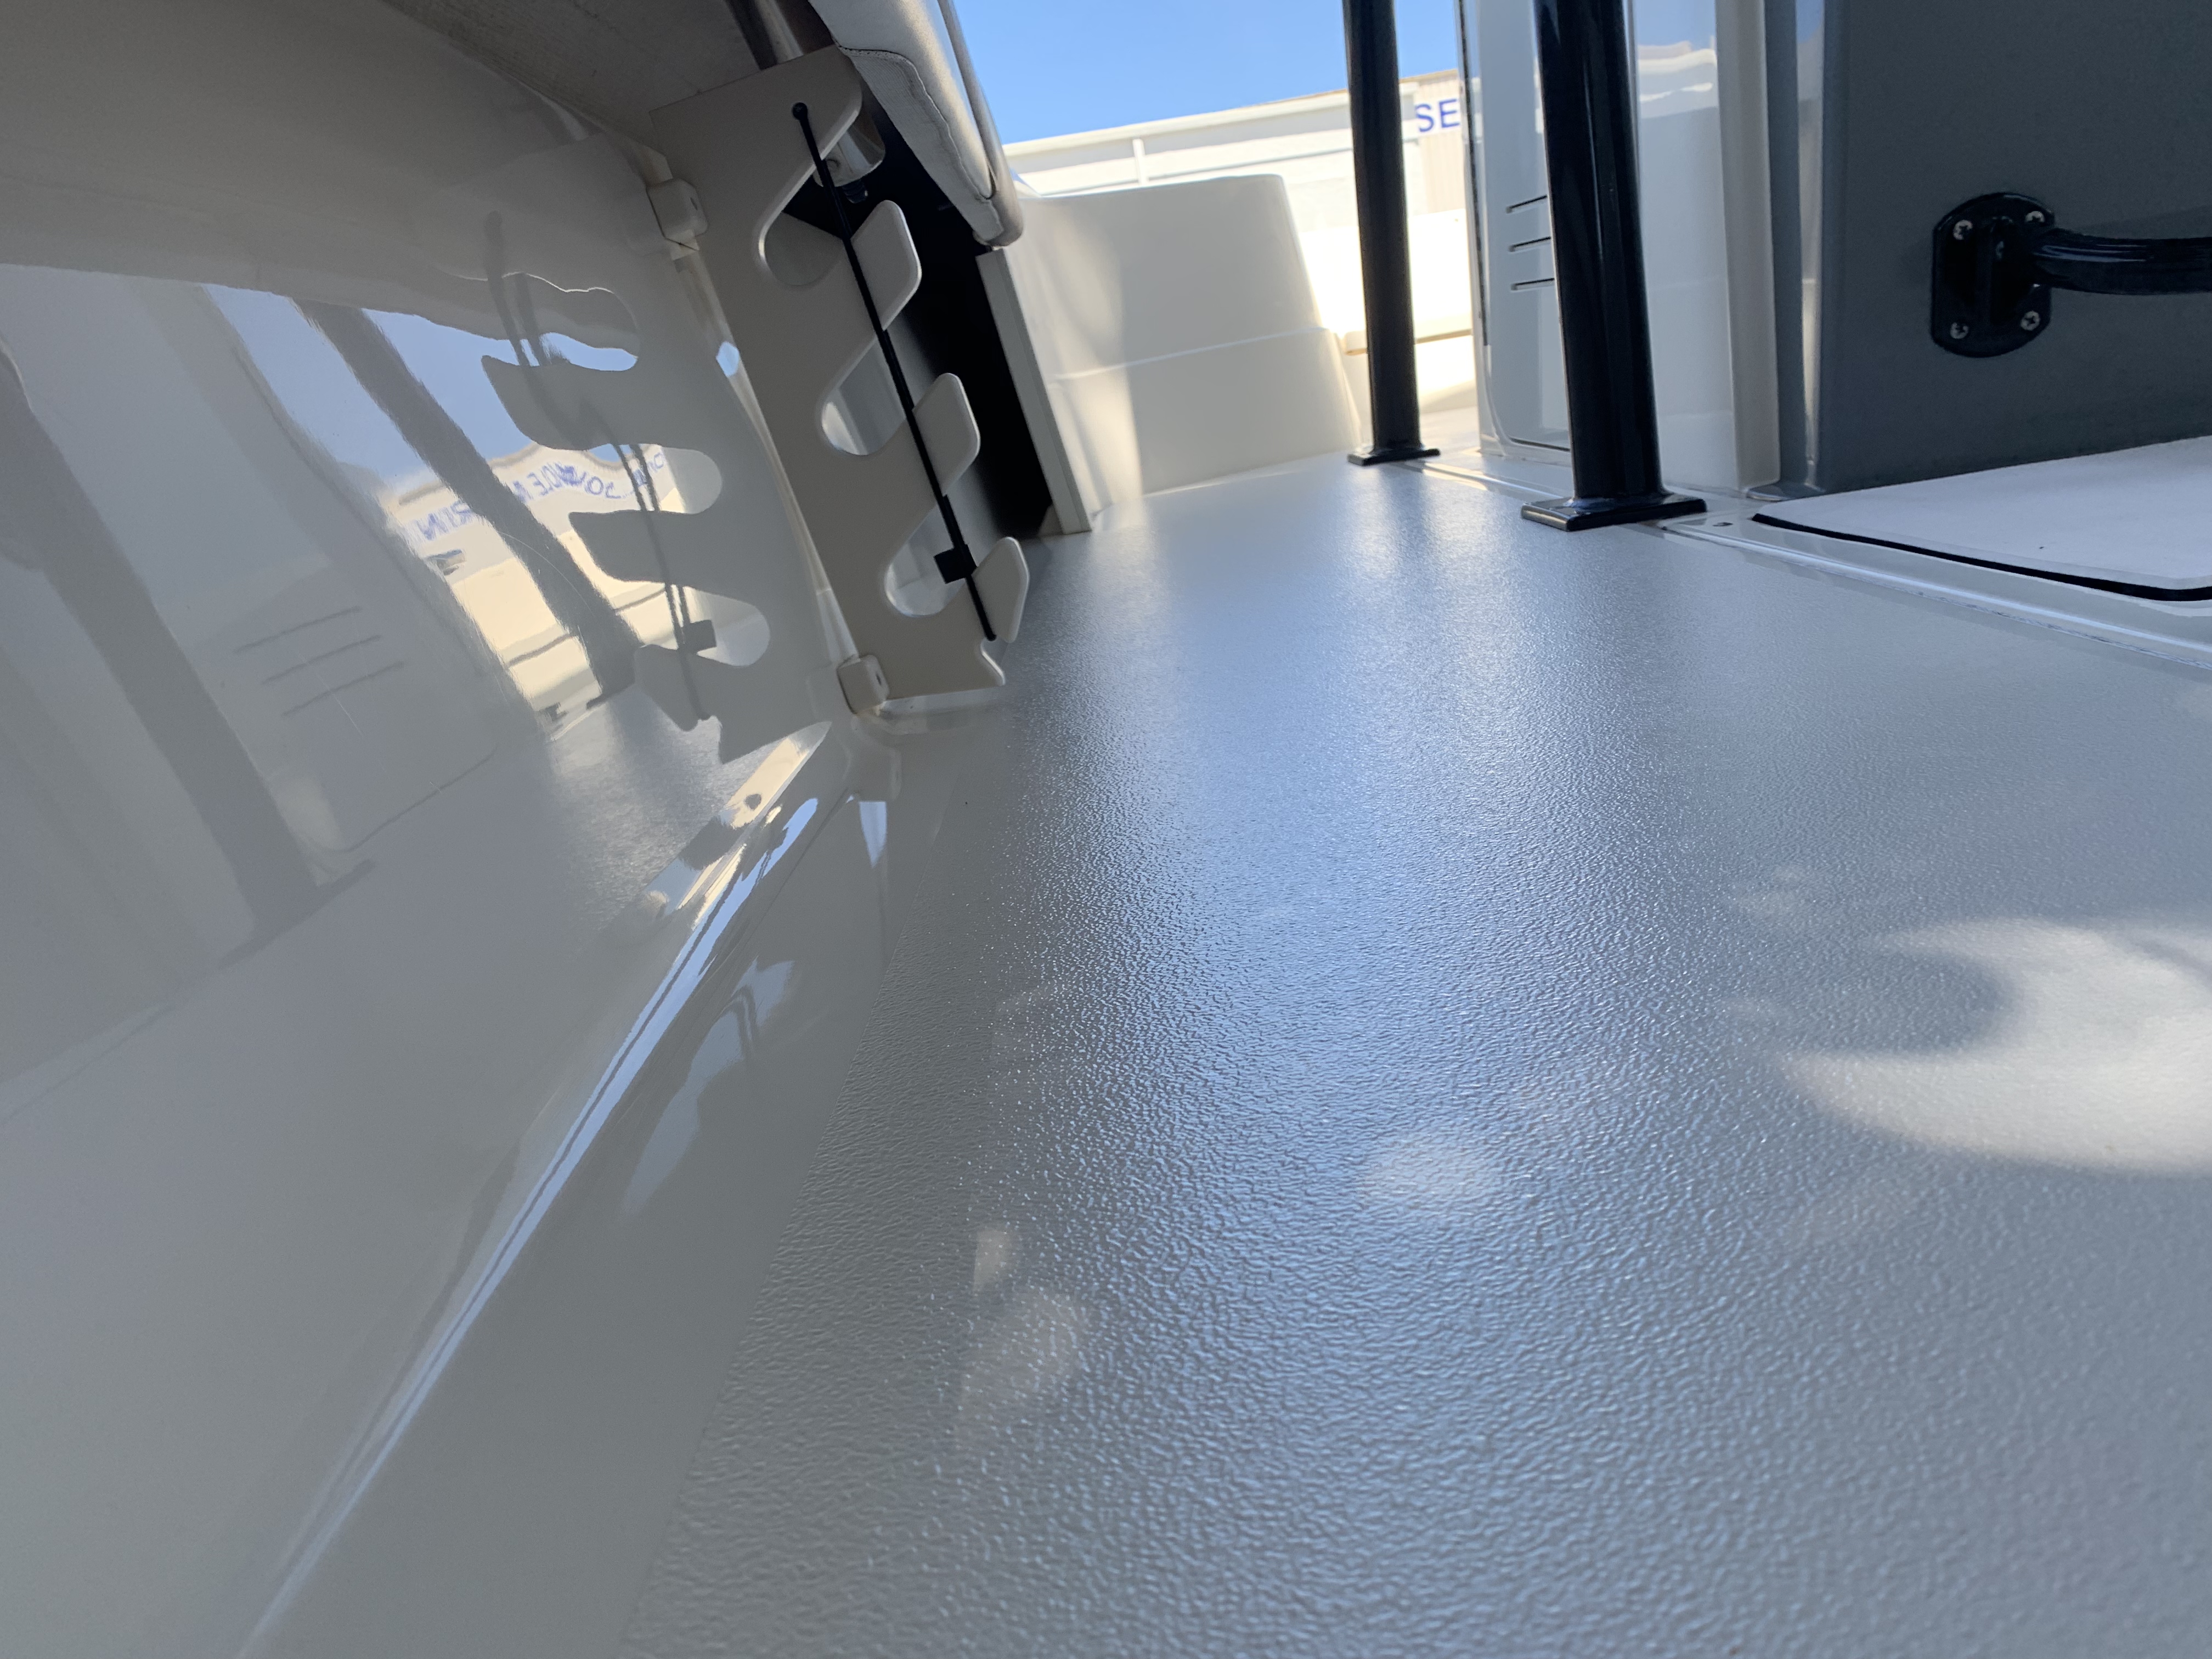
- Hull (waterline & up), transom, gunwales, all of the flat fiberglass on the top side and non-skid
- Completion Time:
- 62 hours
- Location:
- West Palm Beach, FL
Considering this Shearwater is only a few years old, it presented a number of challenges during the prep stages. We are commonly asked about a sure-fire process to prepping boats and the unfortunate nature is that each boat is different and presents unique challenges. As such, we like to describe it as figuring out a puzzle.
And, did this Shearwater cause a few head scratches to figure out the puzzle.
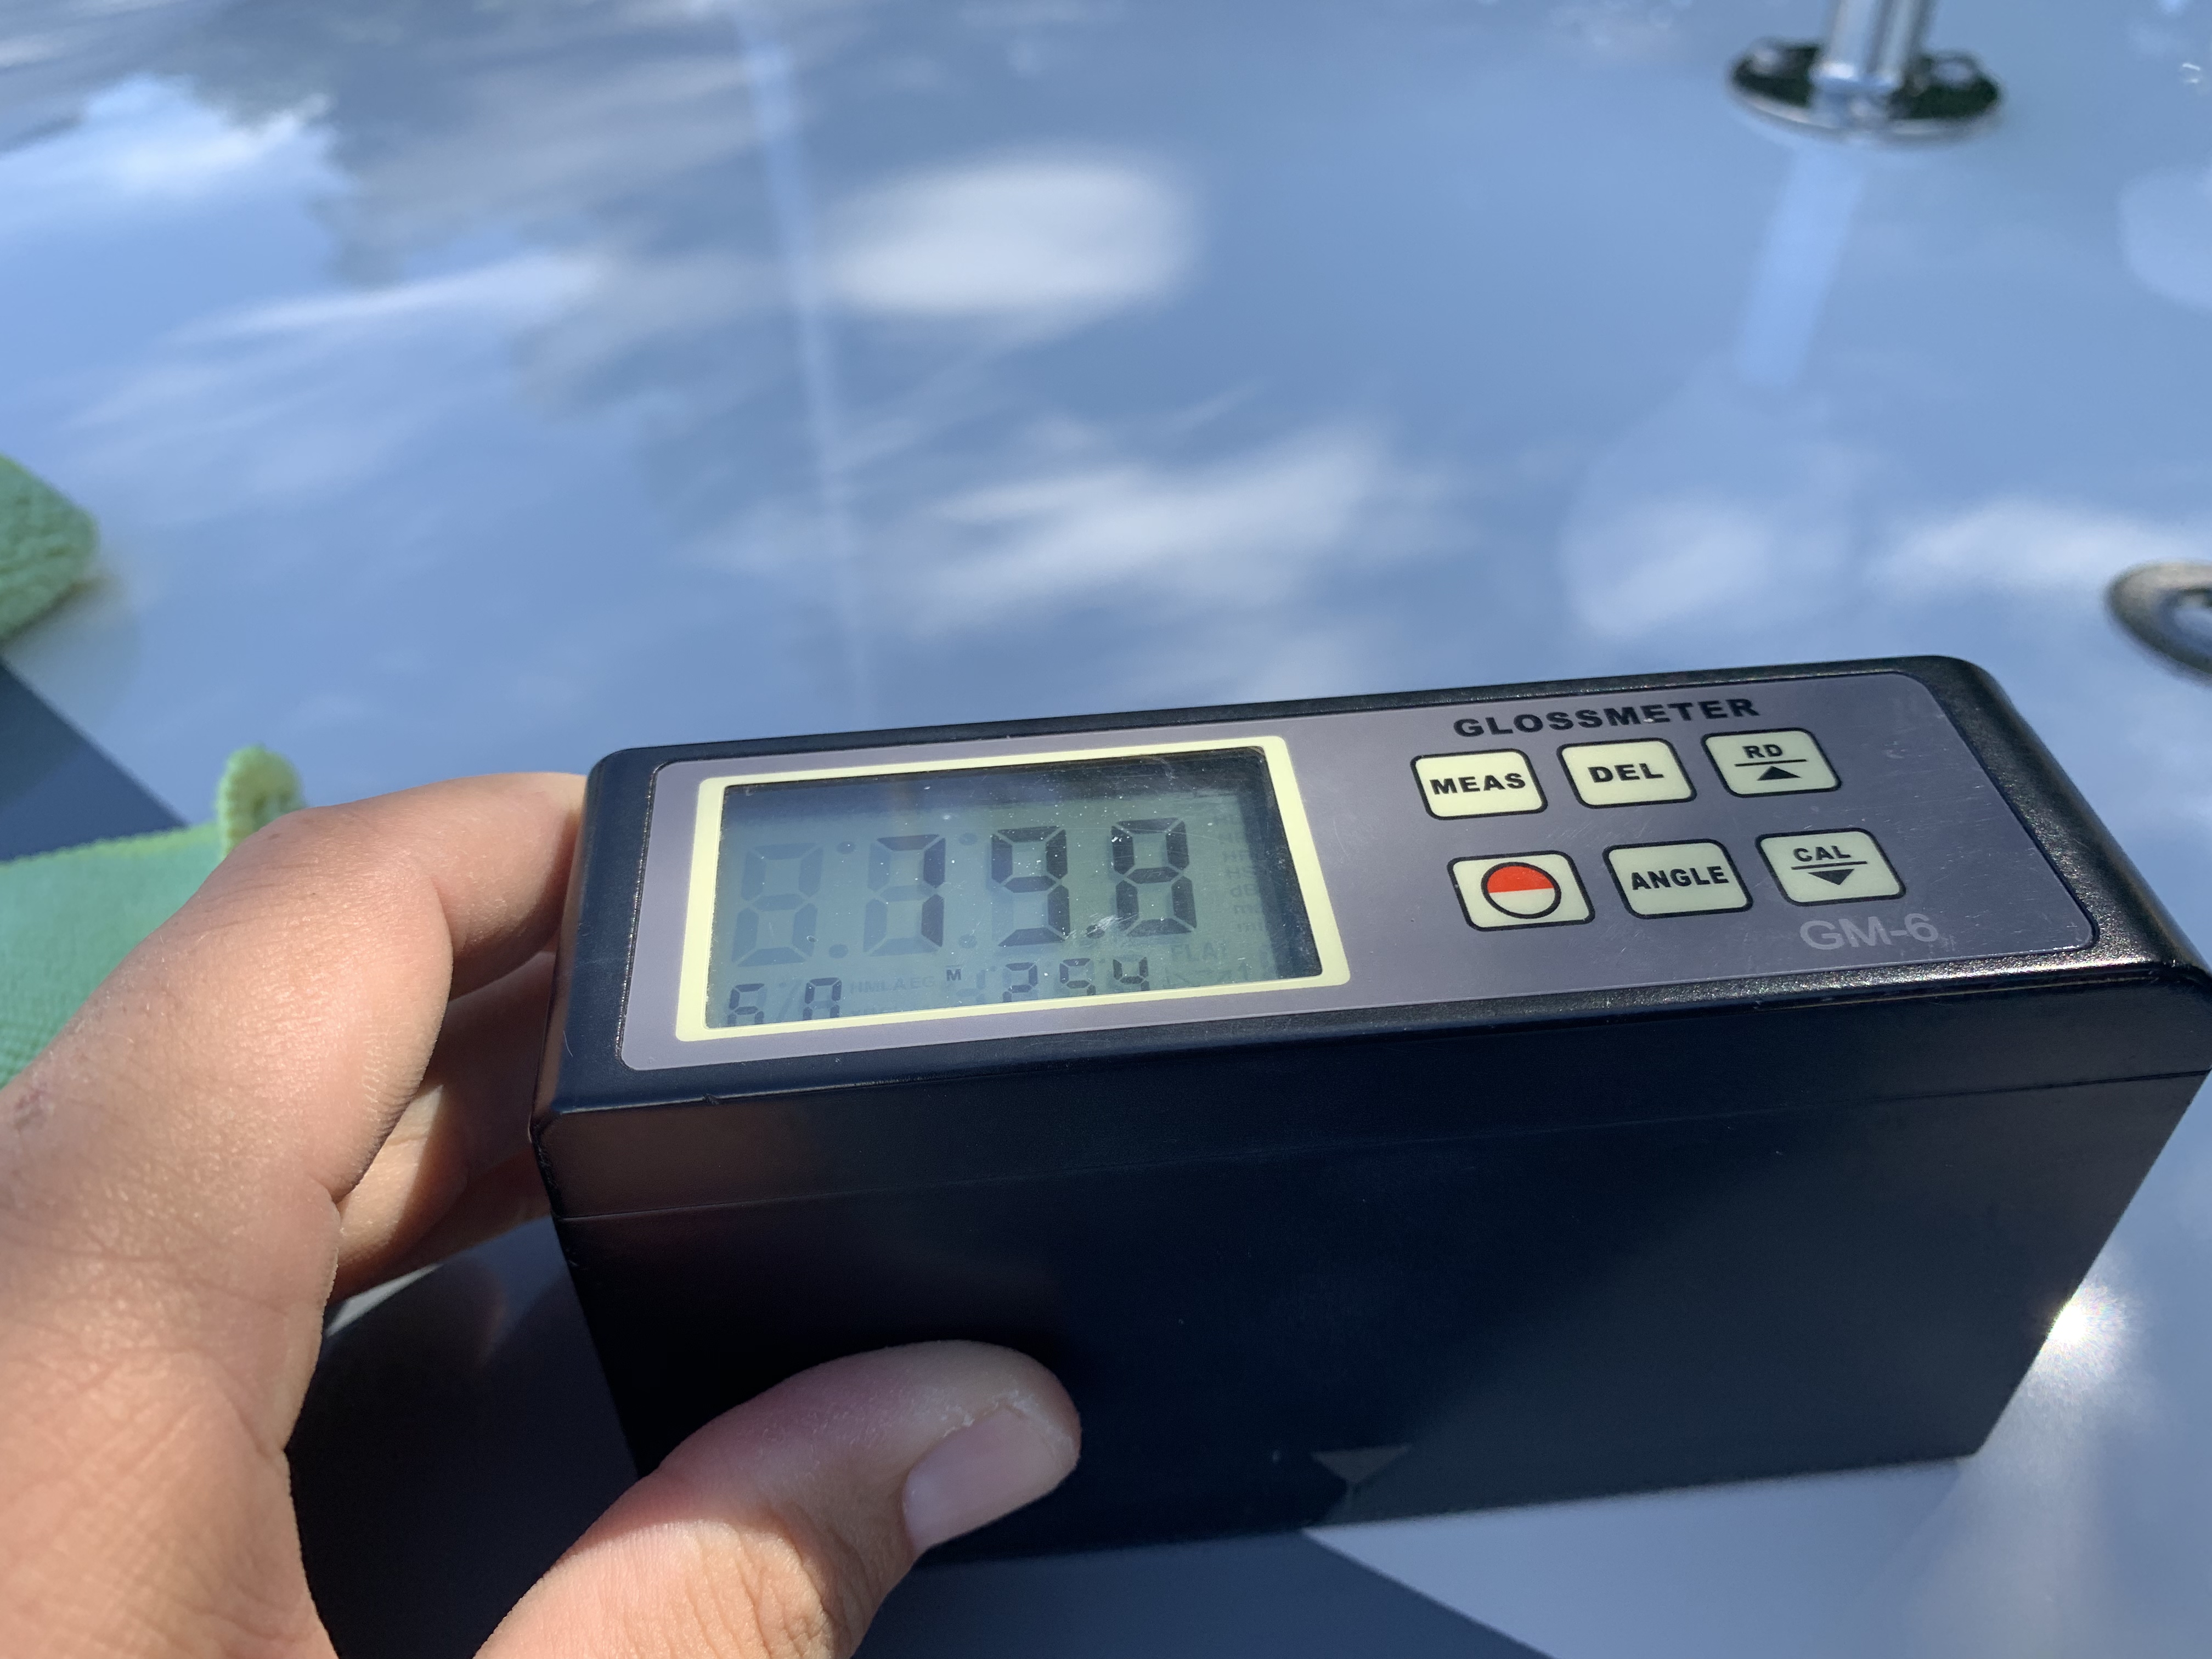
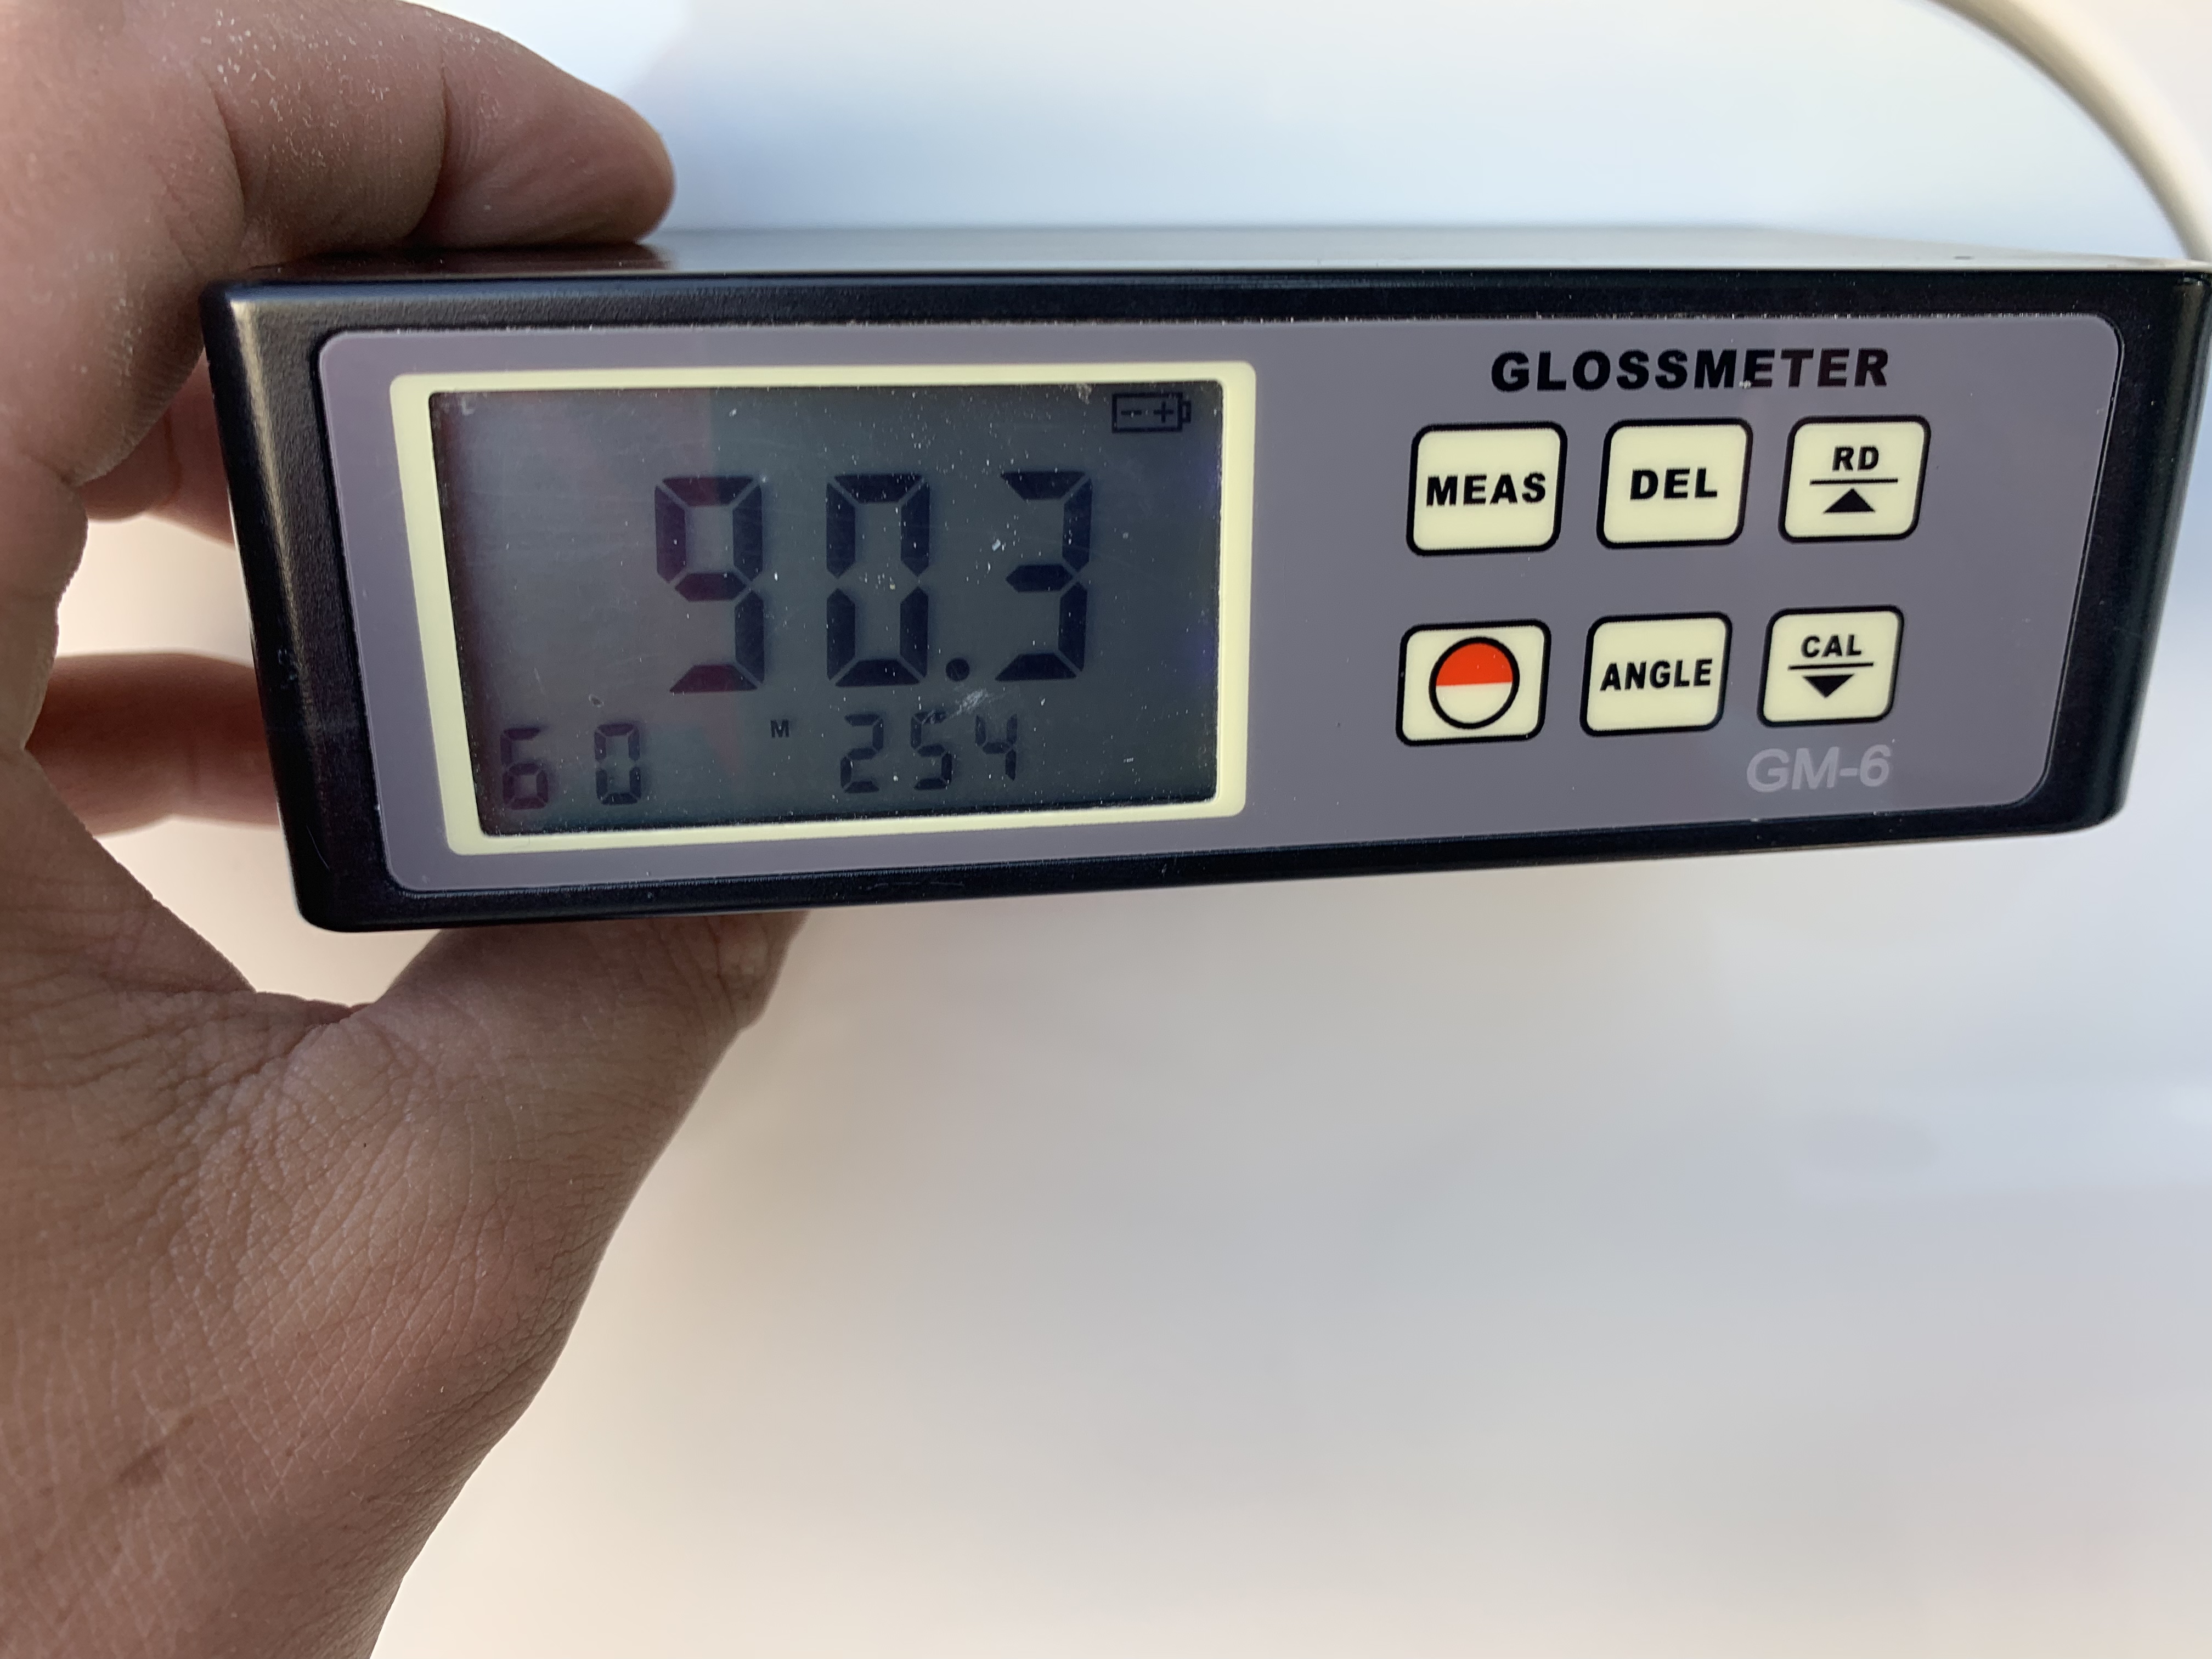
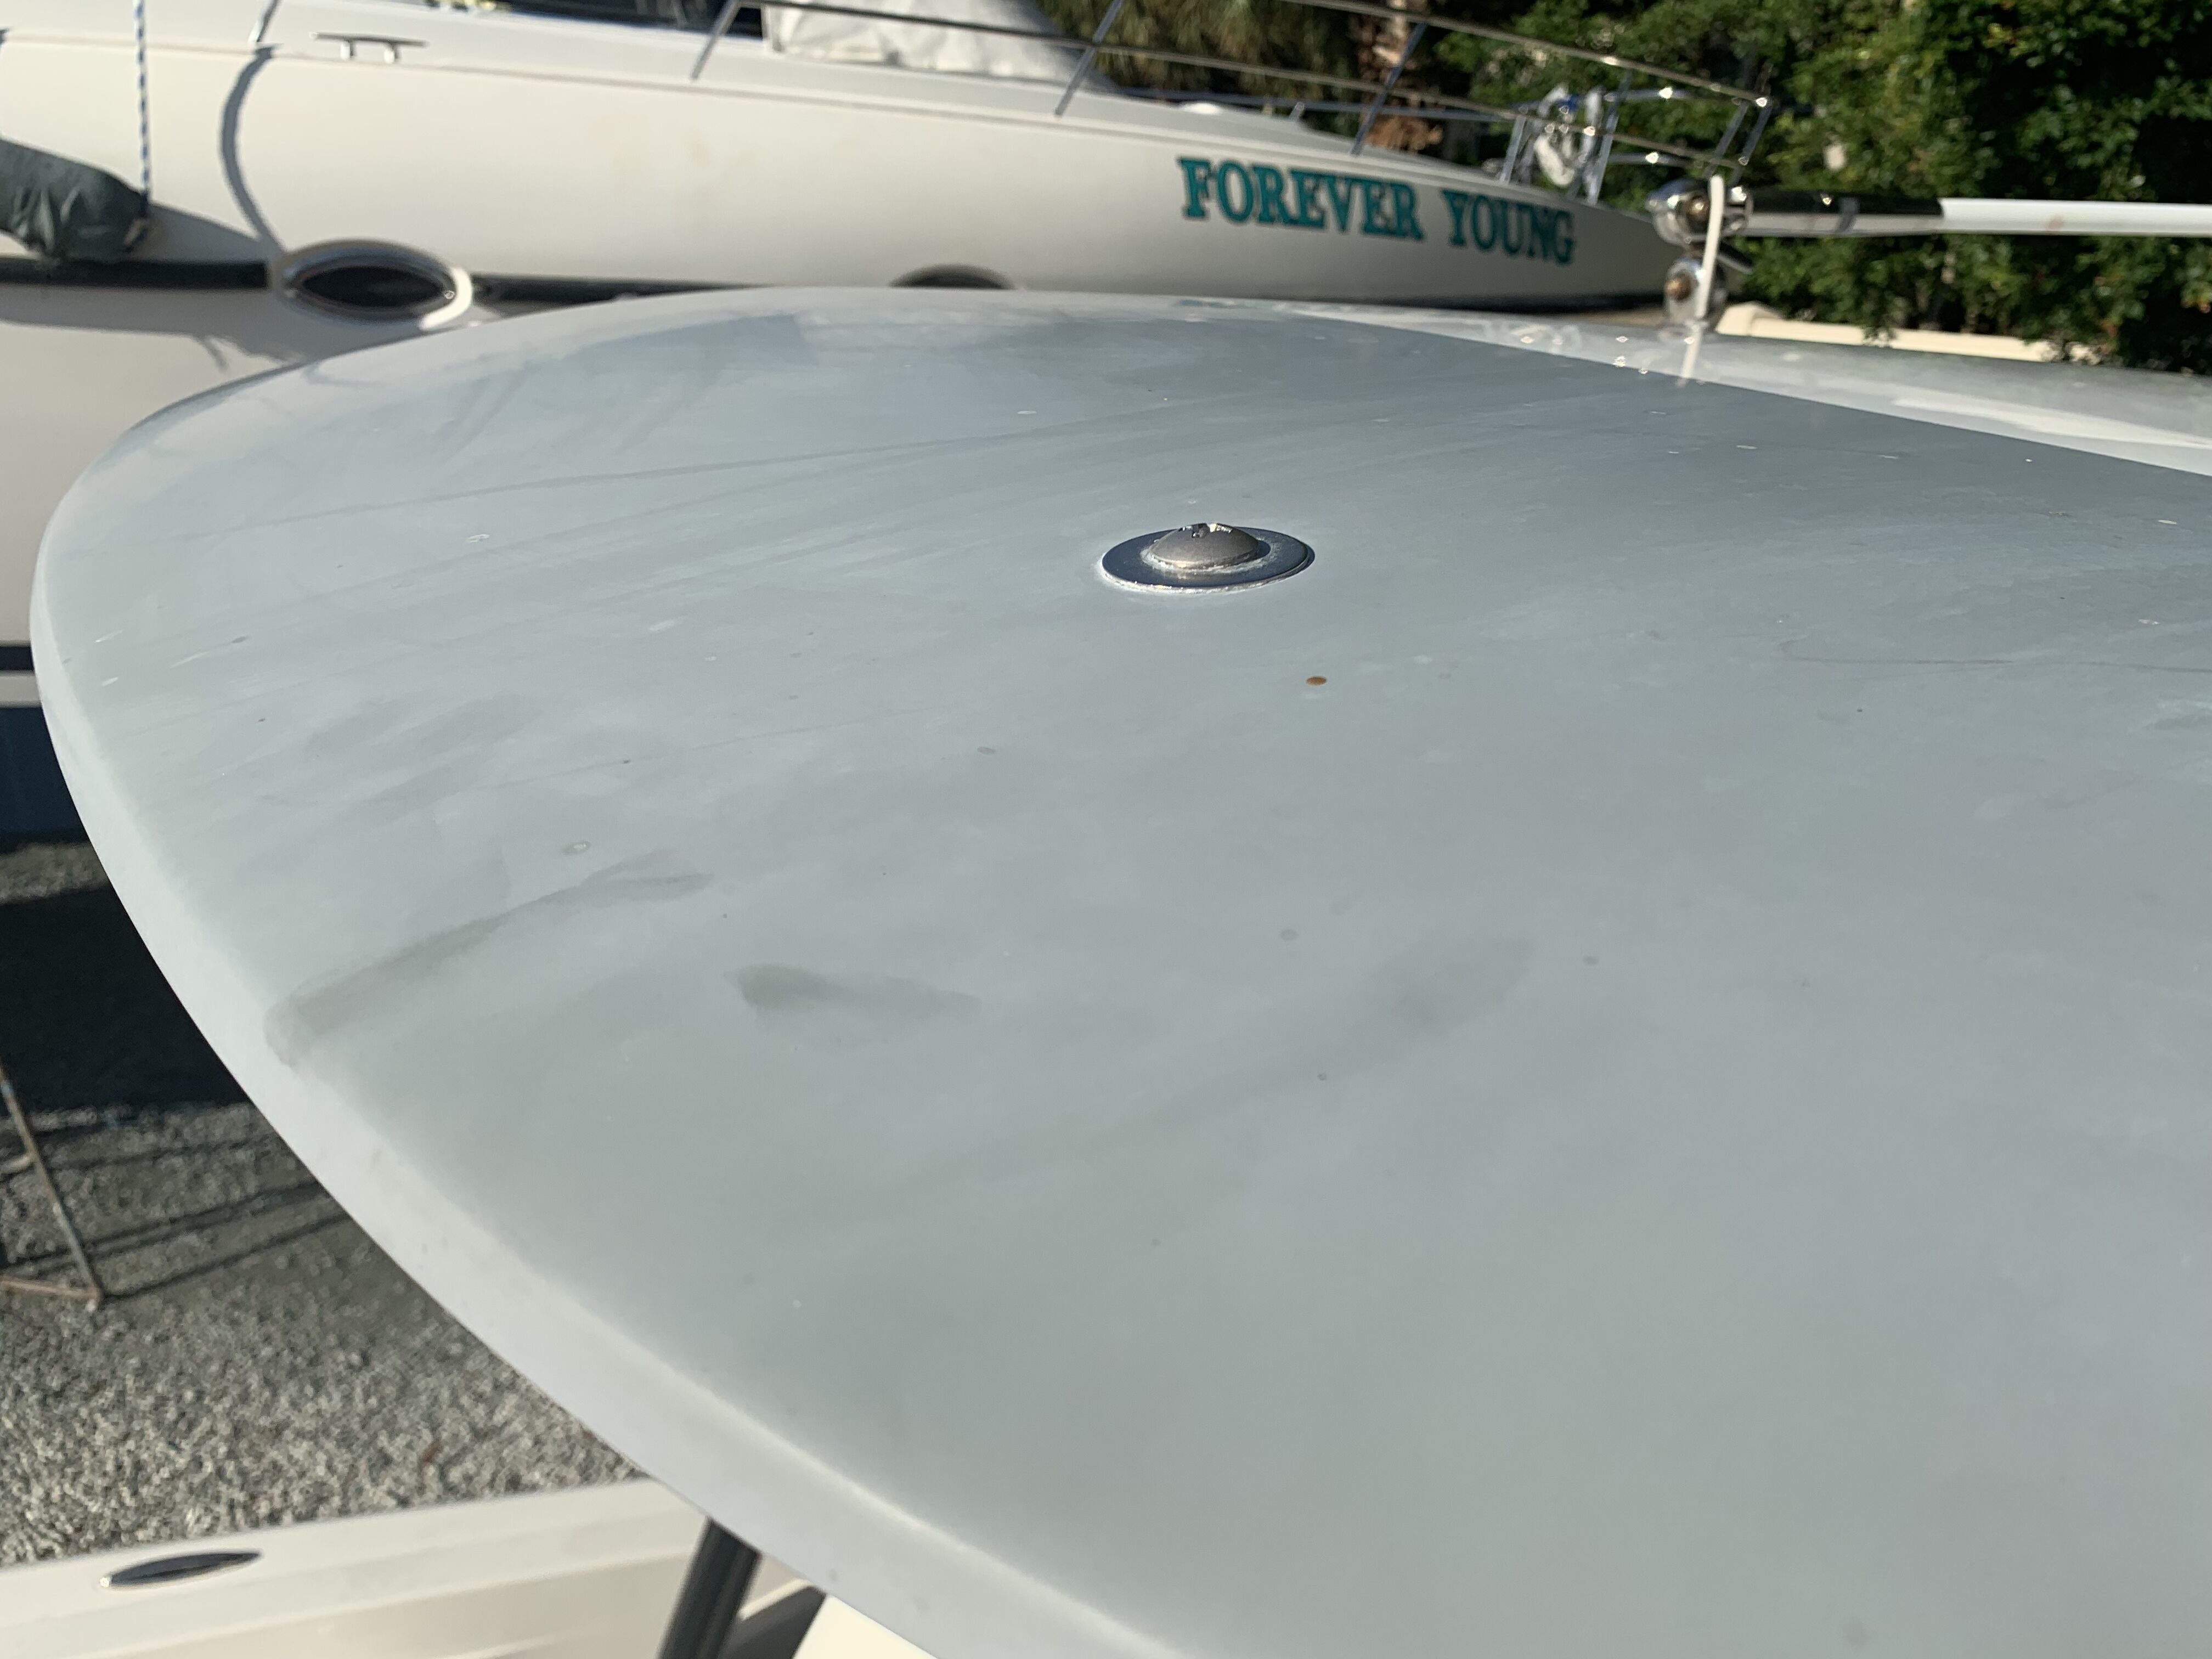
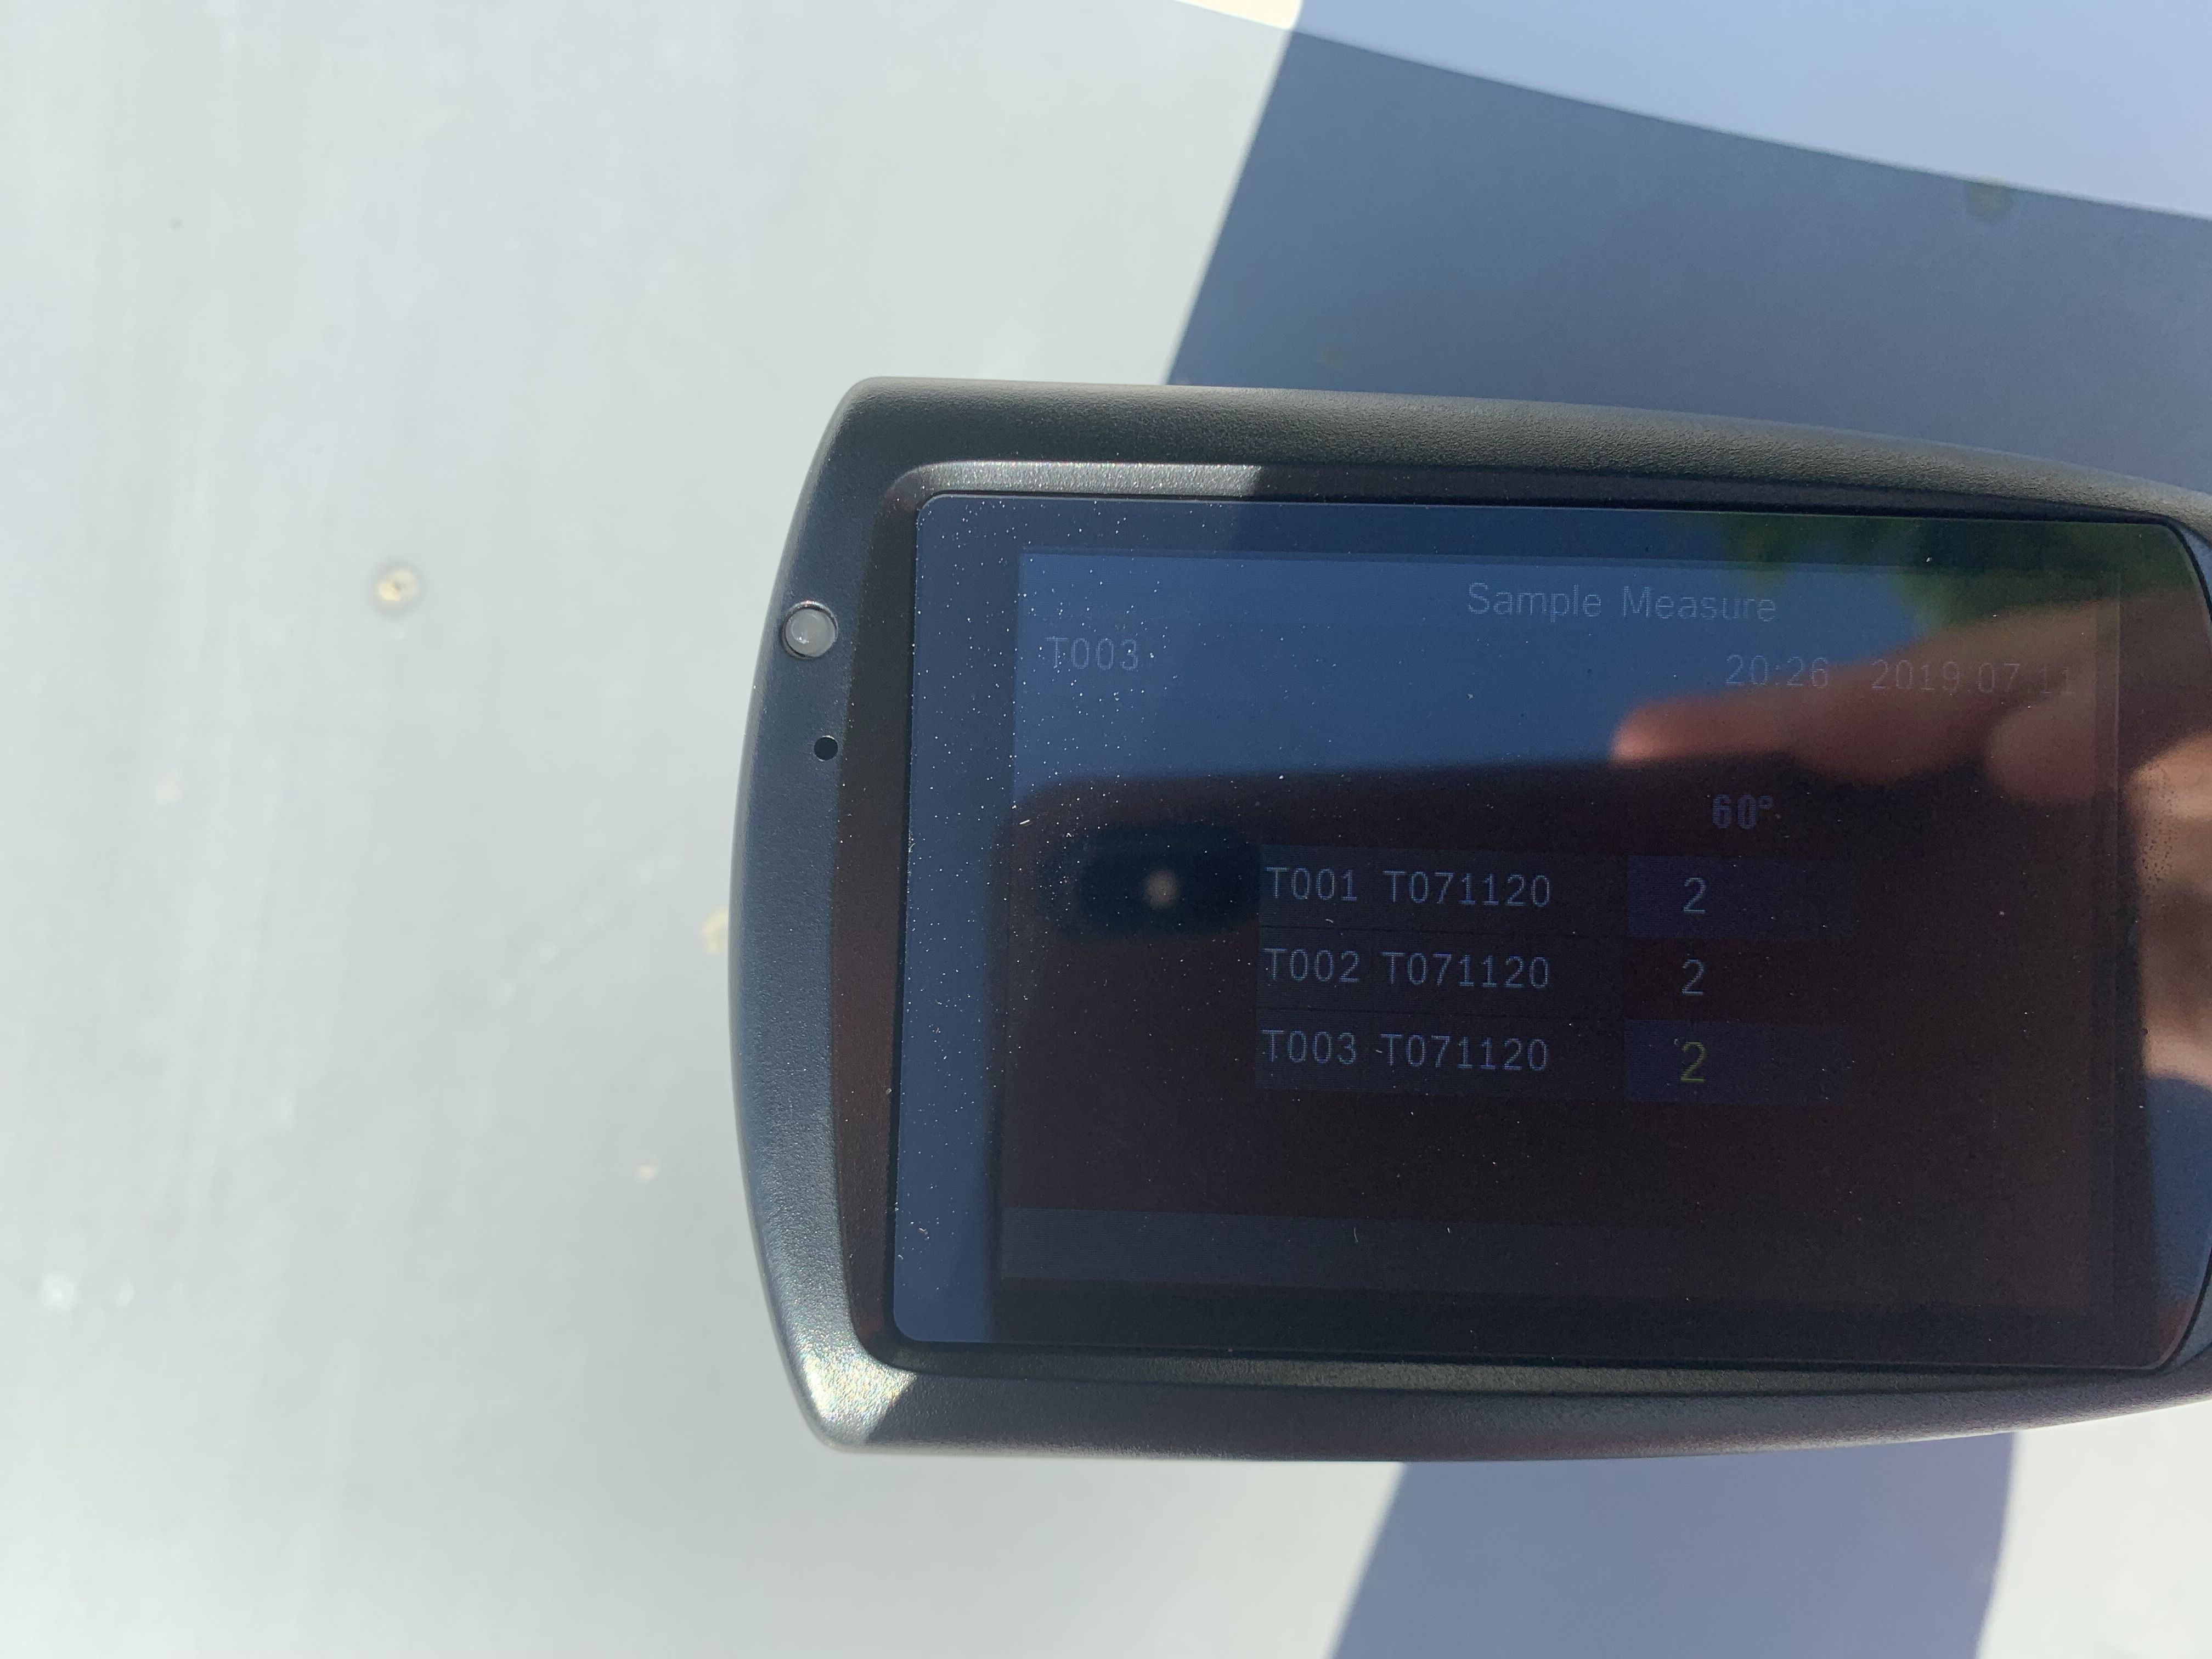
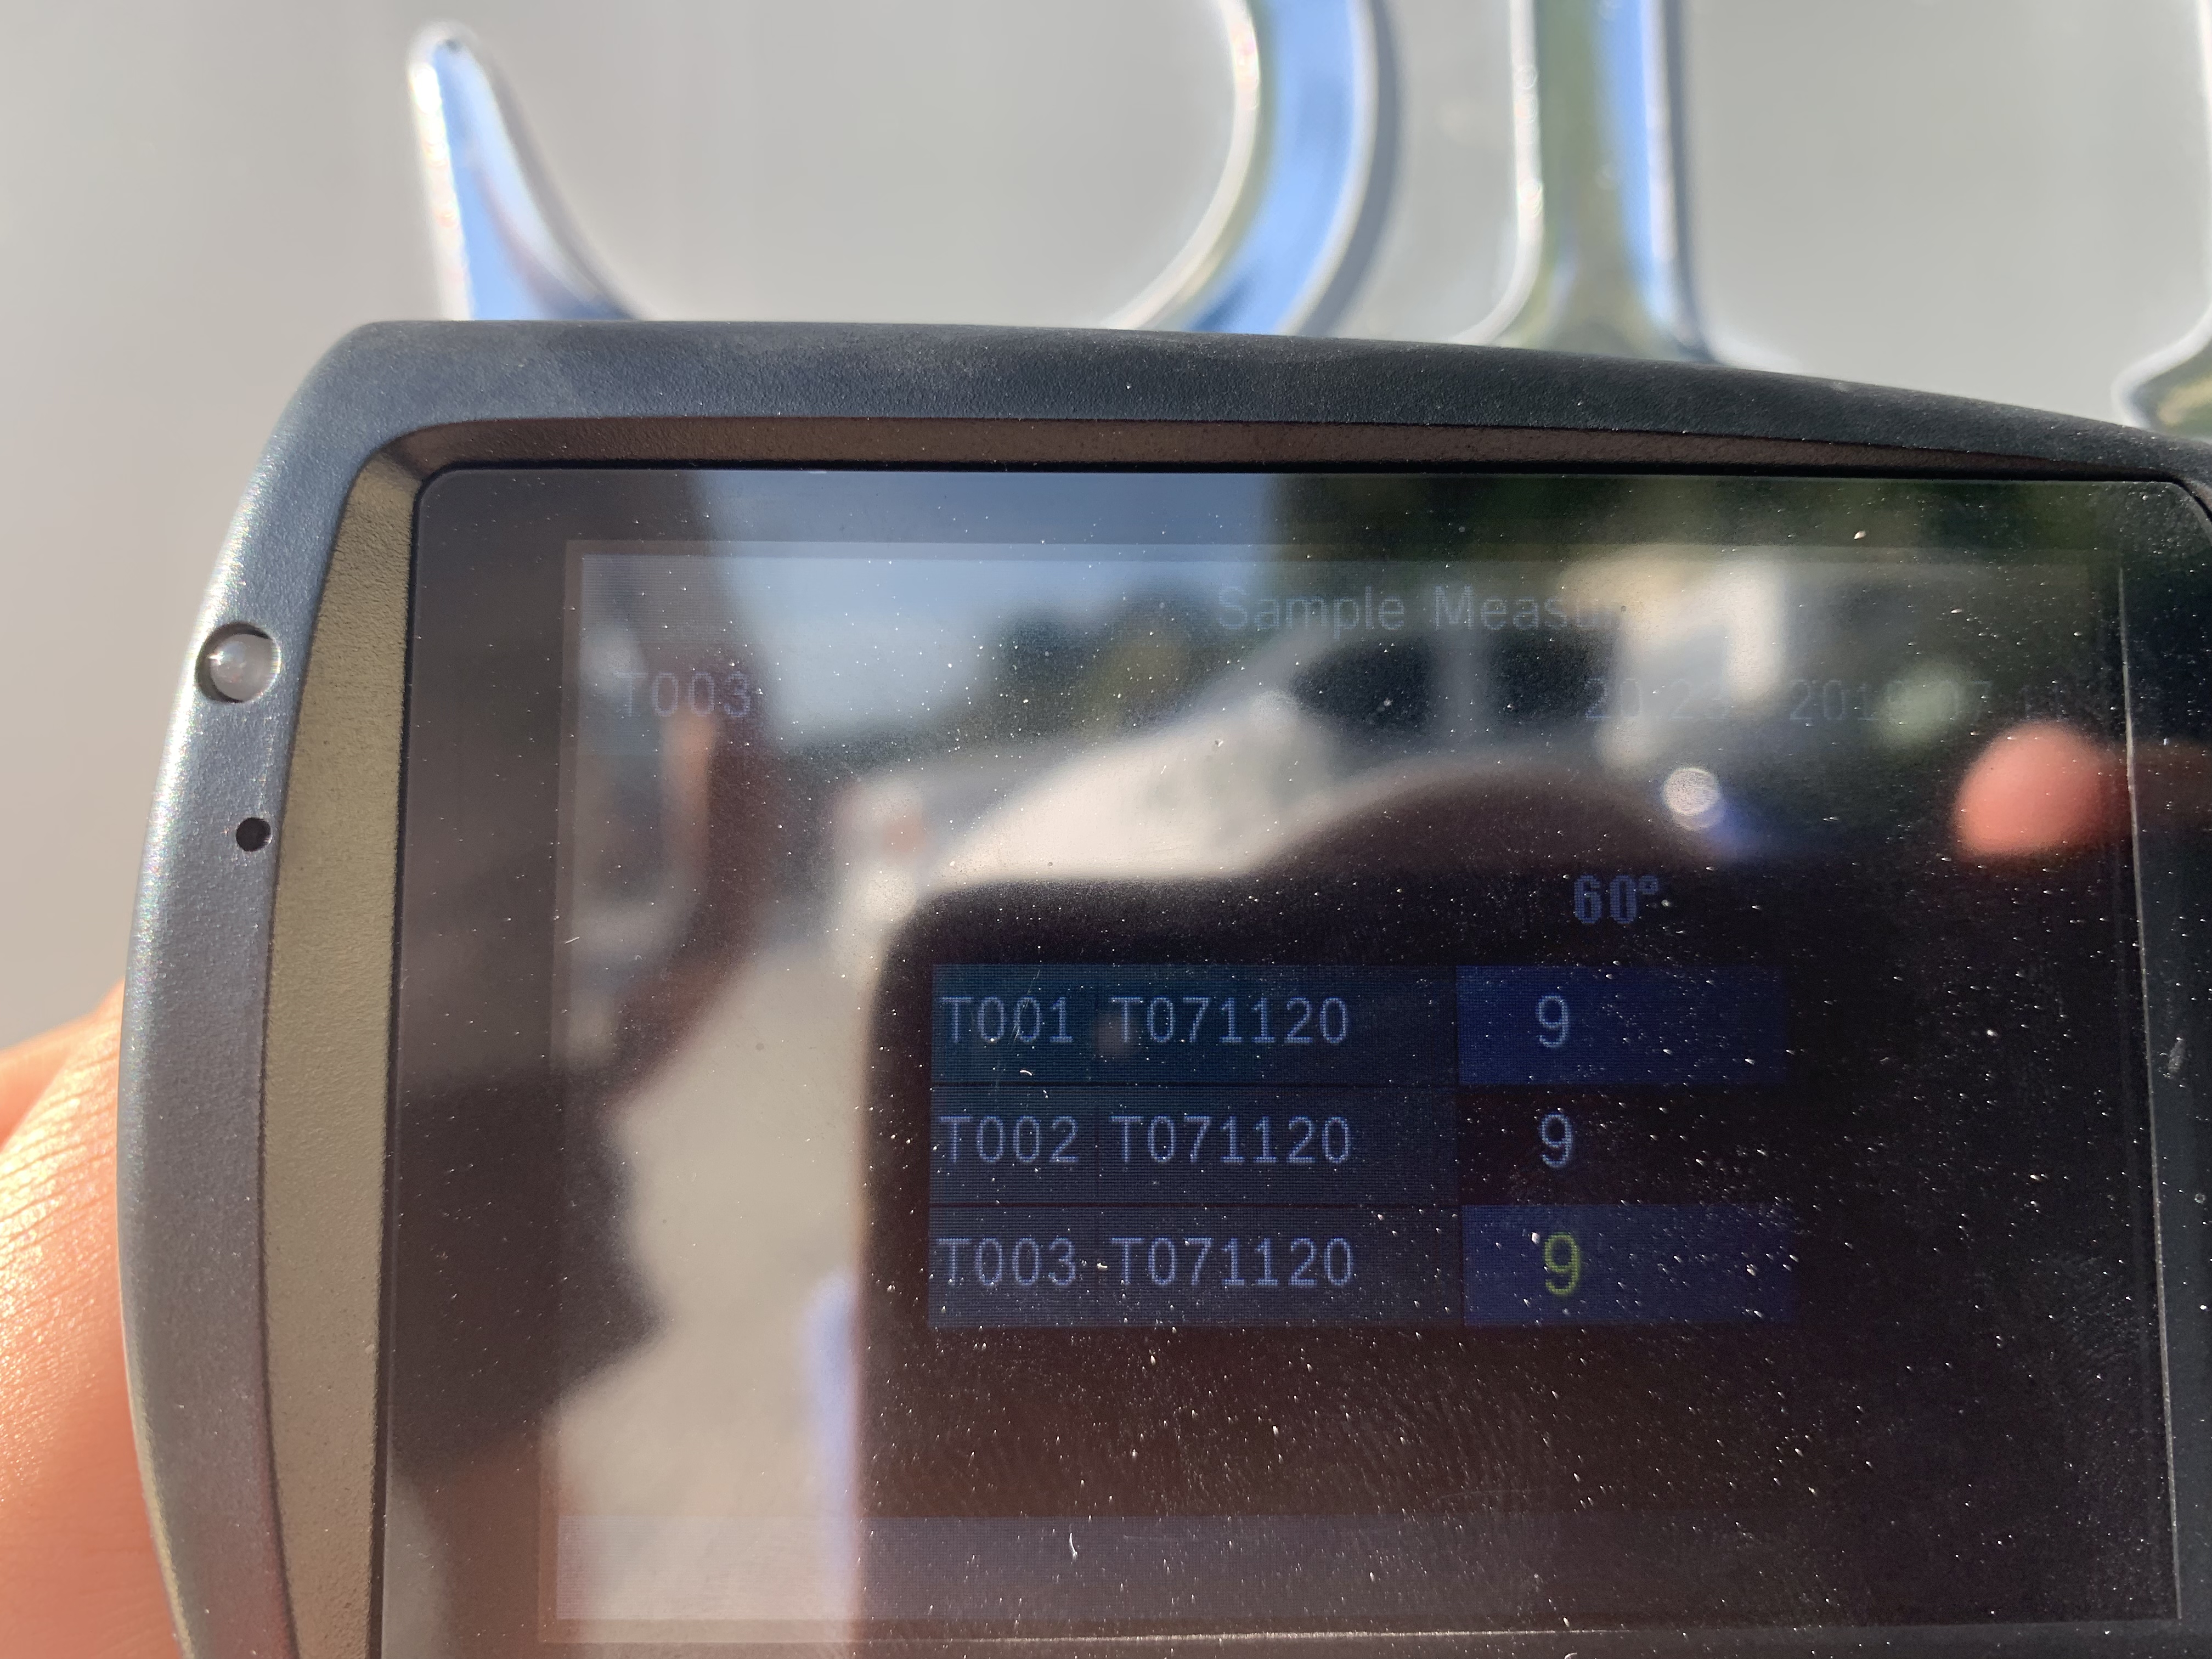
As shown, in the photos below, during the initial walk through with Walt, majority of the high sun exposed areas of the boat had extremely low gloss meter readings with the lowest registering 2 on the hard top. Whereas, other areas like the hull and gunwales ranging from 6 - 9.
During our in-person inspections, we use our gloss meter to provide us with a numerical value of the shine off the surface. Factory new gel coat will typically register between 82 - 88 on the gloss meter. Whereas, with this oxidized hull and top sides, the gloss meter readings registered as low as 2.
Due to the heavy oxidization and extremely low gloss meter readings, we knew numerous prep steps would be required in order to bring the boat back to life before applying our ceramic boat coating.
Typically, in similar instances, we anticipated that several steps of heavy compound with a wool pad, then downgrading to soft foam pad with polishes would be able to get the shine and consistent finish we set our standard to.
However, as you will read about below...that wasn't the case.
High Gloss or Consistent Finish
During the preparation steps before applying the ceramic boat coating, our goal is to get the gloss meter readings as high as possible and to remove as many surface imperfections as possible (key note - any swirls marks).
The first several buffing steps included the use of a Makita buffer, wool pad and heavy compound to help remove the oxidization from the surface. For our projects, we start with a heavy abrasive and slowly move towards the lesser abrasives, such as a Rupes polisher with a soft foam pad and polish.
What happened with this Shearwater was unique by using a foam pad and polish on the surface, we dulled the finish and could not even get the gloss meter readings into the 70's, let alone the 80's as we typically require.
This is when the fun started as we attempted numerous different combinations of pads, compounds, polishes, buffers and even wet sanding to determine the best finish on the boat.
PRO TIP - Complete several test spots across the boat to ensure the best finish before starting all of your buffing
As a result of these challenges, we found the following steps gave the best finish;
1). One buffing step with heavy compound and a wool pad
2). One buffing step with medium grade compound and a wool pad
3). One buffing step with medium grade compound and medium foam pad (Rupes)
4). Sterilize the hull with Surface Wipe
5). Apply two coats of ceramic boat coating
6). Apply third coat of ceramic boat coating to the highly sun exposed areas, such as the hard top and gunwales.
Decided Consistent Finish Over High Gloss
Throughout the prep process, we noted the highest gloss meter readings were registering after using the wool pad and medium grade compound. However, noticeable swirls marks were showing in the surface.
Considering that by applying the ceramic boat coating, it is essentially locking down the surface and would not hide the swirl marks.
Therefore, we decided for a finish that had lower gloss meter readings, but did not show any swirls marks in the surface. One of the advantages to this approach, is the boat had more of a consistent and clear finish throughout.
During the walk through with Captain Walt, he was happy with the decision as most boat owners get quite annoyed seeing swirl marks in the surface.